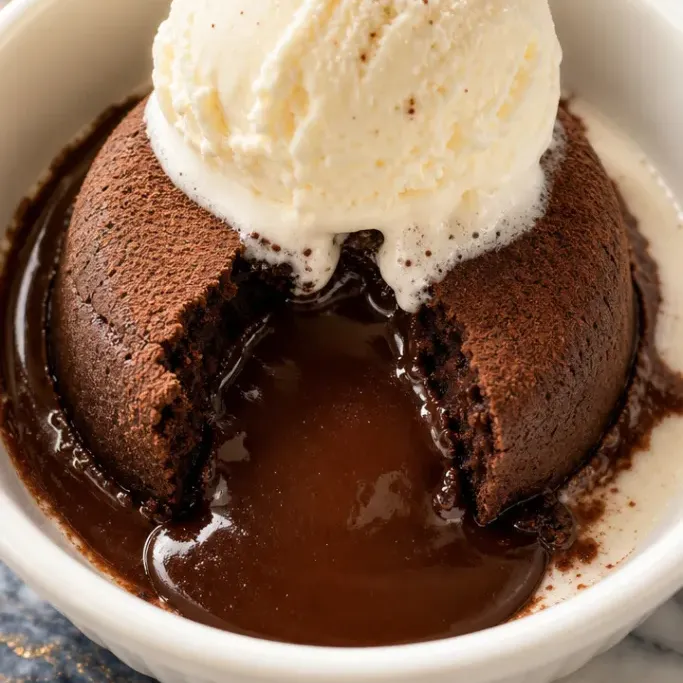
Chili’s Molten Lava Cake Copycat Recipe
This Chili’s molten lava cake copycat brings the restaurant’s famous chocolate dessert to your own kitchen, warm center and all. It takes about 30 minutes and uses ingredients you likely already have, so it’s an easy way to skip the wait and skip the bill.
If you’ve ever cut into one at the table and watched the chocolate pour out, you know exactly why this one is worth making at home.
Why I Love This Recipe
The outside sets into a tender, fudgy cake while the center stays liquid and glossy. That contrast, firm edges against a flowing middle, is what makes this one of those desserts people actually talk about.
The technique is simpler than it sounds. You’re just slightly underbaking a chocolate batter in a hot oven, and the timing is forgiving enough that it works on the first try.
This is the version I keep coming back to when I want something that feels impressive without a lot of effort.
Recipe Ingredients
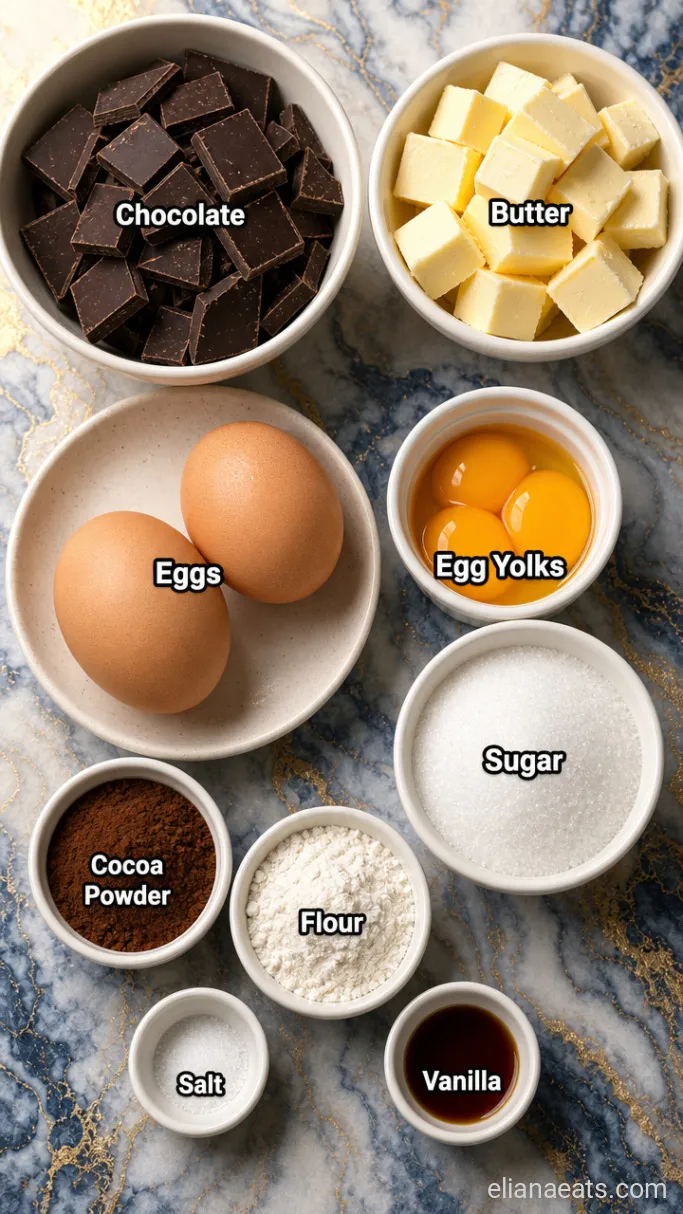
- 4 oz bittersweet chocolate (70% cacao) – Higher cacao means a less sweet, more intense center; semi-sweet works if that’s what you have
- 4 tbsp unsalted butter – Unsalted lets you control the flavor; cut into small pieces so it melts evenly with the chocolate
- 2 large eggs – Whole eggs give the batter structure and richness
- 2 large egg yolks – Extra yolks make the batter richer and help the center stay fluid
- 3 tbsp granulated sugar – Just enough to balance the bitter chocolate without making it sweet
- 1 tsp vanilla extract – Rounds out the chocolate flavor
- 2 tbsp all-purpose flour – A small amount is all you need; too much and the center sets solid
- 1 pinch of fine salt – Sharpens the chocolate flavor
- 1 tbsp unsalted butter, softened (for ramekins) – For greasing so the cakes release cleanly
- 1 tbsp unsweetened cocoa powder (for dusting) – Dust instead of flour to keep the exterior looking dark and clean
- Vanilla ice cream, for serving – The cold cream against the hot cake is what makes this
Variations / Substitutions
- Dark chocolate swap – Use 60% cacao semi-sweet chocolate for a sweeter, milder center that still flows well.
- Salted butter – If it’s all you have, skip the pinch of salt; the cakes will taste fine.
- Gluten-free – Swap the 2 tbsp all-purpose flour for an equal amount of almond flour; the texture stays rich and the center still runs.
- Dairy-free – Use a good-quality vegan butter and a dairy-free dark chocolate bar; the technique is identical.
- Espresso addition – Stir 1 tsp of instant espresso powder into the melted chocolate to push the flavor darker and deeper without tasting like coffee.
- Extra heat – Add a small pinch of cayenne, about 1/8 tsp, to the batter for a subtle warmth at the end of each bite.
If you enjoy easy restaurant-style chocolate desserts, you might also like a Copycat Domino’s Chocolate Lava Crunch Cake recipe.
How To Make Molten Lava Cake
Step 1: Melt the Chocolate and Butter
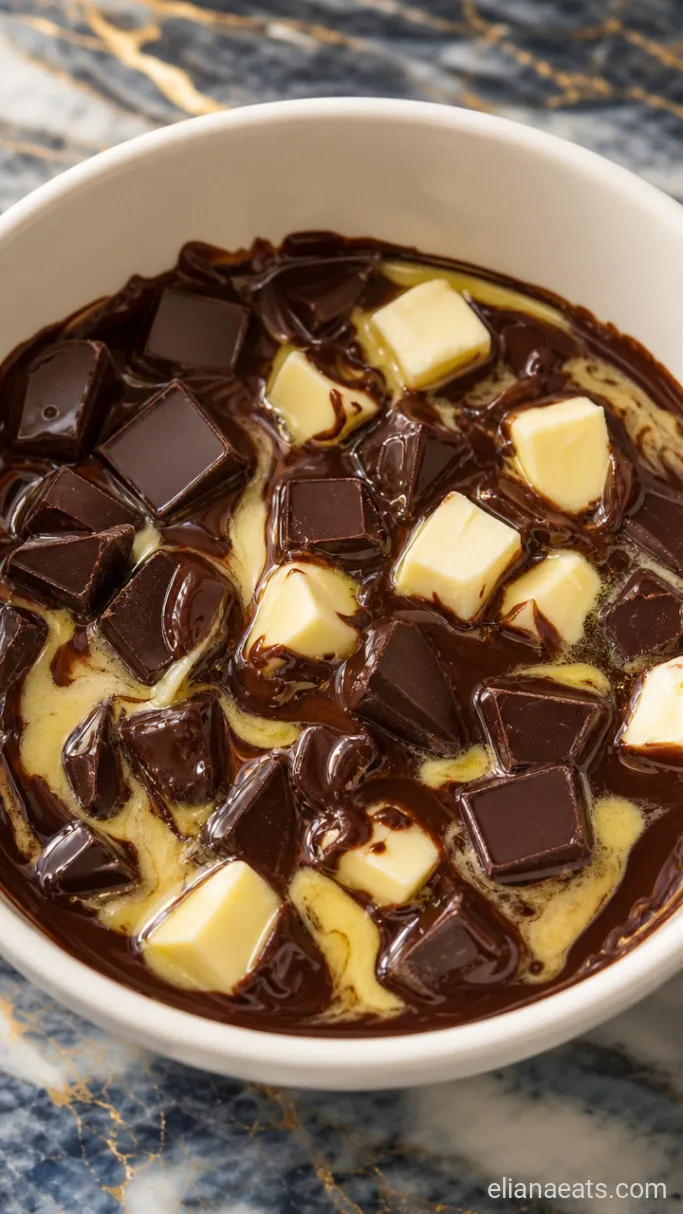
Preheat your oven to 425°F (220°C) and grease 4 ramekins (6 oz each) with the 1 tbsp softened butter, coating the sides and bottom thoroughly. Dust each greased ramekin with the 1 tbsp cocoa powder, tap out any excess, and set them aside. In a heatproof bowl set over a small saucepan of barely simmering water, combine the 4 oz bittersweet chocolate and 4 tbsp unsalted butter. Stir gently with a rubber spatula over low heat until everything is completely smooth, about 3 to 4 minutes, then pull the bowl off the heat.
The mixture should look glossy and flow easily off the spatula. If you see any lumps, keep stirring off the heat; residual warmth will finish the job.
Don’t let the bottom of the bowl touch the water. Steam, not direct heat, is what keeps the chocolate from seizing or getting grainy.
Step 2: Whisk the Eggs and Sugar
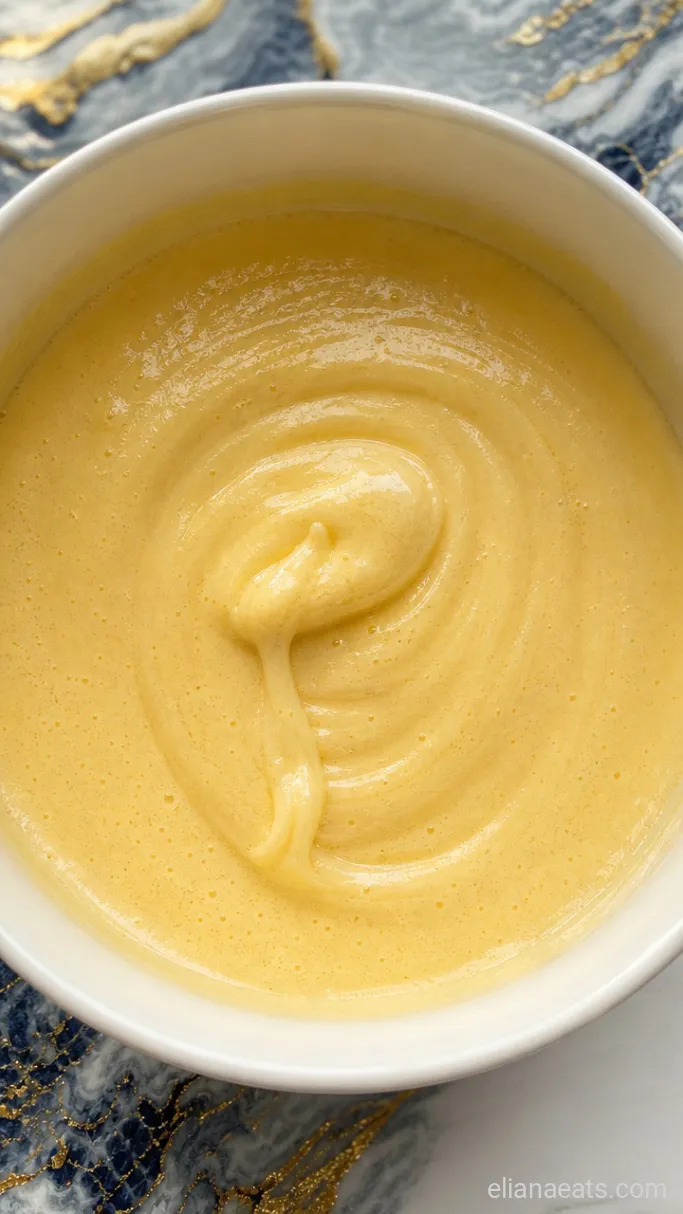
In a medium bowl, whisk together the 2 large eggs, 2 large egg yolks, and 3 tbsp granulated sugar vigorously for about 2 minutes. You’re looking for the mixture to turn pale yellow and slightly thickened, which tells you the sugar has dissolved into the eggs.
Add the 1 tsp vanilla extract and whisk for another 10 seconds to combine. This base is what gives the cake its structure around the outside while the center stays soft.
Step 3: Fold in the Chocolate
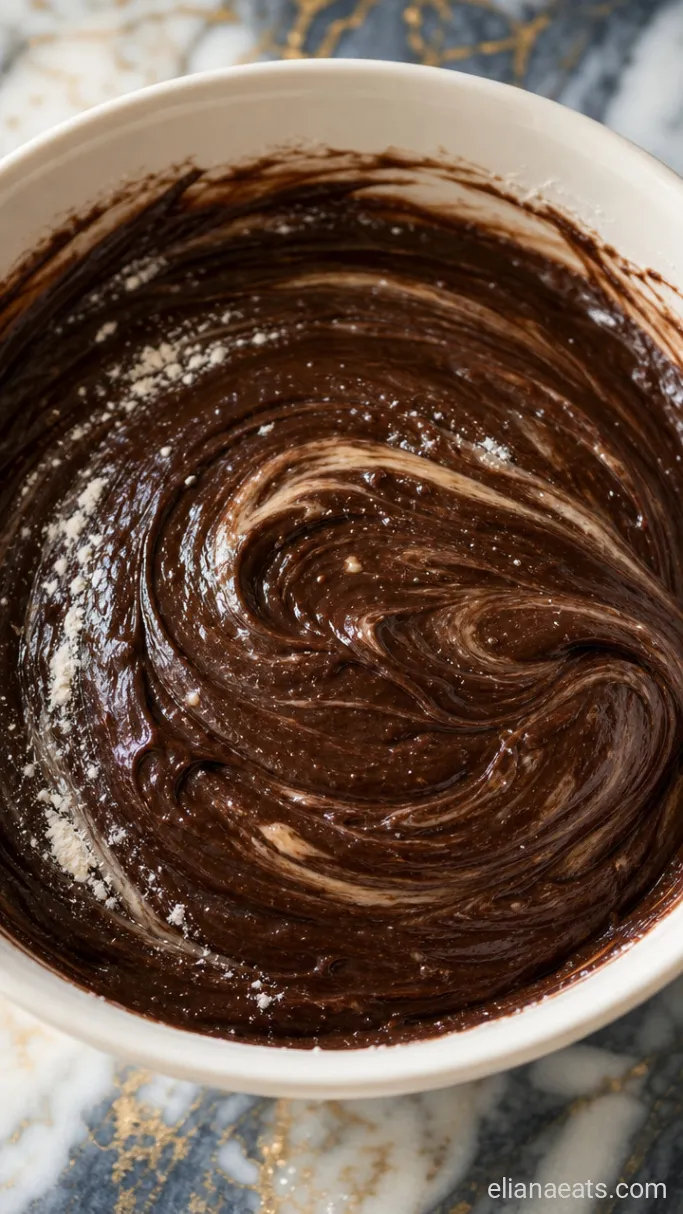
Pour the warm melted chocolate mixture into the egg mixture. Using a rubber spatula, fold gently until just combined, about 15 strokes. Then sift the 2 tbsp all-purpose flour and 1 pinch of fine salt directly over the batter and fold again until no dry streaks remain, about 10 more strokes.
The batter will look dark and glossy, almost like a thick ganache. Stop folding the moment the flour disappears. Overmixing at this stage develops gluten and risks a center that sets too firm.
Step 4: Fill and Bake the Ramekins
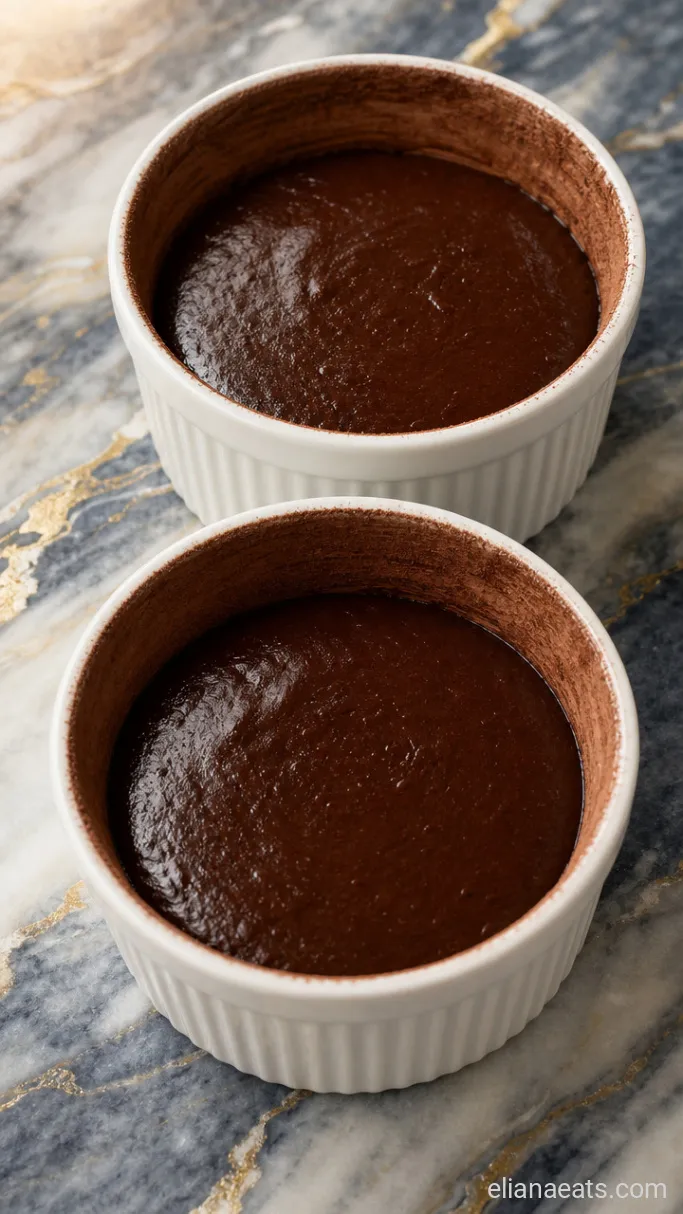
Divide the batter evenly among the 4 prepared ramekins, filling each about three-quarters full. Place them on a baking sheet and slide it into the center rack of the 425°F (220°C) oven. Bake for 12 to 13 minutes, until the edges are set and pulling away from the sides of the ramekin but the center still has a soft jiggle when you nudge the pan.
The tops will look matte and just barely set, not shiny. That’s exactly right. If the entire top looks wet and sunken, give them 1 more minute. If the tops have puffed and cracked completely, the centers have likely set solid, but they’ll still taste good.
Don’t open the oven door before the 12-minute mark. The temperature drop can stall the rise and push you toward an uneven bake.
Step 5: Plate and Serve the Cakes
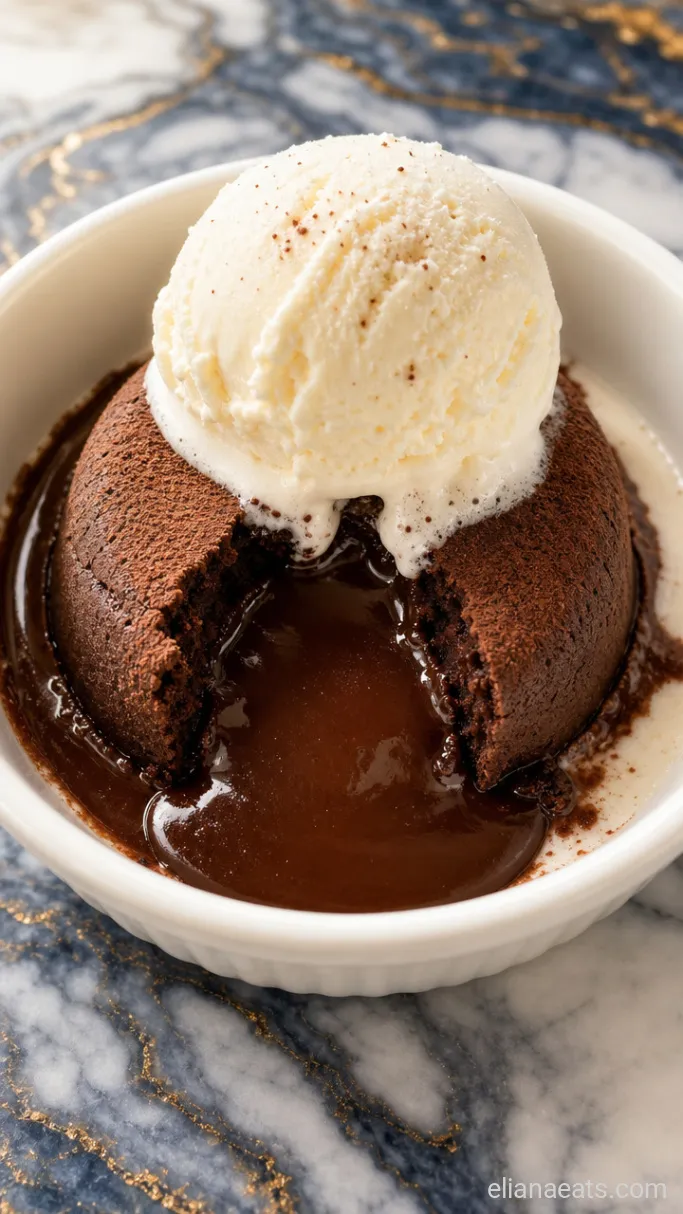
Run a thin knife or offset spatula around the inside edge of each ramekin. Place a dessert plate face-down on top of a ramekin, then flip the two together in one confident motion. Hold for 5 seconds, then lift the ramekin away. The cake should release cleanly onto the plate, with the cocoa-dusted exterior intact.
Add a scoop of vanilla ice cream right next to each cake and serve immediately. The cold ice cream melts into a pale ribbon around the dark cake as the chocolate center begins to flow out.
Recipe Tips
- Check your ramekin size. This recipe is calibrated for 6 oz ramekins. If yours are larger (8 oz is common), add 1 to 2 minutes to the bake time. If they’re smaller, reduce by 1 minute.
- The flip is the only tricky part. Make sure you’ve buttered and cocoa-dusted all the way up the sides of each ramekin, including the rim. Any bare spot will cause the cake to stick.
- You can make the batter ahead. Fill the ramekins, cover them with plastic wrap, and refrigerate for up to 6 hours. Bake straight from the fridge and add 2 minutes to the bake time.
- Let them sit for 30 seconds after you pull them from the oven before flipping. This brief rest helps the edges firm up just enough to hold their shape on the plate.
Bake times by ramekin size (oven at 425°F / 220°C):
| Ramekin Size | Bake Time | Center Cue |
|---|---|---|
| 4 oz | 10 to 11 mins | Edges set, center wobbles noticeably |
| 6 oz | 12 to 13 mins | Edges set, slight jiggle in center |
| 8 oz | 14 to 15 mins | Matte top, small soft spot in middle |
How To Store
- Refrigerate – Baked lava cakes that have already been flipped don’t store well, since the center firms up. If you have leftover unbaked batter in the ramekins, cover with plastic wrap and refrigerate for up to 24 hours.
- Reheating – Re-bake refrigerated filled ramekins at 425°F (220°C) for 14 to 15 minutes straight from the fridge. The center should still run.
Frequently Asked Questions
Can I use a muffin tin instead of ramekins?
Yes, but grease and cocoa-dust each cup very well and reduce the bake time to 9 to 10 minutes, since the thinner walls heat faster. The release is trickier because the cups aren’t straight-sided, so run your knife carefully around each one before flipping.
Why did my center set solid instead of flowing?
The cakes went 1 to 2 minutes too long. Ovens vary, so pull them at 12 minutes the first time you make this and check the jiggle before adding more time.
Can I make this without a double boiler?
Yes. Melt the chocolate and butter in a microwave-safe bowl in 20-second bursts on 50% power, stirring between each, until smooth. It takes about 90 seconds total and works just as well.
Do I have to use bittersweet chocolate?
No, but the sweetness level will shift. Semi-sweet chocolate produces a noticeably sweeter center. Milk chocolate tends to make the center too sweet and can make the batter overly loose; it’s better to avoid it here.
—
Ingredients
Method
- Preheat oven to 425°F (220°C). Grease 4 ramekins (6 oz each) with 1 tbsp softened butter and dust with 1 tbsp cocoa powder; tap out excess. Melt the 4 oz bittersweet chocolate and 4 tbsp unsalted butter together in a heatproof bowl over barely simmering water, stirring until smooth, about 3 to 4 minutes. Remove from heat.
- In a medium bowl, whisk the 2 large eggs, 2 large egg yolks, and 3 tbsp granulated sugar vigorously for 2 minutes until pale and slightly thickened. Whisk in the 1 tsp vanilla extract.
- Fold the warm chocolate mixture into the egg mixture with a rubber spatula until just combined. Sift in the 2 tbsp flour and 1 pinch fine salt and fold until no dry streaks remain.
- Divide the batter evenly among the prepared ramekins. Place on a baking sheet and bake at 425°F (220°C) for 12 to 13 minutes, until edges are set and the center has a slight jiggle.
- Run a thin knife around the edge of each ramekin, invert onto a dessert plate, hold for 5 seconds, and lift the ramekin away. Add a scoop of vanilla ice cream alongside and serve immediately.