Starbucks Classic Syrup Recipe (Easy Copycat in 3 Ingredients)
Making Starbucks classic syrup at home takes about 10 minutes and costs a fraction of what you’d spend at the counter. If you sweeten your coffee, iced tea, or lemonade every single day, this is the recipe to keep in your back pocket.
It’s just 3 ingredients, and the result is a clean, neutral sweetness that dissolves into cold drinks without any graininess. No specialty equipment needed.
Why I Love This Recipe
This is the version I keep coming back to because it does exactly one thing: sweetens without getting in the way. No vanilla, no caramel, just pure clean sugar flavor that lets your coffee or espresso do the talking.
The ratio here gives you a syrup that’s thick enough to cling to the back of a spoon but not so heavy it turns your iced latte into dessert.
It keeps for weeks in the fridge, so one batch does a lot of work.
Recipe Ingredients
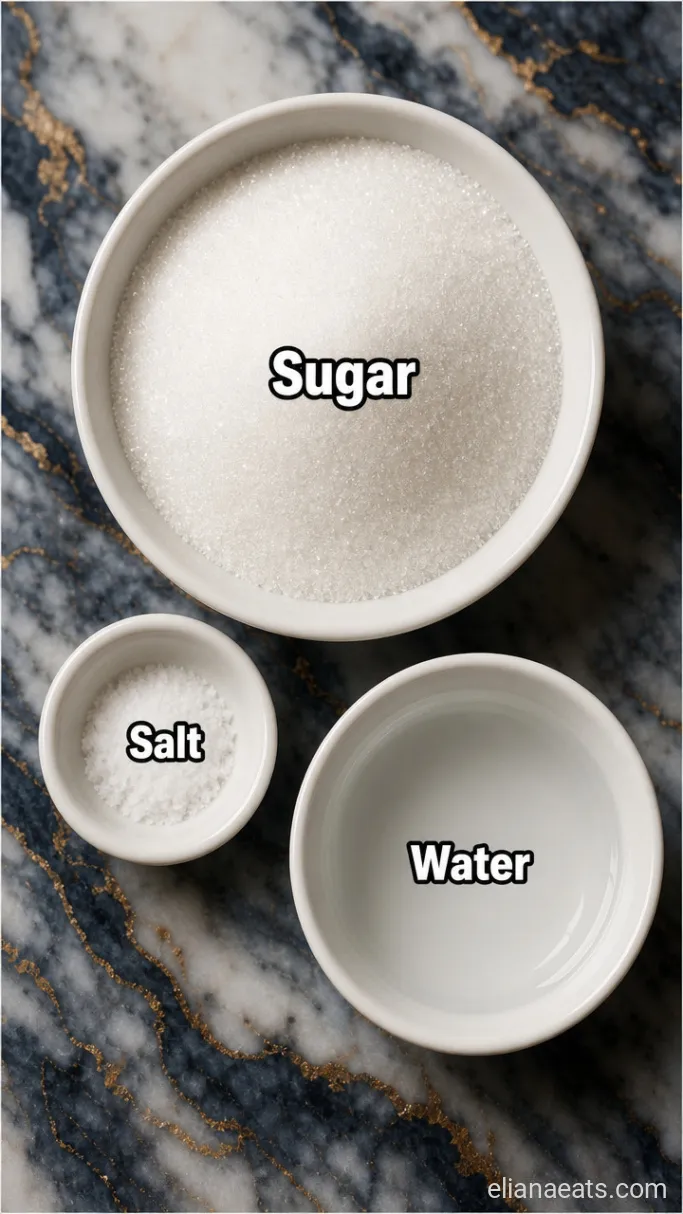
- 1 cup granulated white sugar – Plain white sugar is the right call here; raw or brown sugar will change the color and taste
- 1 cup water – Filtered water gives you the cleanest flavor
- 1/4 tsp fine salt – Optional but rounds out the sweetness and prevents it from tasting flat
Variations / Substitutions
- Cane sugar – Swaps 1:1 for granulated sugar and keeps the same clear result, just slightly more neutral in flavor
- Organic sugar – Works fine but may produce a slightly golden syrup rather than water-clear
- Monk fruit sweetener – Use a 1:1 ratio for a zero-calorie version; the syrup will be thinner and may not keep as long
- Agave nectar – Dissolves without heat at all; whisk equal parts agave and warm water and skip the stovetop step entirely
- Coconut sugar – Gives a light caramel note and a darker color, which changes the flavor profile noticeably
- Adding flavor – Stir in a 1/2 tsp of vanilla extract off the heat if you want something closer to vanilla syrup
If you want a flavored version, have a look at the Starbucks Vanilla Syrup Copycat Recipe.
How To Make Classic Syrup
Step 1: Dissolve the Sugar
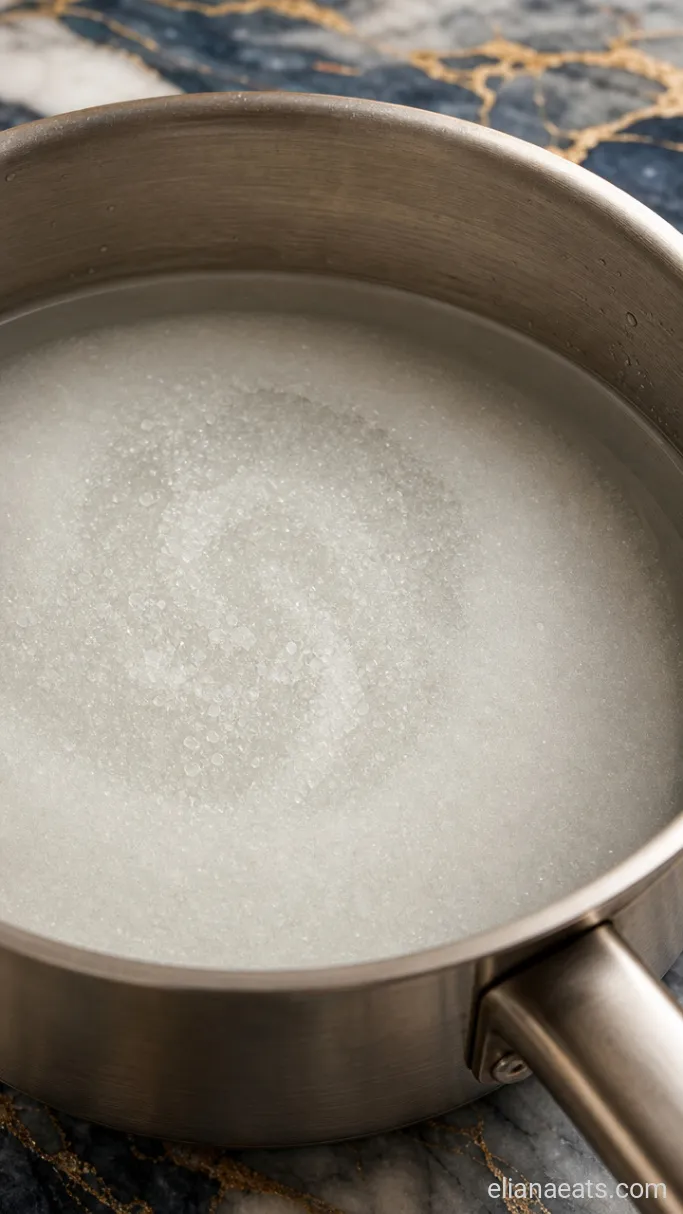
Combine the 1 cup granulated white sugar and 1 cup water in a small saucepan over medium heat. Stir the mixture with a spoon or silicone spatula for about 2 to 3 minutes, until every visible grain of sugar has disappeared into the liquid.
You’re not boiling this, just bringing it to a gentle simmer where the water is just barely moving at the edges. Once you see no sugar crystals at all and the liquid looks clear, you’re done with the heat.
Step 2: Simmer and Thicken the Syrup
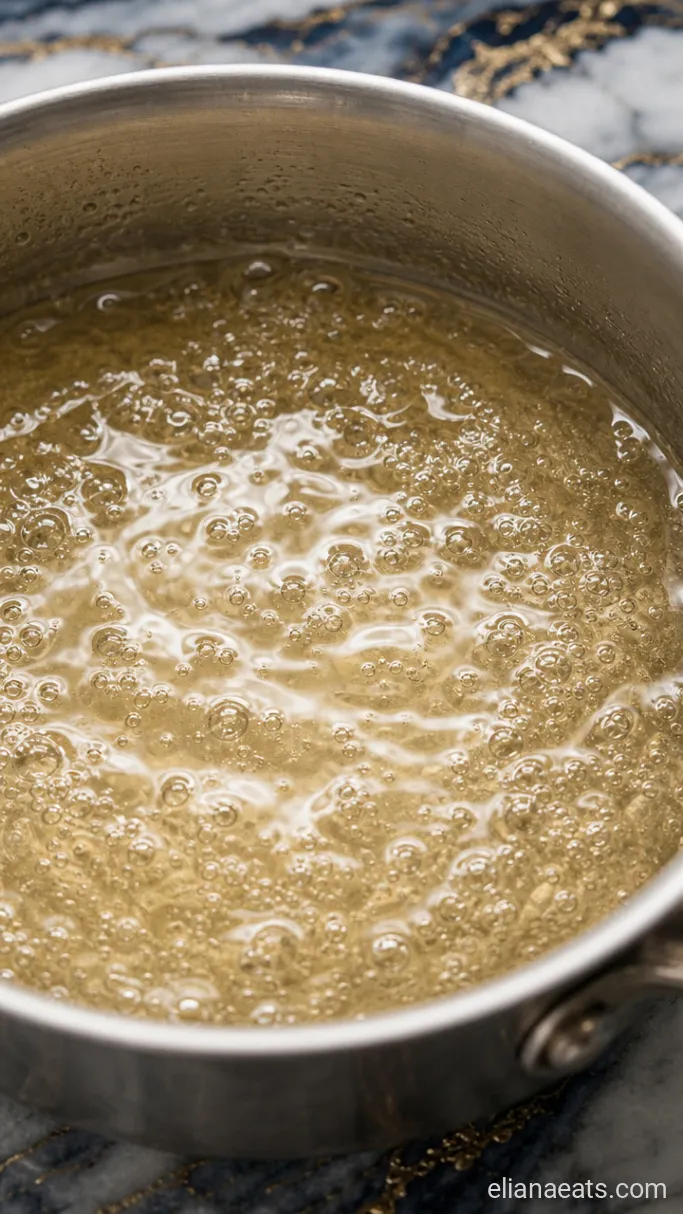
Keep the pan on medium heat and let the syrup simmer, without stirring, for 3 to 4 minutes. You want a light, steady bubble around the edges, not a rolling boil. The syrup won’t change color, but it will shift from watery to slightly viscous.
Pull the pan off the heat when the syrup coats the back of a spoon and holds a thin, even film. If you drag your finger through that film, the line should hold for a second before running. That’s the texture you’re after.
Step 3: Cool and Bottle the Syrup
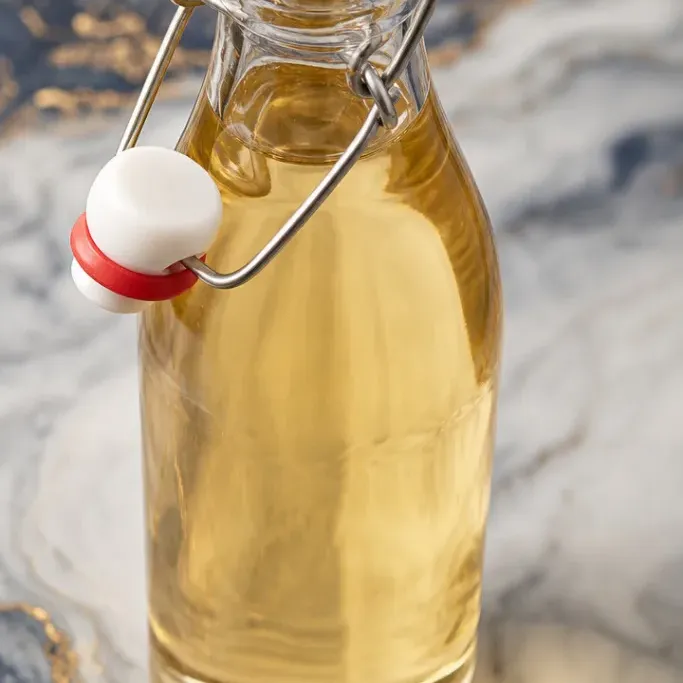
Take the pan off the heat and stir in the 1/4 tsp fine salt. Let the syrup cool in the pan for about 10 minutes at room temperature until it’s no longer steaming, then pour it into a clean glass bottle or jar using a small funnel if you have one.
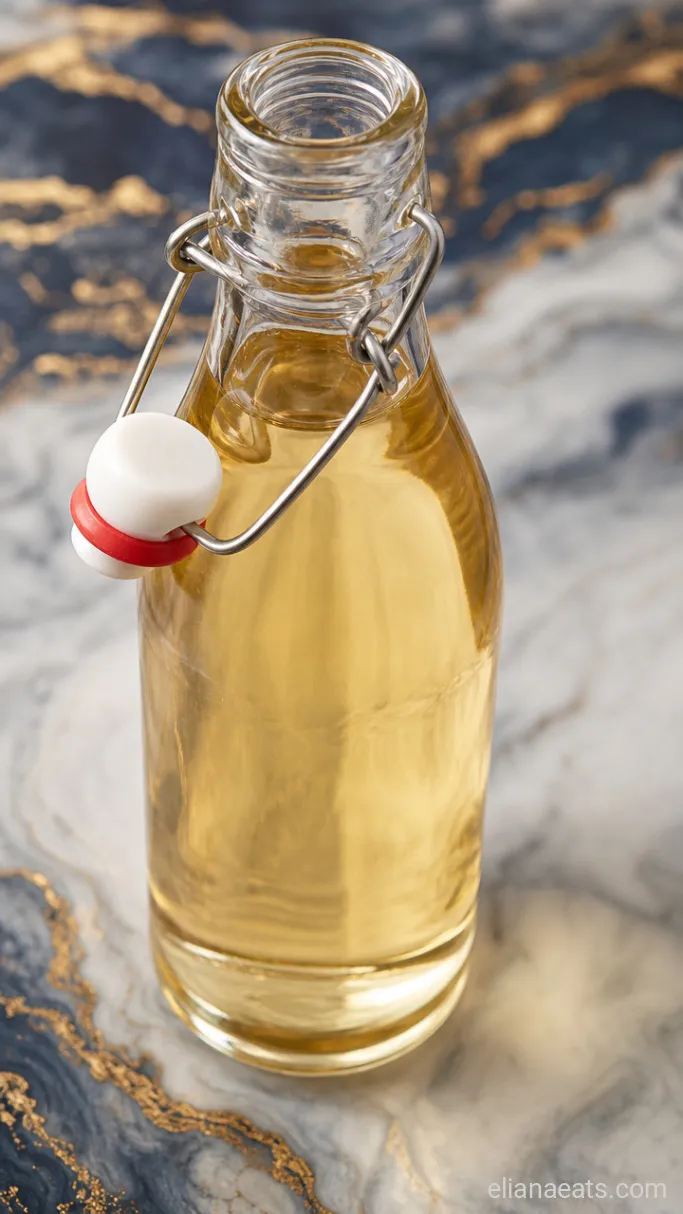
Seal the container and refrigerate. The syrup will look water-clear and pour easily at room temperature. Serve it straight from the fridge by adding 1 to 2 tbsp per drink, to taste.
Recipe Tips
- Don’t walk away while it simmers. Simple syrup can go from perfect to overly thick in under a minute if the heat is too high. Stay close and keep the bubble gentle.
- Use a glass jar, not plastic. Pour the hot syrup into a glass container rather than plastic, since the heat can warp certain bottles and, more practically, glass doesn’t absorb any odors from your fridge.
- Make a double batch if you use sweetener daily. The recipe scales perfectly, so doubling it just means combining 2 cups sugar with 2 cups water. The cook time stays the same.
- Let it fully cool before tasting sweetness level. Hot syrup always tastes less sweet than chilled syrup, so wait until it’s cold before deciding if you want a slightly stronger batch next time.
Cook times by heat level and batch size:
| Batch Size | Heat Level | Simmer Time |
|---|---|---|
| 1 cup sugar + 1 cup water | Medium | 3 to 4 mins |
| 2 cups sugar + 2 cups water | Medium | 4 to 5 mins |
| 3 cups sugar + 3 cups water | Medium-low | 5 to 6 mins |
How To Store
- Refrigerate – Store in a sealed glass jar or bottle for up to 4 weeks. The salt helps extend shelf life slightly.
- Serve Cold – Use it straight from the fridge. It pours easily even when cold and dissolves into iced drinks without any stirring drama.
Frequently Asked Questions
Can I make this without heating it at all?
Yes, but only if you’re patient. Combine the sugar and water in a jar, seal it, and shake it for several minutes. It takes much longer for the sugar to fully dissolve and the syrup will be thinner than the stovetop version.
How do I know if the syrup has gone bad?
Look for cloudiness, an off smell, or any visible mold. A fresh batch should stay completely clear for the full 4 weeks when refrigerated in a clean jar.
Can I freeze the syrup to make it last longer?
Yes. Pour it into an ice cube tray, freeze until solid, then transfer the cubes to a freezer bag. They keep for up to 3 months and thaw quickly in a drink.
Does this work in cold brew or iced tea?
It’s actually better suited to cold drinks than regular sugar is, since it’s already dissolved. Stir in 1 to 2 tbsp per glass and it blends in immediately with no grit.
Ingredients
Method
- Combine the 1 cup sugar and 1 cup water in a small saucepan over medium heat, stirring for 2 to 3 minutes until all sugar dissolves.
- Stop stirring and let the syrup simmer on medium heat for 3 to 4 minutes until it lightly coats the back of a spoon.
- Remove from heat, stir in the 1/4 tsp fine salt, cool for 10 minutes, then pour into a sealed glass jar and refrigerate.