Starbucks Cake Pops Copycat Recipe
These Starbucks cake pops are the real deal at home, coated in that signature thick candy shell and topped with sprinkles just like the ones behind the counter. If you’ve been spending $4 a pop at the drive-through, this recipe makes a whole batch for the same price.
They come together with just a few basic ingredients, and you don’t need any special equipment beyond a mixing bowl and some lollipop sticks.
Why I Love This Recipe
The coating sets up with a satisfying snap, and the inside stays dense and moist because the cake crumbs are bound with just enough frosting, not so much that the center turns gummy.
This is the version I keep coming back to. The ratio of cake to frosting is the thing most recipes get wrong, and getting it right makes all the difference in how cleanly the pops hold their shape on the stick.
Recipe Ingredients
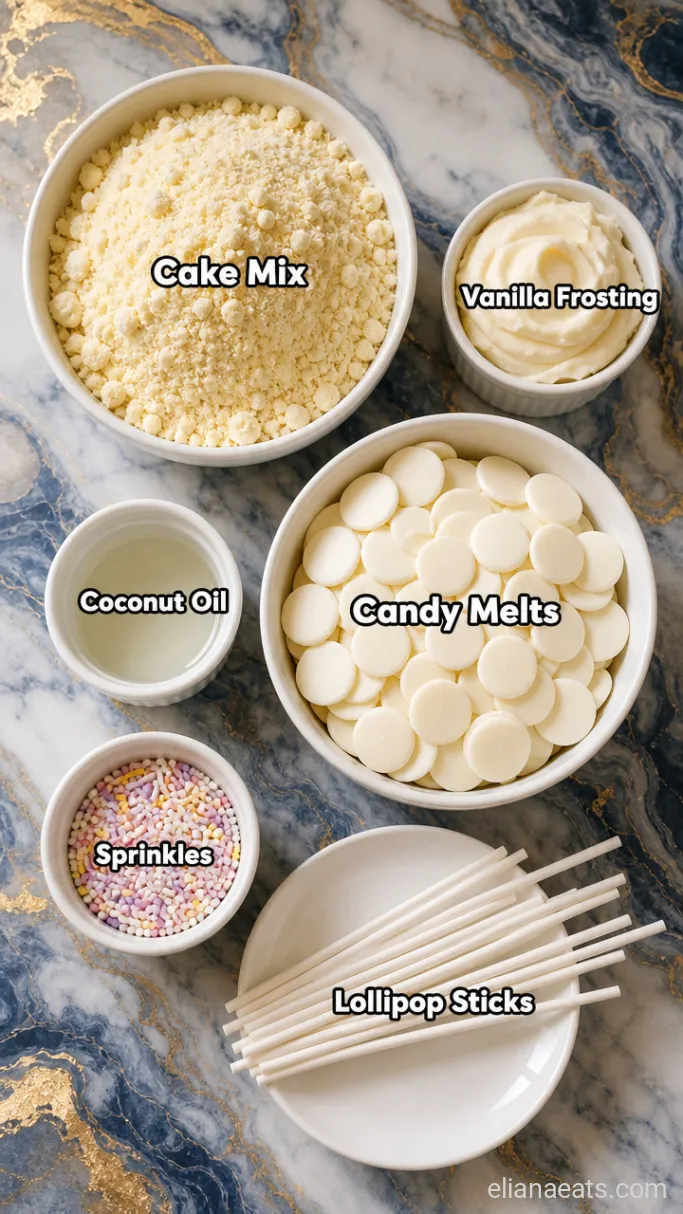
- 1 box (15.25 oz) vanilla or white boxed cake mix – Plus eggs, oil, and water per box instructions; this is the base
- 3 tbsp vanilla frosting – Store-bought works fine; start with less than you think you need
- 3 cups white candy melts (about 18 oz) – Wilton or Ghirardelli both work; white gives the classic Starbucks look
- 1 tbsp coconut oil – Thins the candy coating so it goes on smooth without clumping
- 2 tbsp white or pastel sprinkles – Fine sanding sugar or small round sprinkles stay on best
- 20 lollipop sticks – 6-inch paper sticks hold better than plastic
Variations / Substitutions
- Pink coating – Add a few drops of pink or red gel food coloring to the melted white candy melts for the classic Starbucks birthday cake pop look.
- Chocolate base – Swap the vanilla cake mix for devil’s food; the flavor is richer and pairs well with a white coating.
- Cream cheese frosting – Use cream cheese frosting instead of vanilla for a slightly tangy center; it binds just as well.
- Chocolate coating – Replace white candy melts with dark or milk chocolate candy melts for a different look and a less sweet finish.
- Dairy-free – Most white candy melts are already dairy-free, but check the label; use a dairy-free frosting like Simple Mills to keep the whole recipe dairy-free.
- Funfetti – Stir 2 tbsp rainbow sprinkles directly into the cake crumb mixture for a birthday cake version with color inside and out.
If you enjoy making Starbucks-style treats at home, you might also like the Starbucks Vanilla Bean Scones Copycat Recipe.
How To Make Cake Pops
Step 1: Bake and Cool the Cake
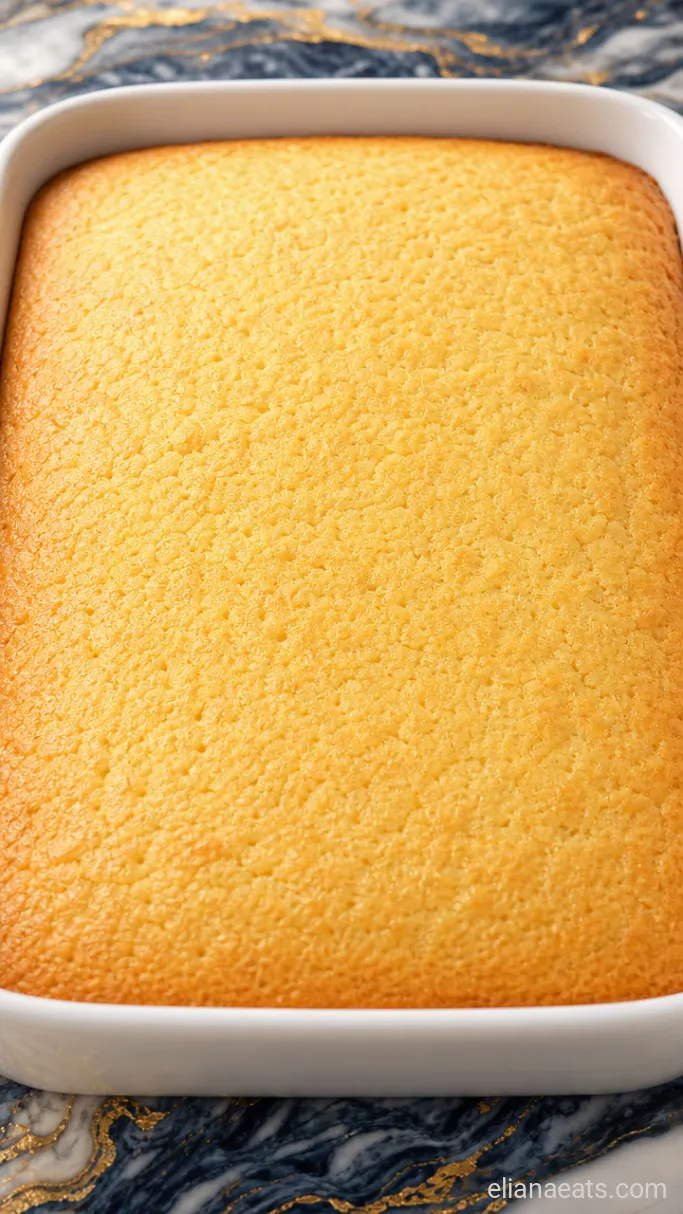
Preheat your oven to whatever temperature the box specifies, mix the cake batter according to the package directions, and bake it in a 9×13-inch pan. Let the cake cool completely on a wire rack, at least 1 hour at room temperature, before you do anything else with it.
This step is non-negotiable. Crumbling a warm cake gives you a wet, sticky mess that won’t roll into clean balls. You want the cake fully room temperature, dry on the surface, and firm enough to crumble into coarse crumbs without clumping.
Don’t rush this by sticking the cake in the freezer while it’s still warm. That traps steam, which makes the crumbs wetter, not drier.
Step 2: Crumble and Bind the Cake
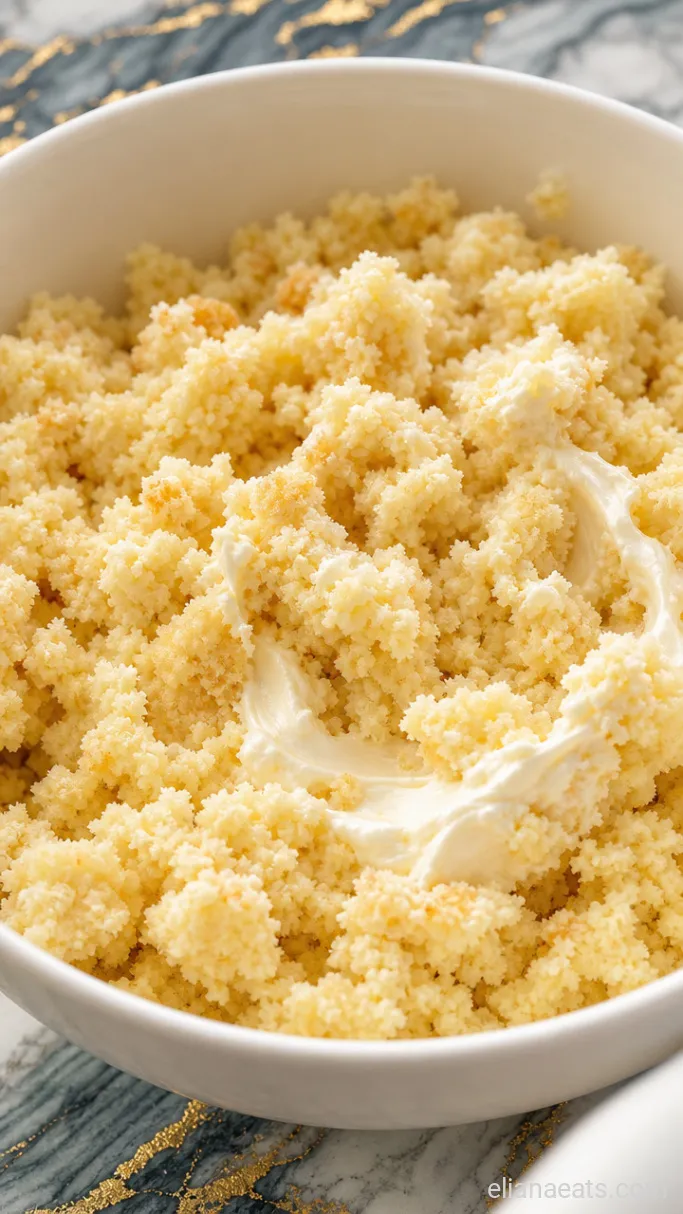
Break the cooled cake into a large mixing bowl and crumble it with your hands until you have fine, even crumbs with no large chunks remaining. Add the 3 tbsp vanilla frosting and work it in with a rubber spatula or your hands until the mixture just holds together when you press a small amount between your fingers, about 1 to 2 minutes of mixing.
The mixture should feel like damp sand that clumps when squeezed, not wet clay. If it falls apart when pressed, add frosting half a tablespoon at a time. If it feels sticky or leaves a residue on your palm, you’ve added too much and the pops will slide off the sticks after dipping.
Too much frosting is the most common mistake here. The sticks need the cake ball to be firm, not soft, to grip during dipping.
Step 3: Roll the Cake Balls
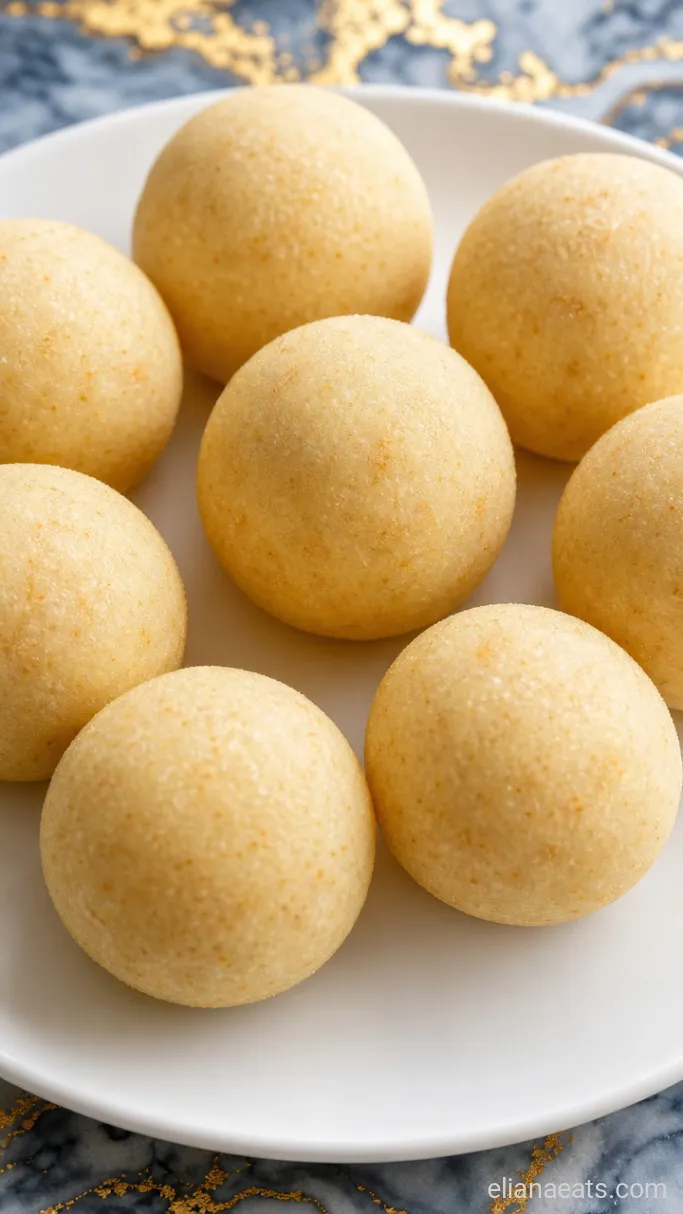
Scoop the mixture into portions of about 1.5 tbsp each (a medium cookie scoop works well) and roll each one between your palms into a smooth, tight ball. Place the balls on a parchment-lined baking sheet as you go. Once all 20 are rolled, transfer the sheet to the freezer for 15 minutes, until the balls are firm and cold to the touch but not frozen solid.
Cold cake balls are what keeps the stick in place during dipping. A room-temperature ball will slide or crack when you push the stick in or when you lower it into warm coating.
Step 4: Insert the Lollipop Sticks
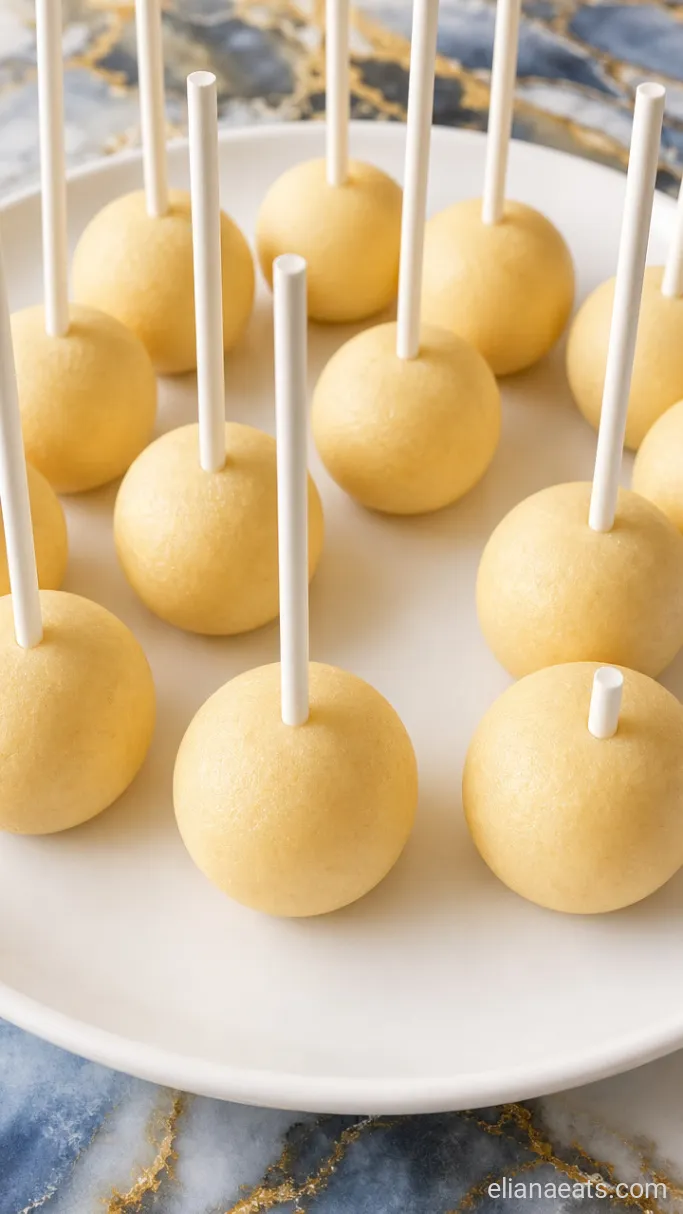
Melt a small amount of the white candy melts, about 2 tbsp, in a microwave-safe bowl in 20-second bursts, stirring between each, until smooth. Dip the tip of each lollipop stick about 0.5 inch into the melted candy, then push it straight down into the center of a cold cake ball until it’s about halfway through. Set the pops back on the parchment sheet and return them to the freezer for another 10 minutes.
The melted candy acts as glue. Without it, the stick will pull clean out of the ball the moment you try to dip it. You’ll see the candy set and turn matte around the base of the stick, which tells you it’s grabbed.
Step 5: Melt and Thin the Coating
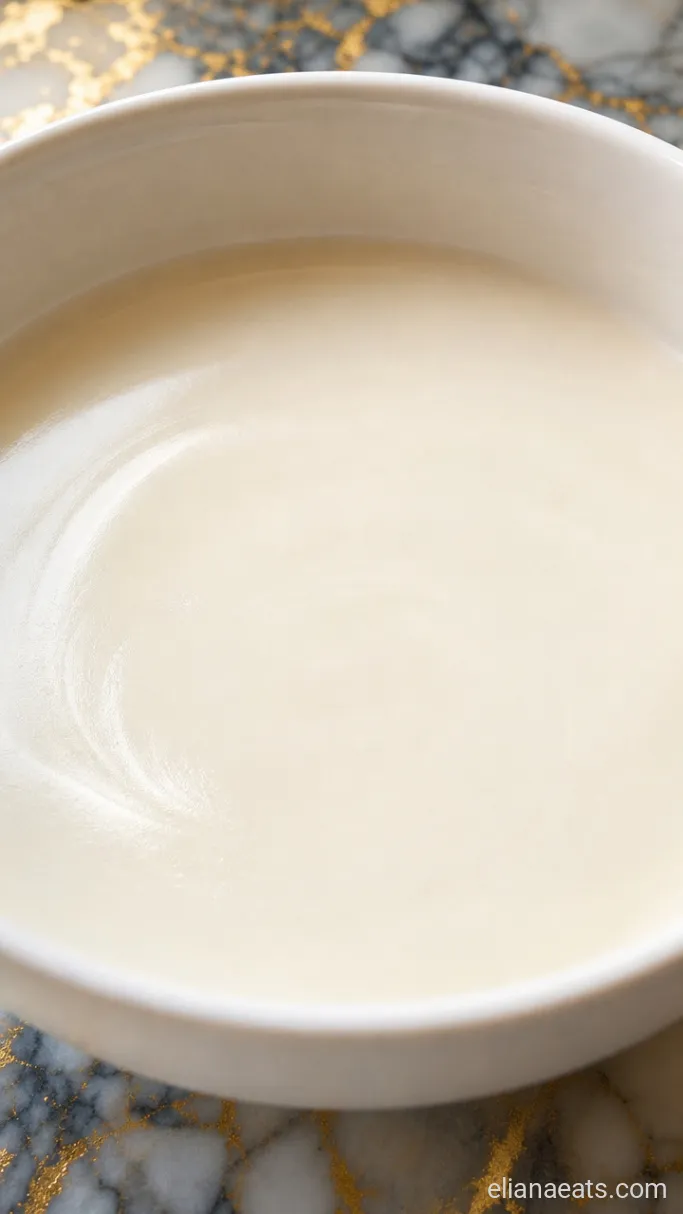
Pour the remaining white candy melts (the rest of your 3 cups, roughly 17.5 oz) into a deep, microwave-safe bowl. Microwave in 30-second intervals, stirring well after each, until fully melted. Add the 1 tbsp coconut oil and stir until the coating is completely smooth and runs off the spoon in a thin, steady ribbon, about the consistency of warm heavy cream.
The depth of the bowl matters. You need enough coating that you can submerge a whole cake ball in one dip without scraping the sides. A tall, narrow bowl like a deep mug or a wide measuring cup works better than a wide shallow bowl.
If the coating looks grainy or seizes up, it’s overheated. Stir in an extra half tablespoon of coconut oil off the microwave and keep stirring; this usually brings it back.
Step 6: Dip and Garnish the Cake Pops
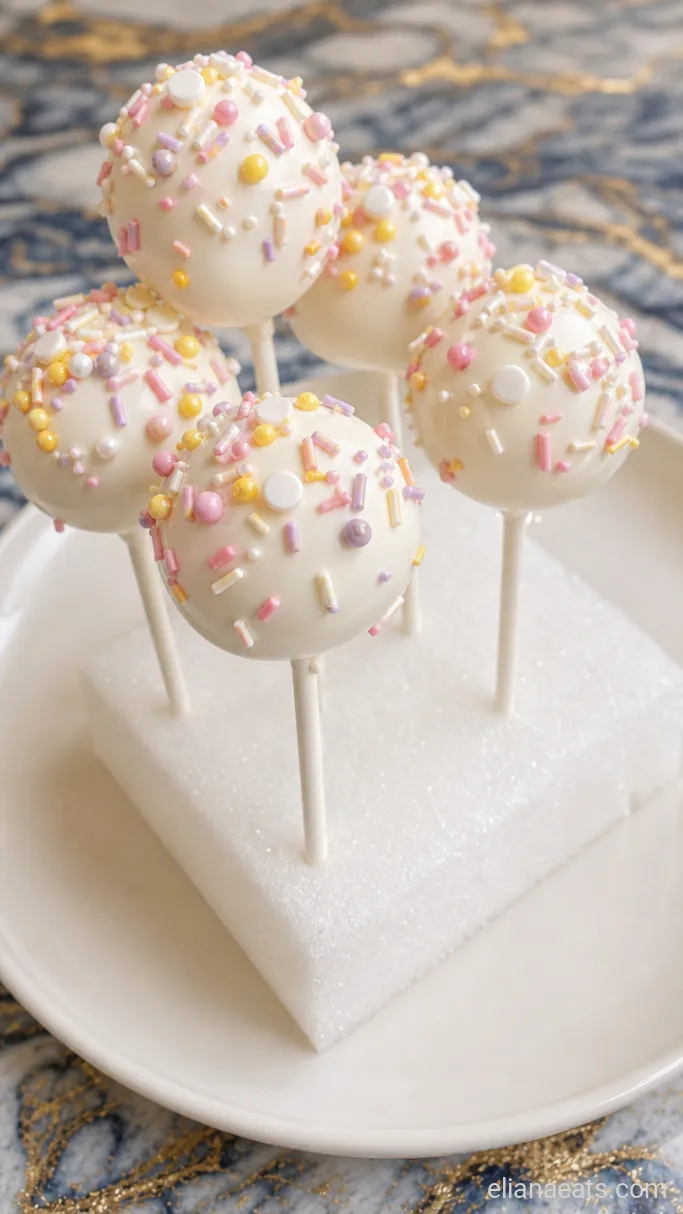
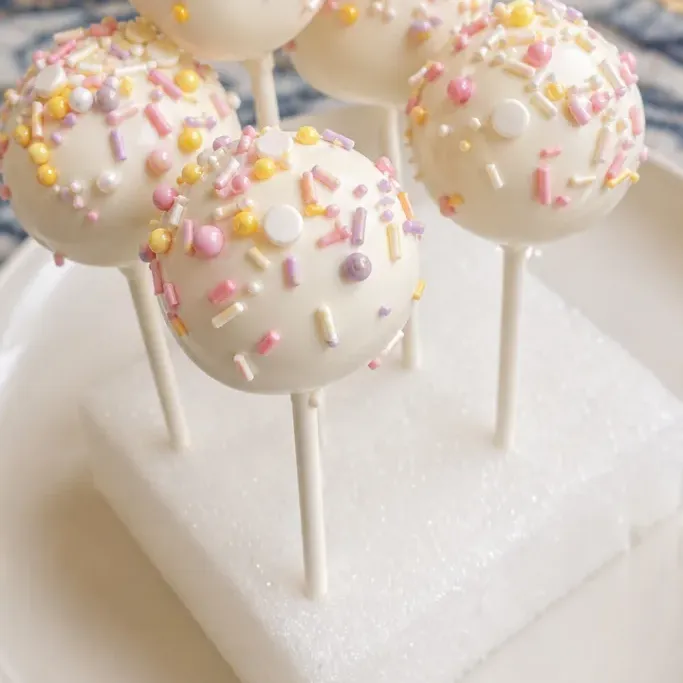
Working one at a time, hold a cake pop by the stick and lower it straight down into the coating until the ball is fully submerged. Lift it out in one smooth motion and let the excess drip back into the bowl for a few seconds, rotating the stick slowly. Add a pinch of the 2 tbsp white or pastel sprinkles while the coating is still wet, then stand the pop upright in a foam block or a tall glass filled with dry rice. The coating will set firm in about 5 minutes at room temperature, or 2 minutes if you stand them near a cool window.
Serve them upright on the foam block or arrange them on a tray, coating glossy and sprinkles bright, and they’re ready to go.
Recipe Tips
- Gel food coloring only – If you want pink or colored coating, use gel coloring, not liquid. Liquid food coloring has water in it, which can cause candy melts to seize.
- Work in small batches – Dip 5 pops at a time and keep the rest in the freezer. Warm cake balls are harder to dip cleanly.
- Fix a cracked coating – If the coating cracks after dipping, the cake balls were too frozen. Next time, pull them from the freezer and wait 2 minutes before dipping.
- Candy melt leftovers – Spread any leftover melted coating onto parchment, let it set, then break it into pieces and store it in a zip-lock bag to reuse for your next batch.
Bake time for your 9×13-inch pan (follow your box’s guidance and start checking at the low end):
| Pan Depth | Approximate Bake Time | Internal Cake Temp When Done |
|---|---|---|
| Standard 2-inch 9×13 | 28 to 33 minutes | 200°F to 205°F (93°C to 96°C) |
| Dark or non-stick pan | 25 to 30 minutes | 200°F to 205°F (93°C to 96°C) |
| Glass pan | 30 to 35 minutes | 200°F to 205°F (93°C to 96°C) |
How To Store
- Refrigerate – Store finished cake pops in an airtight container or a tall cup covered loosely with plastic wrap for up to 5 days. Lay them flat so the coating doesn’t crack.
- Reheating – These are served at room temperature, not warm. Pull them from the fridge 20 minutes before serving so the coating loses its chill and the center softens slightly.
- Serve Cold – They’re fine eaten straight from the fridge if you prefer a firmer center.
Frequently Asked Questions
Can I make these a day ahead?
Yes. Bake the cake and roll the balls up to 2 days in advance and keep them covered in the fridge. Dip them the day you plan to serve them for the cleanest coating.
Why does my coating look lumpy or thick?
The candy melts cooled too quickly or weren’t thinned enough. Reheat the bowl in 15-second bursts and stir in another half tablespoon of coconut oil until it runs smooth.
Do I need a foam block to stand them up?
Not necessarily. A tall glass filled with uncooked rice or dried lentils holds the sticks just as well and you probably have one on hand already.
Can I use canned frosting other than vanilla?
Yes, as long as it’s a smooth, creamy frosting without chunks or thick mix-ins. Cream cheese, lemon, or strawberry all work; stay away from anything with bits of fruit or nuts.
—
Starbucks Cake Pops Copycat Recipe
Ingredients
Method
- Bake the cake in a 9×13-inch pan according to the box directions, then let it cool completely on a wire rack, at least 1 hour.
- Crumble the cooled cake into a large bowl, add the 3 tbsp vanilla frosting, and mix until the mixture holds together when pressed between your fingers.
- Scoop into 20 balls of about 1.5 tbsp each, roll smooth, place on a parchment-lined baking sheet, and freeze for 15 minutes.
- Melt 2 tbsp of the candy melts, dip the tip of each lollipop stick into the melt, push it halfway into each cold cake ball, and freeze for another 10 minutes.
- Melt the remaining candy melts in 30-second microwave intervals, stir in the 1 tbsp coconut oil, and mix until smooth and pourable.
- Dip each pop fully into the coating, let the excess drip off, add a pinch of sprinkles, and stand upright in a foam block or rice-filled glass to set for 5 minutes.