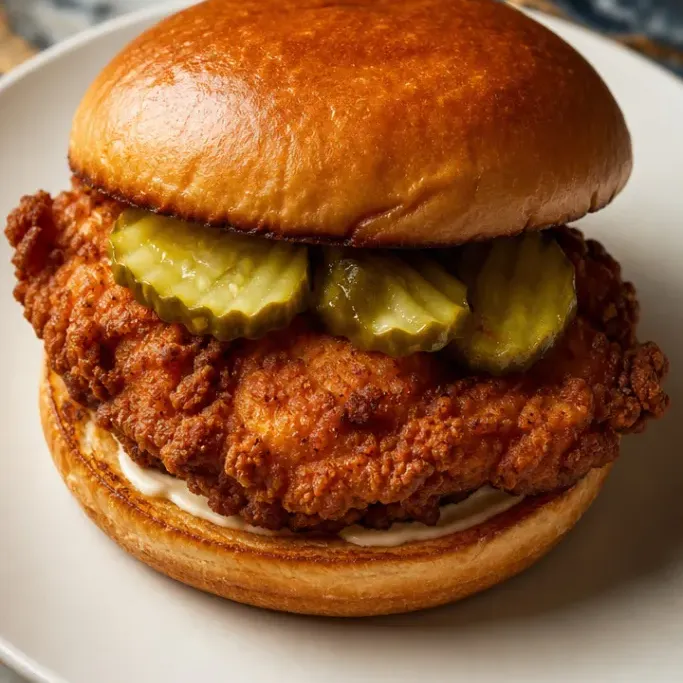
Chick-fil-A Chicken Sandwich Copycat Recipe
This chick-fil-a chicken sandwich recipe gives you that exact crispy, juicy chicken you know and love, made entirely in your own kitchen. It’s a weeknight-friendly recipe that comes together in about 45 minutes, and the results are genuinely better than driving through the line.
The real secret is in the pickle brine marinade and the seasoned coating. Get those two things right, and the rest takes care of itself.
Why I Love This Recipe
The brine does two things at once: it keeps the chicken moist through the fry, and it pushes that signature tangy flavor all the way through to the center, not just the surface.
The coating fries up with those craggy, uneven edges that stay crispy even after you add the bun. That’s the texture that makes this sandwich worth making.
This is the version I keep coming back to on a Friday night.
Recipe Ingredients
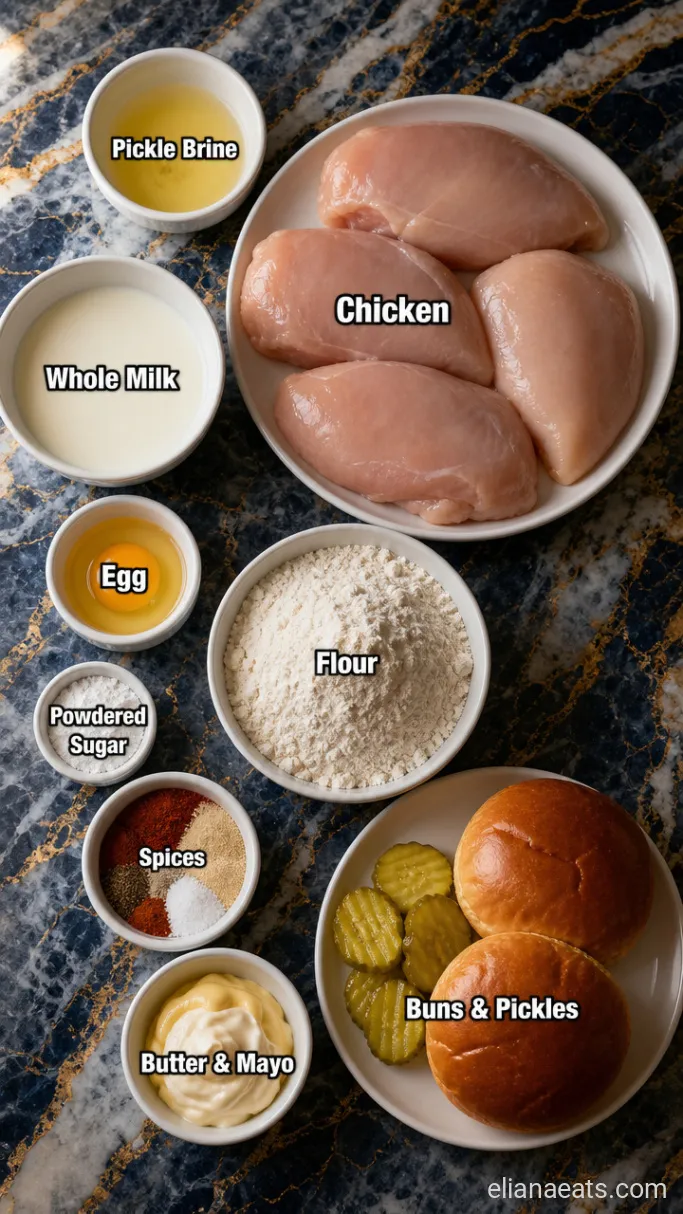
- 1.5 lbs boneless, skinless chicken breasts – Cut into 4 portions; thinner pieces cook more evenly, so pound if needed
- 1 cup dill pickle brine – Straight from the jar; this is the marinade and the flavor base
- 1 cup whole milk – Mixed with the egg for the wet dip
- 1 large egg – Helps the coating stick
- 1.5 cups all-purpose flour – The base of the dry coating
- 2 tbsp powdered sugar – Gives the crust a subtle sweetness and helps browning
- 1 tsp paprika – Adds warmth and a little color
- 1 tsp garlic powder – Savory depth in the crust
- 1 tsp onion powder – Rounds out the coating flavor
- 1 tsp fine salt – For the dry mix; the brine handles most of the seasoning
- 0.5 tsp black pepper – A small kick in the crust
- 0.5 tsp cayenne pepper – Mild heat; reduce to 0.25 tsp if you want it very mild
- Peanut oil, for frying – About 2 cups; peanut oil has a high smoke point and clean flavor. Vegetable oil works too
- 4 brioche buns – Soft, slightly sweet bun that matches the original
- Dill pickle chips – For serving; use your favorite brand
- Butter and mayonnaise – For spreading on the buns
Variations / Substitutions
- Chicken thighs instead of breasts – Thighs have more fat, so the meat stays even juicier and is harder to overcook.
- Buttermilk instead of milk and egg – Buttermilk makes the coating a little thicker and tangier; use 1 cup in place of the milk and egg together.
- Gluten-free flour blend – A 1-to-1 GF flour works well here; the crust is slightly more delicate but still gets crispy.
- Air fryer instead of deep fry – Spray the coated chicken generously with oil and cook at 400°F (200°C) for 18 to 20 minutes, flipping once; the crust won’t be as craggy but still has good snap.
- Spicy version – Double the cayenne to 1 tsp and add 1 tsp hot sauce to the milk and egg mixture to get closer to the Spicy Deluxe.
- Dairy-free – Swap the milk for unsweetened oat milk and use a dairy-free mayo; the texture is nearly identical.
If you want more ways to use this chicken, the Chick-fil-A Nuggets Copycat Recipe follows the same brine and coating method in a smaller format.
How To Make Chick-fil-A Chicken Sandwich
Step 1: Brine the Chicken
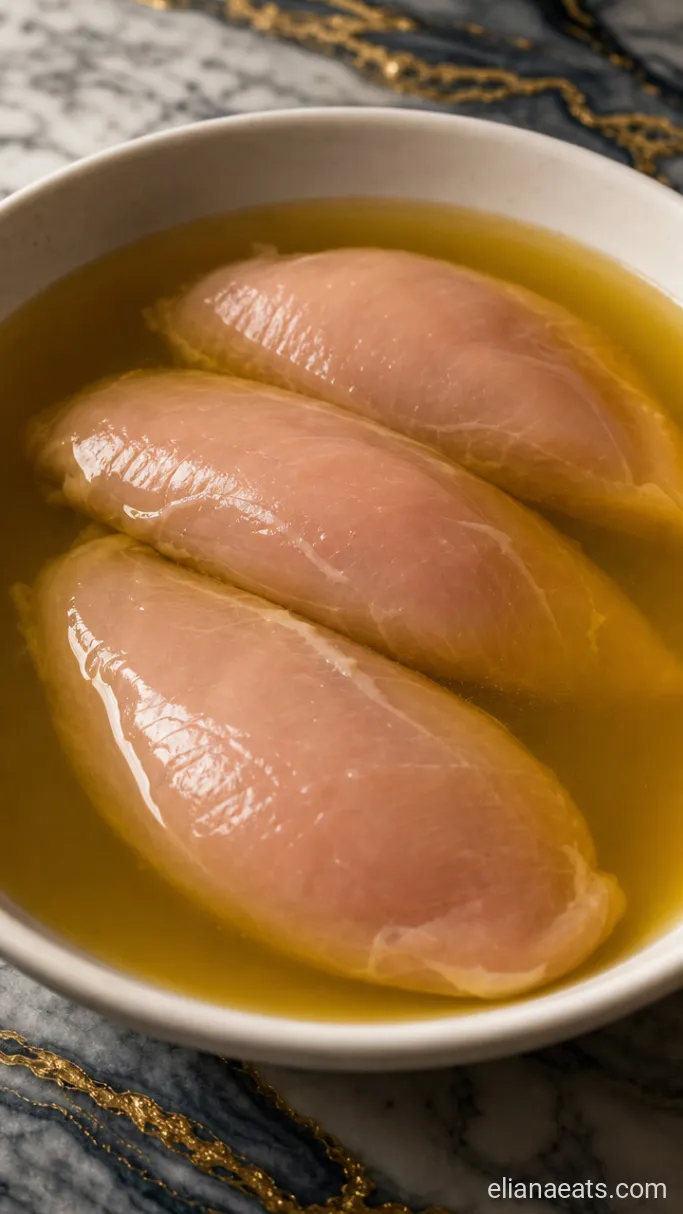
Place the 4 chicken portions in a zip-top bag or shallow bowl and pour over the 1 cup dill pickle brine. Seal or cover and refrigerate for at least 30 minutes, or up to 4 hours. Do not go longer than 4 hours; the acid in the brine will start to break down the texture of the meat.
When you pull the chicken out, it will look slightly opaque on the outside and smell pleasantly tangy. That’s exactly what you want. Pat each piece dry with paper towels before moving on, because any excess moisture will interfere with the coating sticking.
Step 2: Mix the Coating and Wet Dip
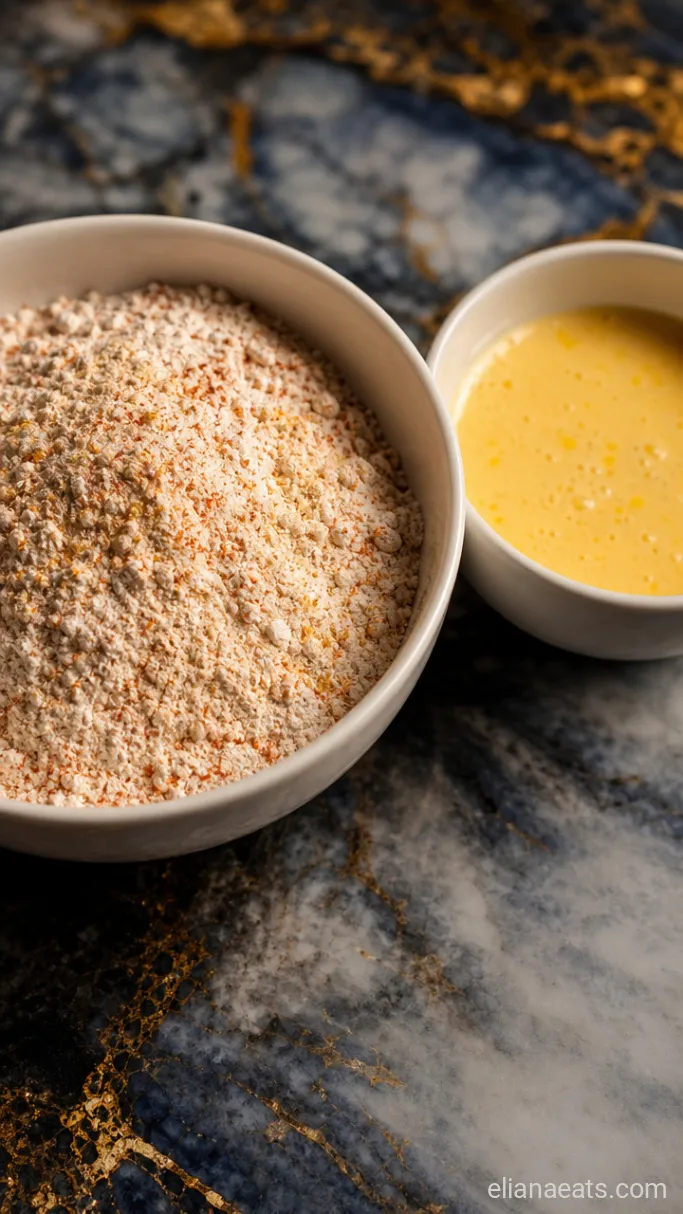
In a wide, shallow bowl, whisk together the 1.5 cups all-purpose flour, 2 tbsp powdered sugar, 1 tsp paprika, 1 tsp garlic powder, 1 tsp onion powder, 1 tsp fine salt, 0.5 tsp black pepper, and 0.5 tsp cayenne pepper. In a second bowl, whisk the 1 cup whole milk and 1 large egg until fully combined and smooth.
The flour mix should look evenly colored with no white streaks of plain flour. If you can see clumps of one spice, give it another stir. Even seasoning in the dry mix is what gives you that consistent, golden crust.
Step 3: Dredge the Chicken
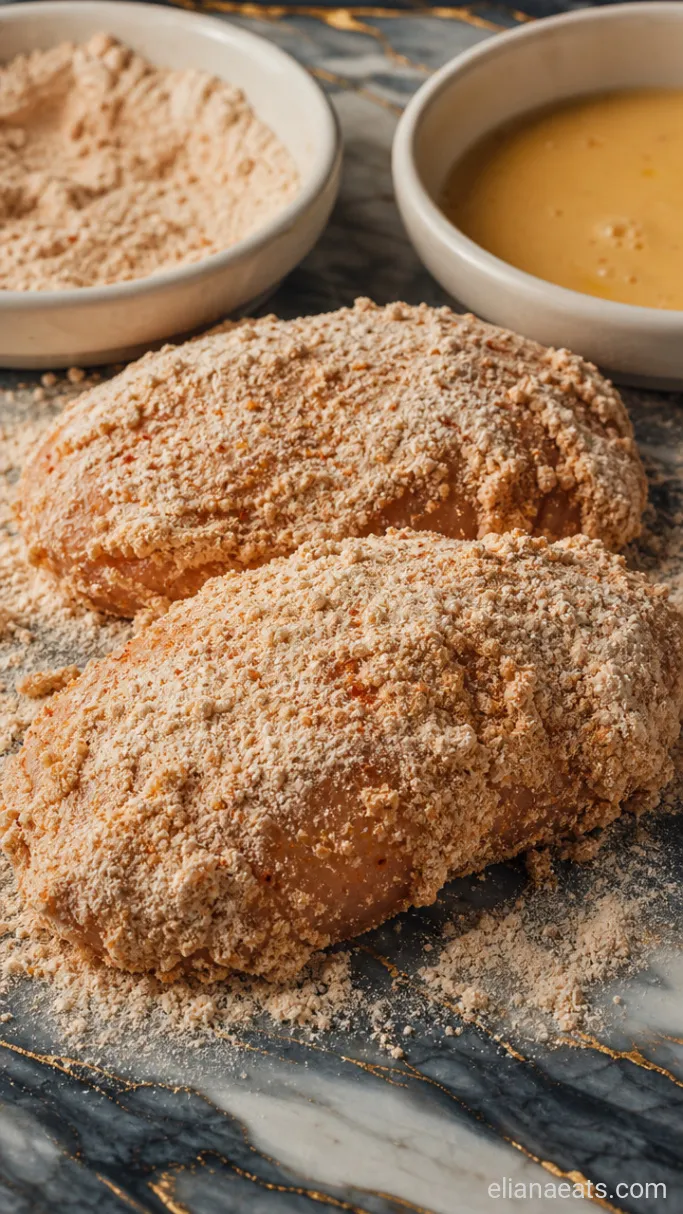
Working one piece at a time, press each chicken piece firmly into the flour mix, coating both sides. Then dip it fully into the milk and egg mixture, letting the excess drip off. Press it back into the flour mix a second time, pushing down with your palm so the coating grabs onto the surface. Set the coated pieces on a rack or plate while you finish the rest.
That double dredge is what creates the craggy, uneven exterior. If your coating looks smooth and flat, press harder on the second flour dip. You want visible texture on the surface before it ever hits the oil.
Step 4: Fry the Chicken
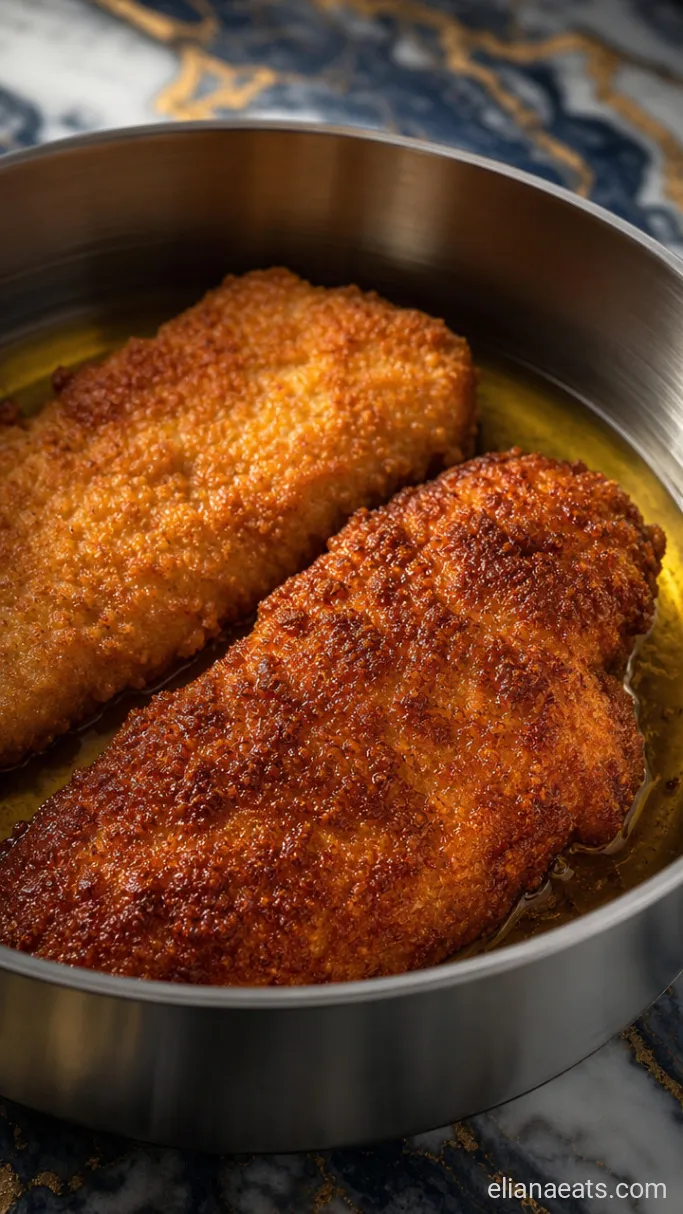
Pour about 2 cups peanut oil into a heavy-bottomed pan or Dutch oven so it reaches a depth of about 1.5 inches. Heat over medium-high until the oil reaches 350°F (175°C). Use a thermometer; guessing the oil temperature is the number one reason homemade fried chicken turns out greasy or pale. Fry 2 pieces at a time for 4 to 5 minutes per side, until the crust is deep golden brown and the internal temperature of the chicken reads 165°F (74°C).
The oil will bubble actively when the chicken goes in. If it sputters and smokes, the heat is too high; lower it to medium. If the bubbling is slow and lazy, the oil is too cool and the crust will absorb fat rather than crisping up. Transfer finished pieces to a wire rack, not paper towels, so the bottom stays crispy.
Step 5: Toast and Assemble the Sandwiches
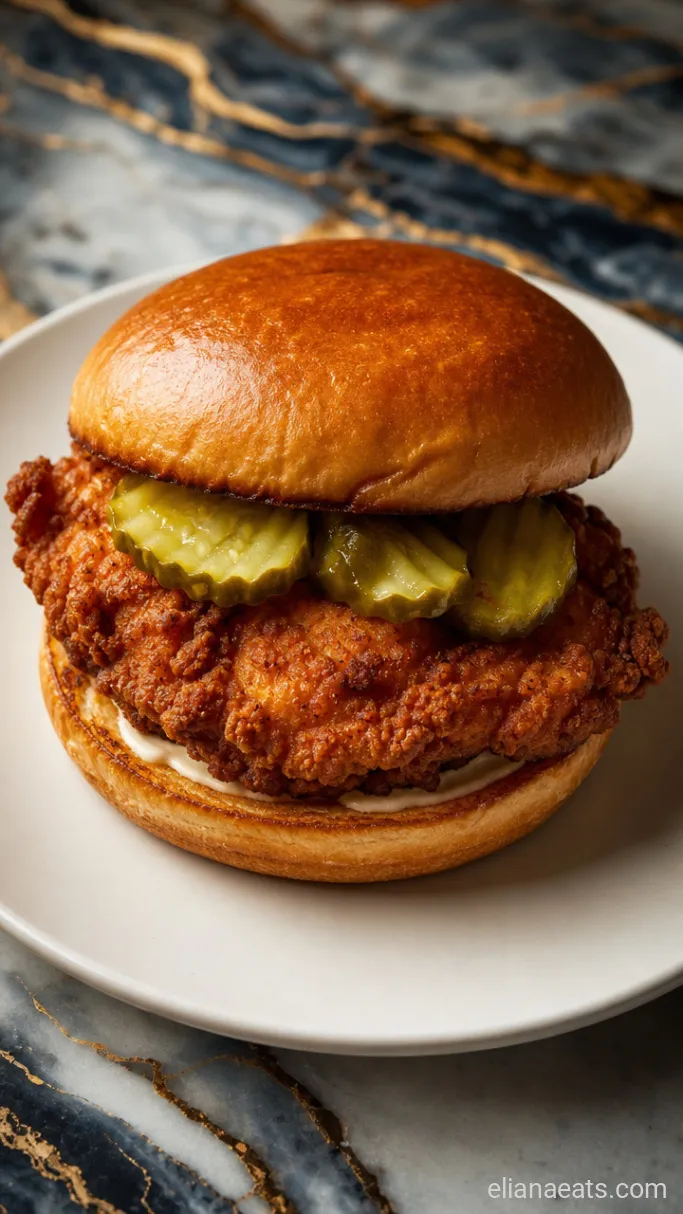
Spread a thin layer of butter on the cut sides of the 4 brioche buns and toast them in a dry skillet over medium heat for about 1 to 2 minutes, until the cut face is lightly golden. Spread mayonnaise on the top bun. Place a piece of fried chicken on the bottom bun, layer on your dill pickle chips, and press the top bun on.
Serve the sandwiches right away while the crust is still at its crispiest. The stack of golden chicken, glossy pickles, and soft toasted bun is exactly what you want it to look like.
Recipe Tips
- Pound uneven chicken pieces to an even thickness of about 0.75 inch. This matters more than size. A thin end that finishes in 2 minutes while the thick end needs 5 will leave you with dry spots.
- Let the coated chicken rest on a rack for 5 minutes before frying. The flour absorbs the moisture from the egg wash and the coating sets, which means it sticks better once it hits the hot oil.
- Fry in batches and resist crowding the pan. Adding too many pieces at once drops the oil temperature sharply, and you get a soft, oily crust instead of a crispy one.
- Use a wire rack instead of paper towels for draining. Paper towels trap steam underneath the chicken, which softens the bottom of the crust within minutes.
Fry times by chicken thickness:
| Thickness | Time Per Side | Internal Temp |
|---|---|---|
| 0.5 inch | 3 to 4 mins | 165°F (74°C) |
| 0.75 inch | 4 to 5 mins | 165°F (74°C) |
| 1 inch | 5 to 6 mins | 165°F (74°C) |
How To Store
- Refrigerate – Store leftover fried chicken (without the bun) in an airtight container for up to 3 days.
- Reheating – Reheat on a wire rack in a 375°F (190°C) oven for 10 to 12 minutes. This brings the crust back to crispy without drying out the meat. The microwave will make it soft and rubbery.
What To Serve With Chick-fil-A Chicken Sandwich
Waffle fries are the obvious pairing, and there’s a reason for it: the light crunch and neutral potato flavor don’t compete with the seasoned crust on the chicken. A simple creamy coleslaw works well on the side too, because the cool acidity cuts through the richness of the fried coating. If you want something lighter, a crisp pickle-forward cucumber salad echoes the brined flavor already in the sandwich and keeps the whole meal feeling fresh rather than heavy.
Frequently Asked Questions
Can I marinate the chicken overnight?
No, 4 hours is the limit. Beyond that, the pickle brine’s acidity starts breaking down the muscle fibers, and the cooked chicken turns slightly mushy rather than firm and juicy.
Can I use chicken tenders instead of breasts?
Yes. Tenders work well and are already the right thickness, so you can skip the pounding step. Reduce the fry time to about 3 to 4 minutes per side.
What if I don’t have a thermometer for the oil?
Drop a small pinch of flour into the oil. If it sizzles steadily and floats to the surface within a second or two, the oil is close to 350°F (175°C). If it sinks or does nothing, the oil needs more time.
Can I make the coated chicken ahead of time?
Yes, up to 1 hour ahead. Set the dredged pieces on a rack in the fridge uncovered. The coating dries out slightly, which actually helps it stay put when it hits the oil.
—
Ingredients
Method
- Place the chicken portions in a bag or bowl, pour over the 1 cup dill pickle brine, and refrigerate for 30 minutes to 4 hours. Pat dry before proceeding.
- Whisk the 1.5 cups flour, 2 tbsp powdered sugar, 1 tsp paprika, 1 tsp garlic powder, 1 tsp onion powder, 1 tsp salt, 0.5 tsp black pepper, and 0.5 tsp cayenne in a wide bowl. In a second bowl, whisk together the 1 cup milk and 1 egg.
- Dredge each piece in the flour mix, dip in the milk and egg mixture, then press firmly back into the flour mix a second time. Rest on a rack for 5 minutes.
- Heat the 2 cups peanut oil in a heavy pan to 350°F (175°C). Fry 2 pieces at a time for 4 to 5 minutes per side until deep golden brown and 165°F (74°C) internally. Drain on a wire rack.
- Butter and toast the 4 brioche buns cut-side down in a dry skillet over medium heat for 1 to 2 minutes. Spread mayonnaise on the top buns, add the fried chicken, top with dill pickle chips, and serve immediately.