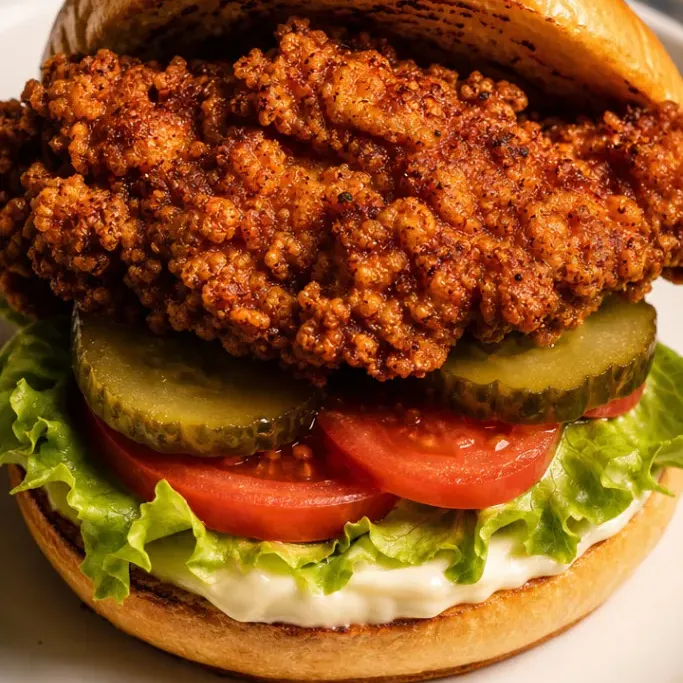
Chick-fil-A Spicy Deluxe Chicken Sandwich (Easy Copycat Recipe)
This Chick-fil-A spicy chicken recipe gives you that crunchy, pickle-brined fried chicken sandwich at home, with the same heat and the same satisfying snap through the coating. If you want it on a weeknight without a drive-through line, this is how you do it.
The whole thing comes together in about 40 minutes, and most of that is hands-off marinating time. The coating, the heat, the soft buttered bun — it all lands right.
Why I Love This Recipe
The buttermilk brine is the thing that actually matters here. It tenderizes the chicken and gets the seasoning into the meat, so the flavor isn’t just sitting on the outside.
The coating fries up crisp and stays that way for a good few minutes after hitting the bun. That crisp edge against the soft potato roll is what makes it feel right.
This is the version I keep coming back to because it’s genuinely spicy without being a challenge to eat.
Recipe Ingredients
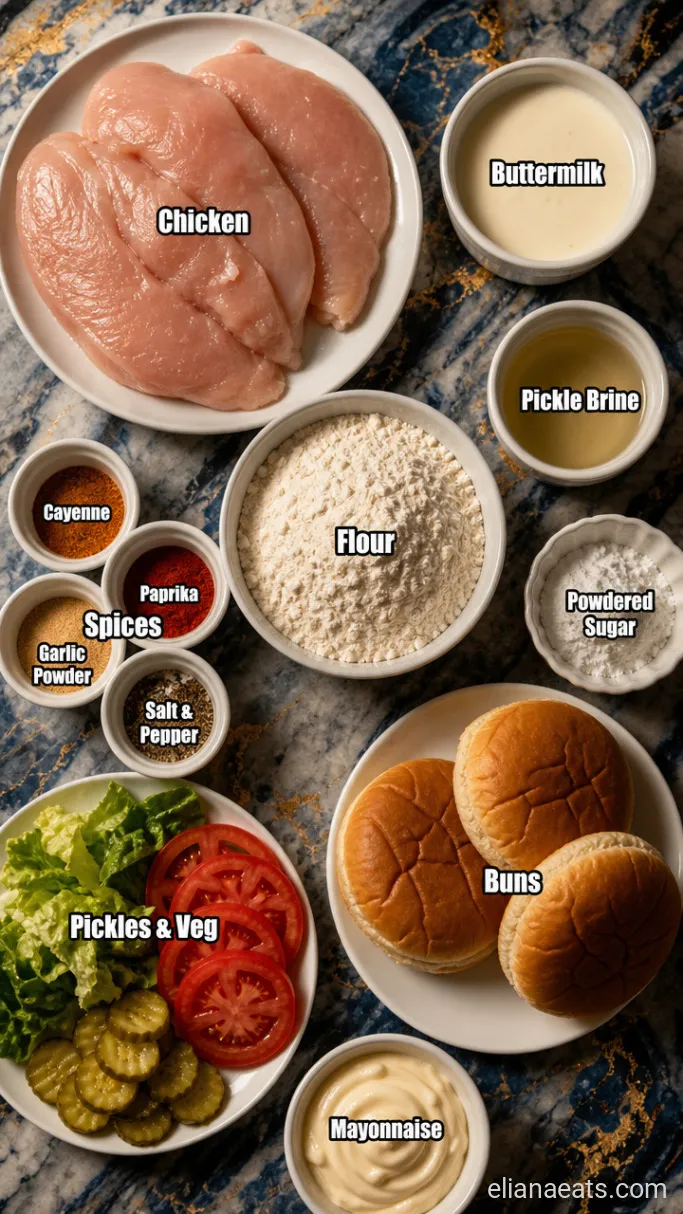
- 1 lb boneless, skinless chicken breasts – Cut into 4 portions; thinner cutlets fry more evenly
- 1 cup buttermilk – The acid tenderizes the meat; whole-milk buttermilk works best
- 1/4 cup dill pickle brine – From any jar of dill pickles; this is key to that signature tang
- 1 tsp hot sauce – Frank’s RedHot or Crystal both work well here
- 1 cup all-purpose flour – Forms the base of the crispy coating
- 1/4 cup powdered sugar – Sounds odd, helps the coating brown and adds that subtle sweetness
- 1 tsp cayenne pepper – Main source of heat; adjust up if you want more fire
- 1 tsp garlic powder – Background savoriness in the crust
- 1 tsp paprika – Adds color and a mild smoky note
- 1 tsp salt – Seasons the coating
- 1/2 tsp black pepper – Sharpness in the crust
- 1/2 tsp onion powder – Rounds out the seasoning
- 3 cups peanut oil – For frying; neutral with a high smoke point; canola works too
- 4 potato hamburger buns – Soft and slightly sweet; brioche buns are a fine swap
- 2 tbsp unsalted butter – For toasting the buns
- 8 dill pickle slices – 2 per sandwich, non-negotiable
- 4 leaves green leaf lettuce – Crisp and neutral against the spice
- 4 slices tomato – Fresh; adds some coolness to the heat
- 4 tbsp Pepper Jack cheese slices – For the Deluxe version; skip for the plain spicy sandwich
- 4 tbsp mayonnaise – Spread on the bun; add a dash of hot sauce to it if you like
Variations / Substitutions
- Chicken thighs – Boneless, skinless thighs stay juicier than breasts and are more forgiving if you fry a minute too long.
- Gluten-free flour blend – A 1-to-1 gluten-free flour swap works here; the coating is slightly less airy but still crisp.
- Buttermilk substitute – Mix 1 cup whole milk with 1 tbsp white vinegar, let it sit 5 minutes; it works nearly as well.
- Lower heat level – Drop the cayenne to 1/2 tsp and use a mild hot sauce for a sandwich that is warm rather than hot.
- Dairy-free – Use oat milk with a splash of apple cider vinegar in place of buttermilk, and skip the butter on the bun.
- Cheese swap – American cheese melts better if you want a milder dairy note on top.
If you like the flavors here, the Chick-fil-A Chicken Nuggets Copycat Recipe follows the same brine and coating method and is great for a crowd.
How To Make Chick-fil-A Spicy Chicken Sandwich
Step 1: Brine the Chicken in Buttermilk

Place the 4 chicken breast portions in a zip-top bag or shallow bowl. Pour in the 1 cup buttermilk, 1/4 cup pickle brine, and 1 tsp hot sauce. Press out any air, seal it, and refrigerate for at least 30 minutes. An hour is better if you have the time.
When you pull the chicken out, it will look slightly pale and the surface will feel a bit tacky. That’s what you want. The brine has done its job and the coating will grip properly.
Step 2: Mix the Seasoned Coating
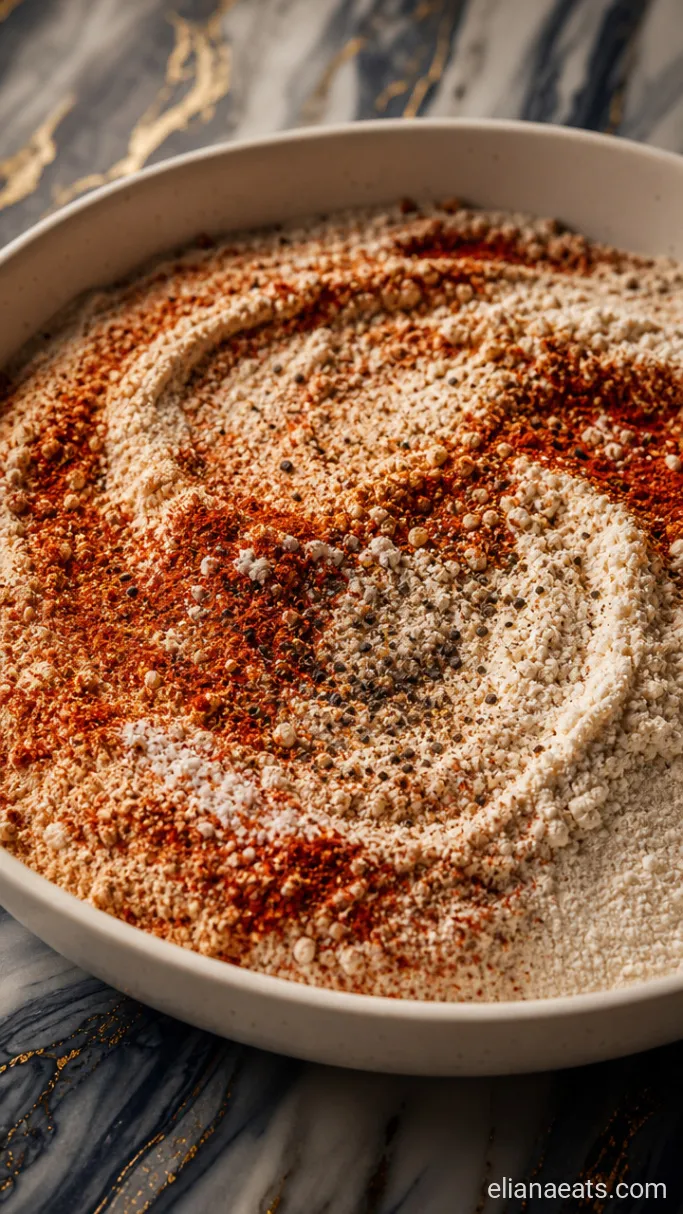
In a wide, shallow bowl, whisk together the 1 cup flour, 1/4 cup powdered sugar, 1 tsp cayenne, 1 tsp garlic powder, 1 tsp paprika, 1 tsp salt, 1/2 tsp black pepper, and 1/2 tsp onion powder until evenly combined.
Set the bowl right next to your marinated chicken so you can go straight from brine to coating without dripping everywhere. The dry mix should look a warm orange-red from the cayenne and paprika.
Step 3: Coat the Chicken Pieces
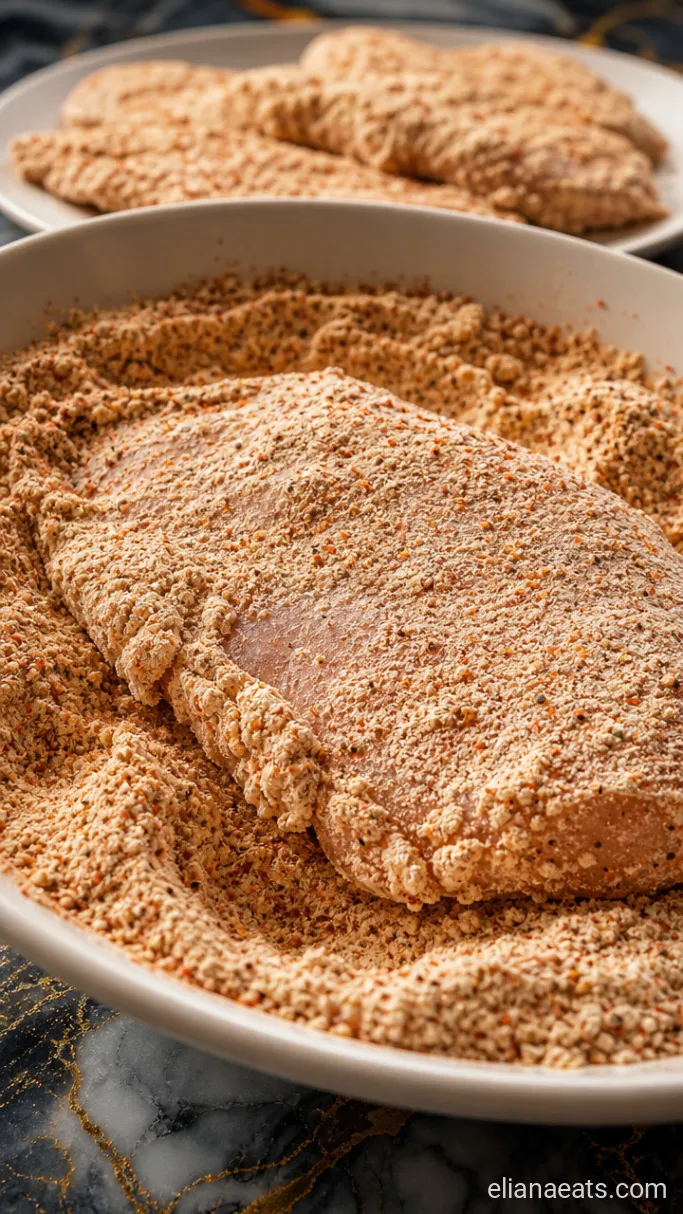
Lift each piece of chicken straight from the buttermilk marinade, letting the excess drip off for a couple of seconds but not shaking it off completely. Press it firmly into the seasoned flour mixture, turning and pressing so every part is coated. You want an even, slightly thick layer with no wet spots showing through.
Let the coated pieces rest on a wire rack for 5 minutes before frying. This short rest helps the coating adhere so it doesn’t slide off in the oil.
Step 4: Fry the Chicken
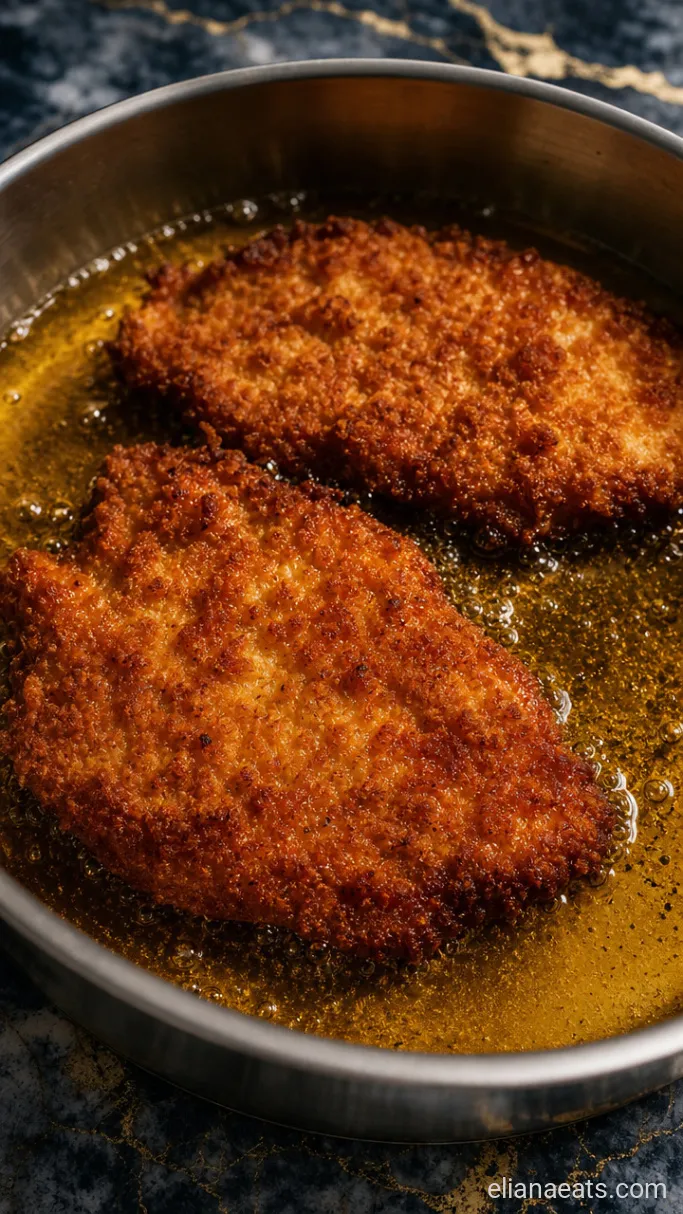
Pour the 3 cups peanut oil into a heavy-bottomed skillet or Dutch oven and heat it over medium-high until it reaches 350°F (175°C). Use a thermometer if you have one; the temperature really does matter here.
Lower 2 pieces of chicken gently into the oil and fry for 4 to 5 minutes per side, until the crust is deep golden brown and the internal temperature reads 165°F (74°C). Keep the remaining pieces on the rack while the first batch fries, and let the oil come back to 350°F (175°C) before starting the second batch. A piece that goes in at the right temp fries fast and crisp; one that goes in too cool gets greasy.
Step 5: Toast the Buns
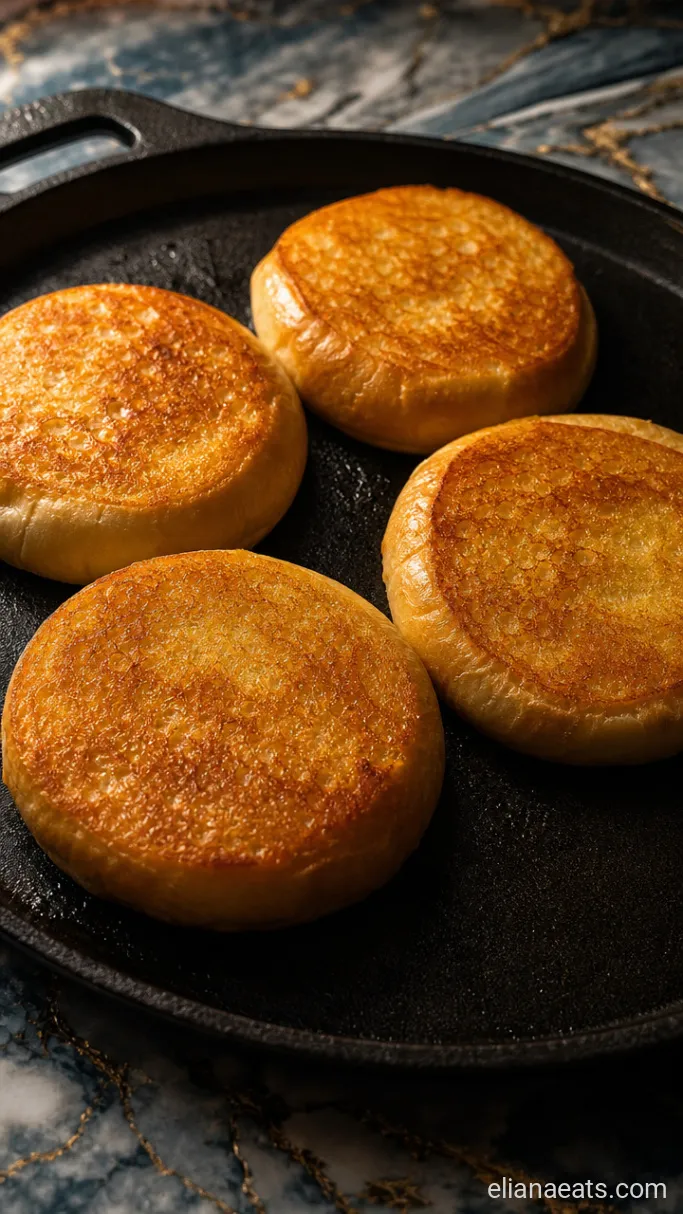
While the last batch of chicken rests on the wire rack, melt the 2 tbsp unsalted butter in a clean skillet over medium heat. Place the 4 potato hamburger buns cut-side down and toast for about 2 minutes until golden and lightly crisped.
Pull them from the pan as soon as they color. A soggy bun ruins everything you just did with that coating.
Step 6: Build and Plate the Sandwiches
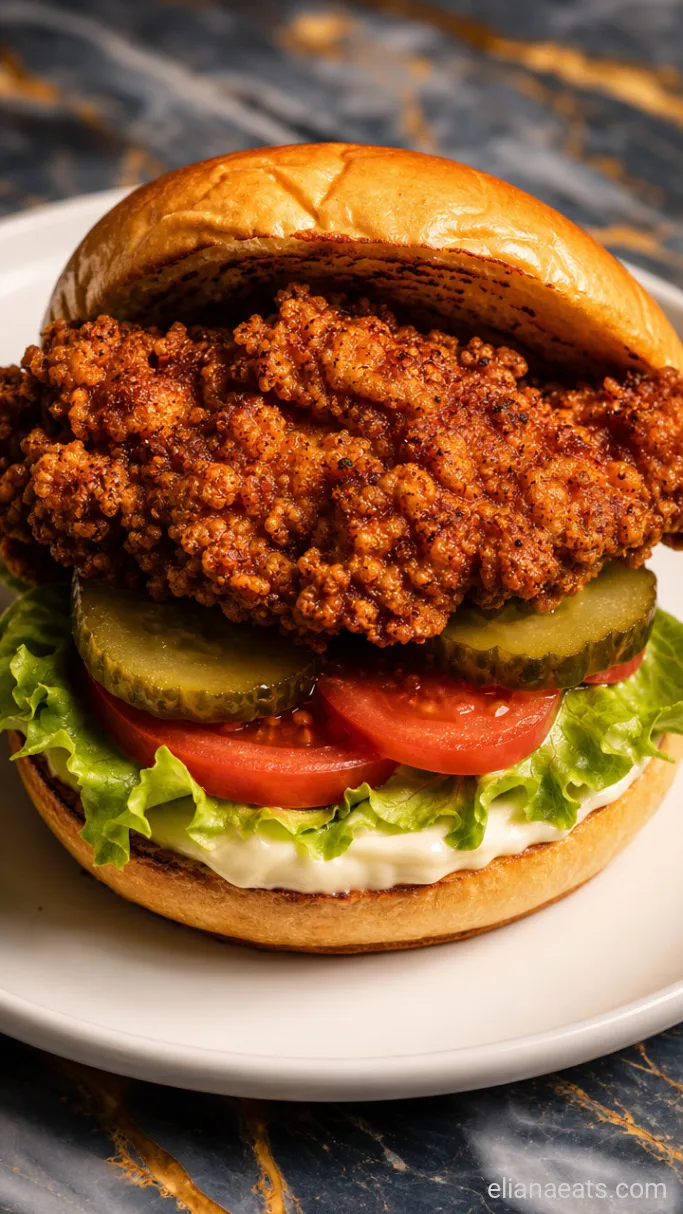
Spread 1 tbsp mayonnaise on the top bun of each sandwich. Layer the bottom bun with 1 slice of Pepper Jack cheese, 1 fried chicken piece, 2 dill pickle slices, 1 leaf of green leaf lettuce, and 1 slice of tomato. Set the top bun in place and serve immediately, cut in half so the cross-section shows the golden crust and the layered interior.
Recipe Tips
- Pound thick breasts thin. If your chicken breast is very thick in the center, cover it with plastic wrap and pound it to an even 3/4-inch thickness before marinating. Even thickness means even cooking.
- Don’t crowd the pan. Frying more than 2 pieces at a time drops the oil temperature fast, and you get steamed chicken instead of fried. Two at a time, every time.
- A wire rack over a sheet pan is your friend. Rest the coated chicken and the fried chicken both on a wire rack, never a paper plate or flat surface. Air circulation keeps the crust crisp underneath.
- The powdered sugar is not a mistake. If you’re tempted to skip it, don’t. It is what gives the crust that faintly sweet, fast-browning quality that the original has.
Cook times by chicken thickness:
| Thickness | Per Side | Done Temp |
|---|---|---|
| 1/2 inch | 3 to 4 min | 165°F (74°C) |
| 3/4 inch | 4 to 5 min | 165°F (74°C) |
| 1 inch | 5 to 6 min | 165°F (74°C) |
How To Store
- Refrigerate – Store leftover fried chicken pieces (without buns or toppings) in an airtight container for up to 3 days.
- Reheating – Reheat in an air fryer at 375°F (190°C) for 4 to 5 minutes, or on a wire rack in a 375°F (190°C) oven for about 10 minutes. A microwave will soften the crust completely, so avoid it.
What To Serve With Chick-fil-A Spicy Chicken Sandwich
Waffle fries are the obvious call, and they work because the starchy, slightly salty potato balances the heat from the cayenne without competing with the sandwich’s flavors. A simple creamy coleslaw does the same job and adds a cool crunch that makes the spice feel more manageable bite by bite. If you want something lighter, a small pickle-forward cucumber salad echoes the brine notes already in the chicken and keeps the plate from feeling heavy.
Frequently Asked Questions
Can I make the chicken ahead of time?
Yes. Marinate the chicken up to 24 hours in the fridge, but coat and fry it right before serving. The coating does not hold well once applied to raw chicken.
Can I use an air fryer instead of a skillet?
You can. Spray the coated chicken generously with oil and air fry at 400°F (200°C) for 10 to 12 minutes, flipping once halfway. The crust won’t be quite as craggy, but it still crisps up well.
Is peanut oil required?
No. Any neutral oil with a high smoke point works fine, including canola, vegetable, or refined avocado oil. Avoid olive oil, which smokes at frying temperatures.
Can I freeze the fried chicken?
Yes. Freeze fully cooled fried chicken pieces on a sheet pan first, then transfer to a bag. Reheat from frozen at 400°F (200°C) in an air fryer or oven for 12 to 15 minutes.
—
Ingredients
Method
- Combine the buttermilk, pickle brine, and hot sauce in a bag or bowl. Add the chicken, seal, and refrigerate for at least 30 minutes.
- Whisk together the flour, powdered sugar, cayenne, garlic powder, paprika, salt, black pepper, and onion powder in a wide shallow bowl.
- Lift each chicken piece from the brine, let excess drip off briefly, then press firmly into the seasoned flour on all sides. Rest coated pieces on a wire rack for 5 minutes.
- Heat the peanut oil in a heavy skillet to 350°F (175°C). Fry 2 pieces at a time for 4 to 5 minutes per side until deep golden and cooked to 165°F (74°C) internal temp. Return oil to temperature between batches.
- Melt the butter in a clean skillet over medium heat. Toast the buns cut-side down for about 2 minutes until golden.
- Spread 1 tbsp mayonnaise on each top bun. Layer each bottom bun with Pepper Jack, fried chicken, 2 pickle slices, lettuce, and tomato. Cap with the top bun, cut in half, and serve immediately.