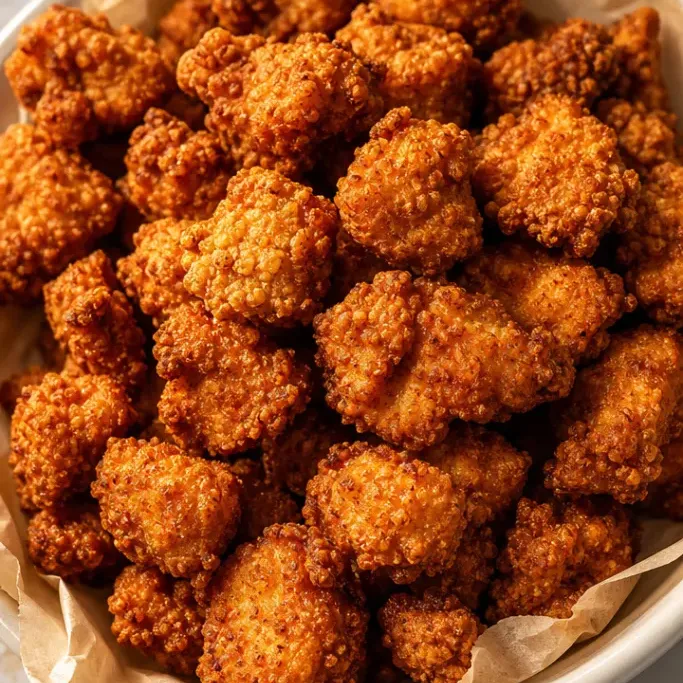
KFC Popcorn Chicken Copycat Recipe
KFC popcorn chicken is those little nuggets of juicy, crispy-coated chicken that are almost impossible to stop eating. This copycat version gets you that same crunchy, well-seasoned bite at home, and it comes together in about 35 minutes.
The coating uses a mix of flour and cornstarch to get that light crunch, and the seasoning blend is close enough to the real thing that it will scratch the itch every time.
Why I Love This Recipe
The ratio of crust to chicken is what makes these so good. Every piece is small enough that you get a crunchy edge in every single bite, not just around the outside.
It holds up well even after a few minutes of sitting, which is more than I can say for most fried chicken. The cornstarch in the coating keeps the crust from going soft the moment it hits the table.
This is the version I keep coming back to on nights when I want something genuinely satisfying without a lot of fuss.
Recipe Ingredients
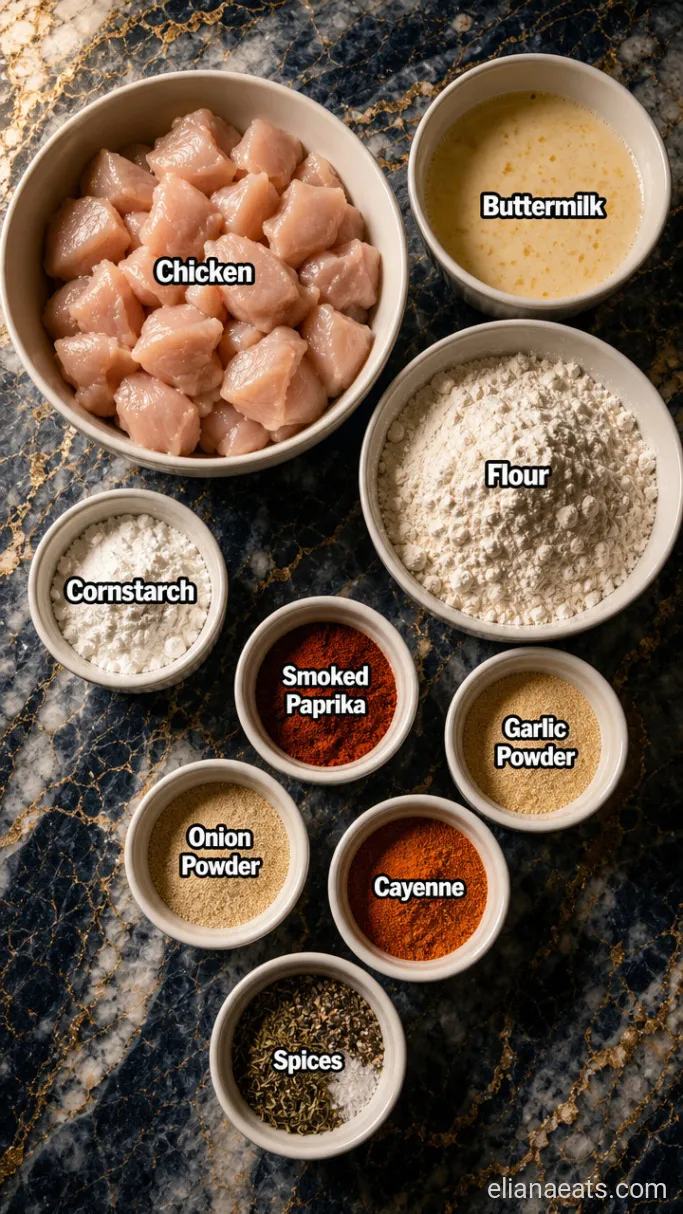
- 700g (1.5 lbs) boneless, skinless chicken breast – Cut into bite-sized pieces, about 2cm (3/4 inch); thigh meat also works and stays juicier
- 120ml (1/2 cup) buttermilk – The acid tenderises the chicken and helps the coating stick; see Variations for a swap
- 1 large egg – Beaten into the buttermilk to bind the coating
- 130g (1 cup) plain flour – The base of the coating
- 30g (1/4 cup) cornstarch – Mixed with the flour to keep the crust light and crisp
- 1 tsp salt – For the coating
- 1 tsp garlic powder – Adds depth to the seasoning blend
- 1 tsp onion powder – Rounds out the savoury notes
- 1 tsp smoked paprika – Gives a subtle warmth and that familiar reddish colour
- 1/2 tsp black pepper – Freshly ground if you have it
- 1/2 tsp celery salt – A key part of the KFC flavour profile; regular salt works in a pinch but the flavour shifts
- 1/2 tsp dried thyme – Adds a mild herby note
- 1/2 tsp dried basil – Works with the thyme for that signature seasoned taste
- 1/4 tsp cayenne pepper – Mild heat; increase to 1/2 tsp if you want more kick
- 1/2 tsp MSG (optional) – Adds that restaurant-style savouriness; skip it if you prefer
- Neutral oil for frying – Vegetable, canola, or sunflower; you need enough to fill your pan about 5cm (2 inches) deep
Variations / Substitutions
- No buttermilk – Mix 120ml (1/2 cup) whole milk with 1 tsp white vinegar, let it sit for 5 minutes, and use it the same way.
- Chicken thighs – Boneless, skinless thighs stay juicier than breast meat and are more forgiving if your oil temperature dips slightly.
- Air fryer option – Spray the coated pieces generously with oil and air fry at 200°C (400°F) for 10 to 12 minutes, shaking the basket halfway; the crust will be slightly less crunchy but still good.
- Extra heat – Double the cayenne to 1/2 tsp and add 1/4 tsp white pepper for a spicier version closer to KFC’s hot variety.
- Gluten-free – Swap the plain flour for a 1:1 gluten-free flour blend; the texture is slightly more crumbly but still holds together.
- No MSG – Simply leave it out; the coating still tastes well-seasoned without it.
If you enjoy fried chicken recipes like this one, you might also like a Copycat KFC Coleslaw Recipe to serve alongside.
How To Make Popcorn Chicken
Step 1: Coat the Chicken in Buttermilk
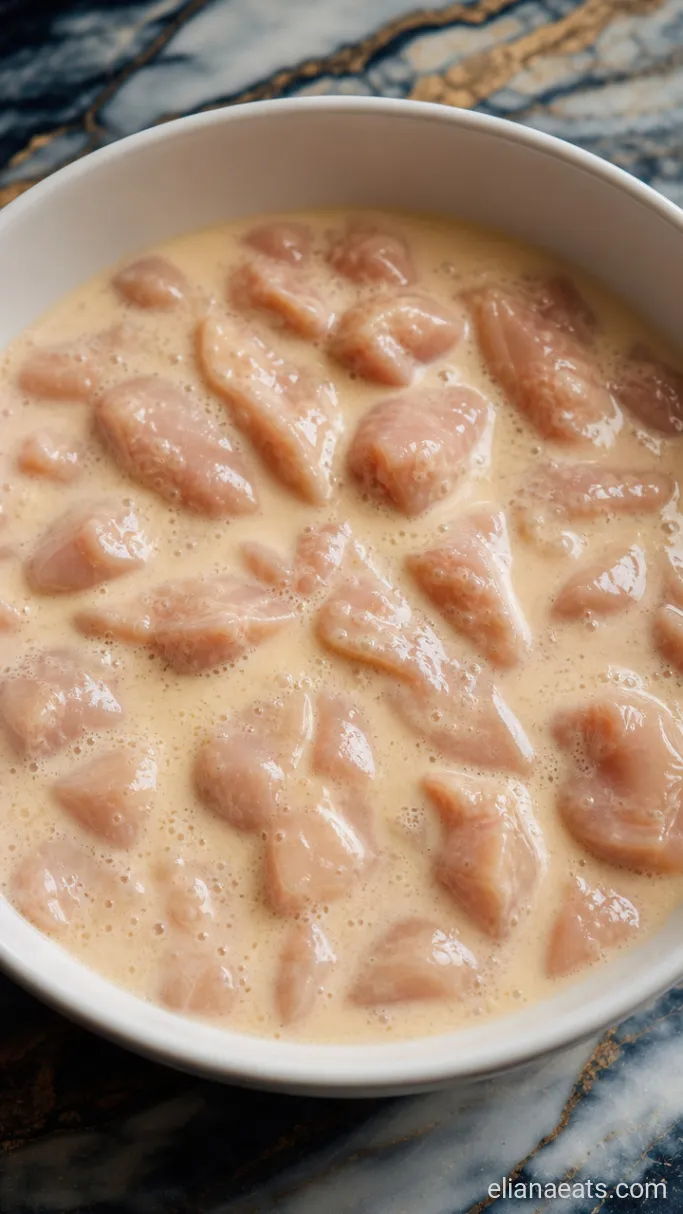
Put the 700g chicken pieces into a bowl. Pour in the 120ml buttermilk and the 1 beaten egg, then season with 1/2 tsp of the salt. Toss everything together until each piece is well coated, then set the bowl aside for at least 15 minutes at room temperature while you get the coating ready.
The buttermilk soak is short, but it does make a difference. The chicken will feel slightly tacky when you pull a piece out, which is exactly what you want because the flour mixture clings to it much better.
Don’t skip the soak and go straight to coating. Even 15 minutes gives the acid time to start working, and you will notice the finished chicken is more tender than if you rushed past this step.
Step 2: Mix the Seasoned Coating
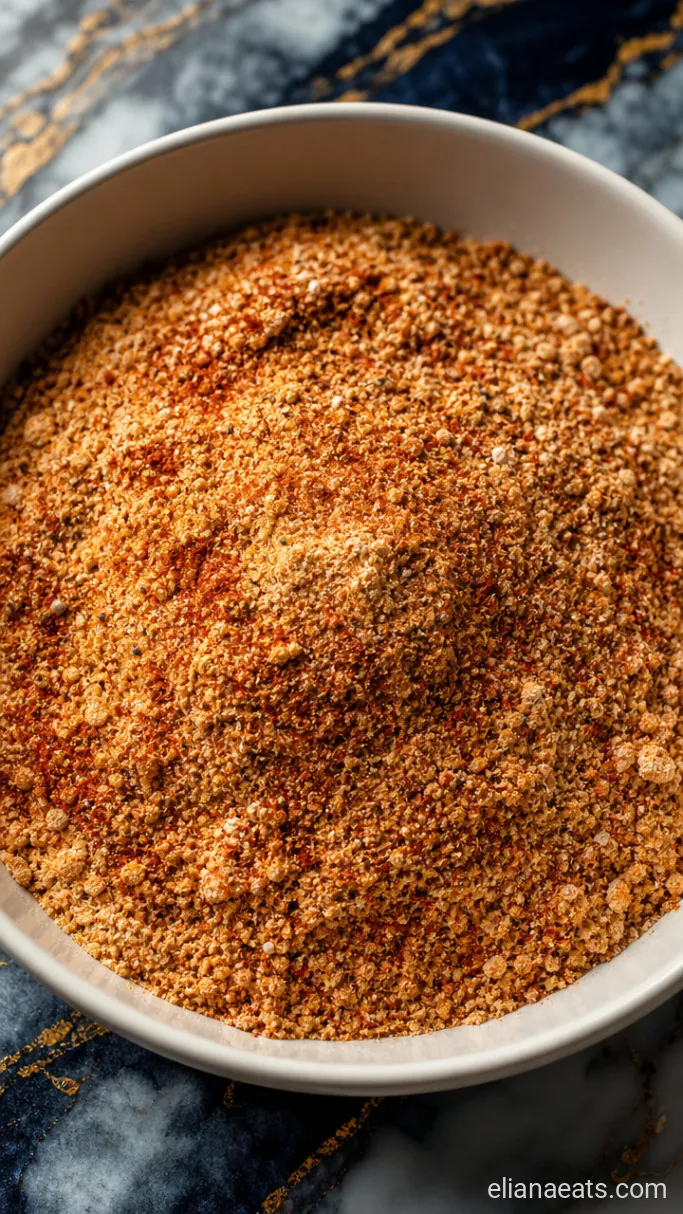
In a wide, shallow bowl, whisk together the 130g plain flour, 30g cornstarch, remaining 1/2 tsp salt, 1 tsp garlic powder, 1 tsp onion powder, 1 tsp smoked paprika, 1/2 tsp black pepper, 1/2 tsp celery salt, 1/2 tsp dried thyme, 1/2 tsp dried basil, 1/4 tsp cayenne pepper, and the 1/2 tsp MSG if you’re using it. Whisk for about 30 seconds until the spices are evenly distributed through the flour.
The mixture should look uniformly orange-tan with no pale white streaks. If you can still see dry white flour pockets, give it another 10 seconds of whisking.
Step 3: Dredge the Chicken Pieces
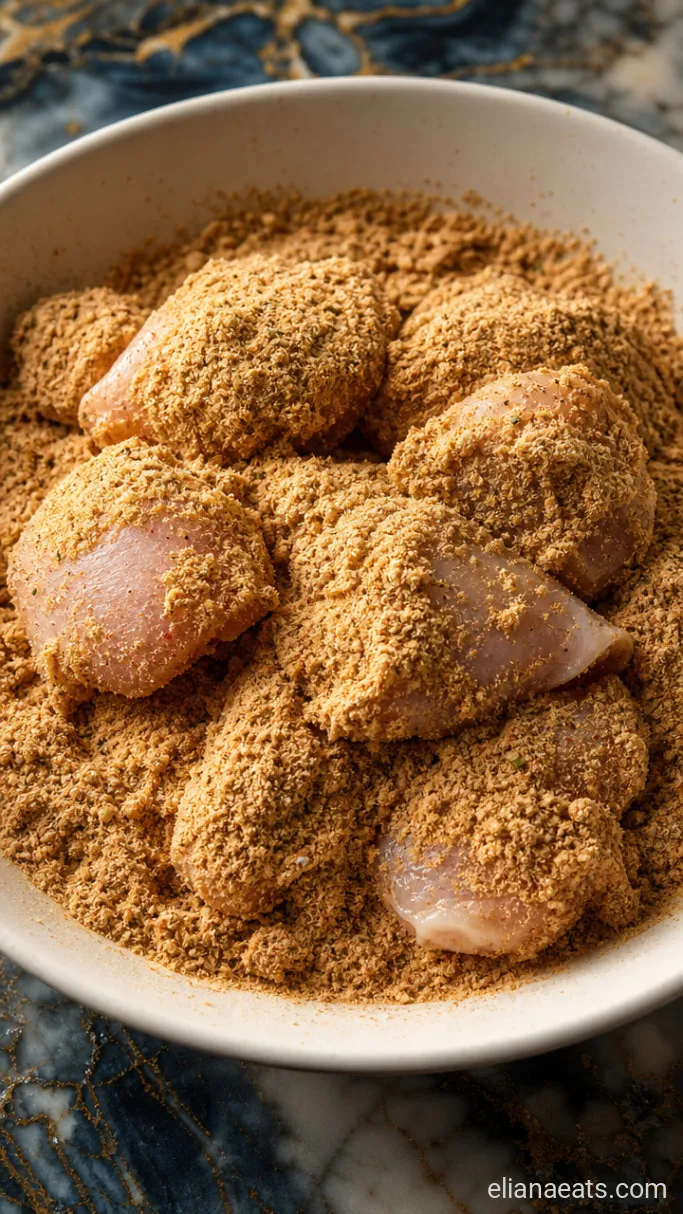
Working in batches of 8 to 10 pieces at a time, lift the chicken from the buttermilk and let the excess drip off for a second. Drop the pieces into the seasoned flour and press the coating onto each piece firmly, turning it over and pressing again. You want a shaggy, slightly clumpy coating, not a thin film.
Set the coated pieces on a wire rack or a plate while you finish the rest of the batch. Letting them sit for 5 minutes before frying helps the coating adhere and gives you a crispier result.
Step 4: Fry the Chicken
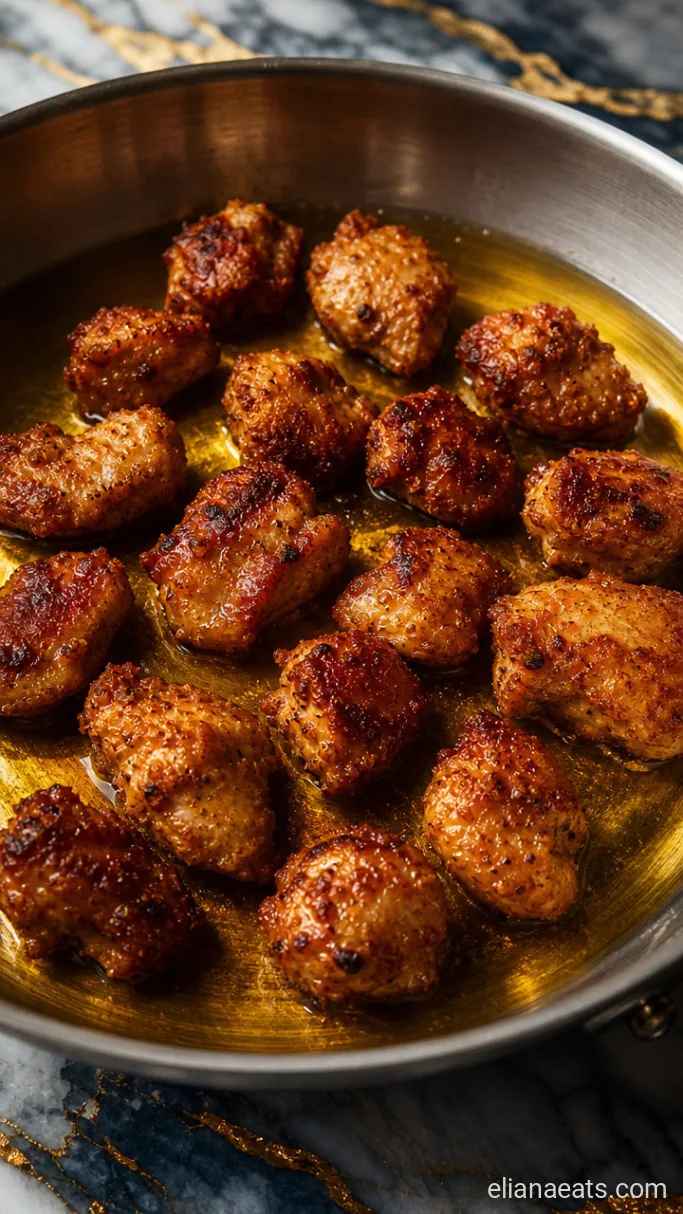
Pour enough neutral oil into a deep saucepan or Dutch oven to come about 5cm (2 inches) up the side. Heat the oil over medium-high heat until it reaches 175°C (350°F). Fry the chicken in batches of 10 to 12 pieces, making sure not to crowd the pan. Each batch takes about 3 to 4 minutes, turning once halfway through, until the coating is deep golden brown.
The oil temperature will drop slightly each time you add a batch, so give it 1 to 2 minutes between batches to come back up to 175°C (350°F). Crowding the pan drops the temperature too fast and makes the coating greasy instead of crisp. A kitchen thermometer here is genuinely worth using.
As the pieces fry, the coating will go from pale and matte to a dry, golden, almost rough-textured surface, which is what you’re after. Lift a piece out and the crust should feel firm and dry to the touch, not soft or tacky.
Step 5: Drain and Serve
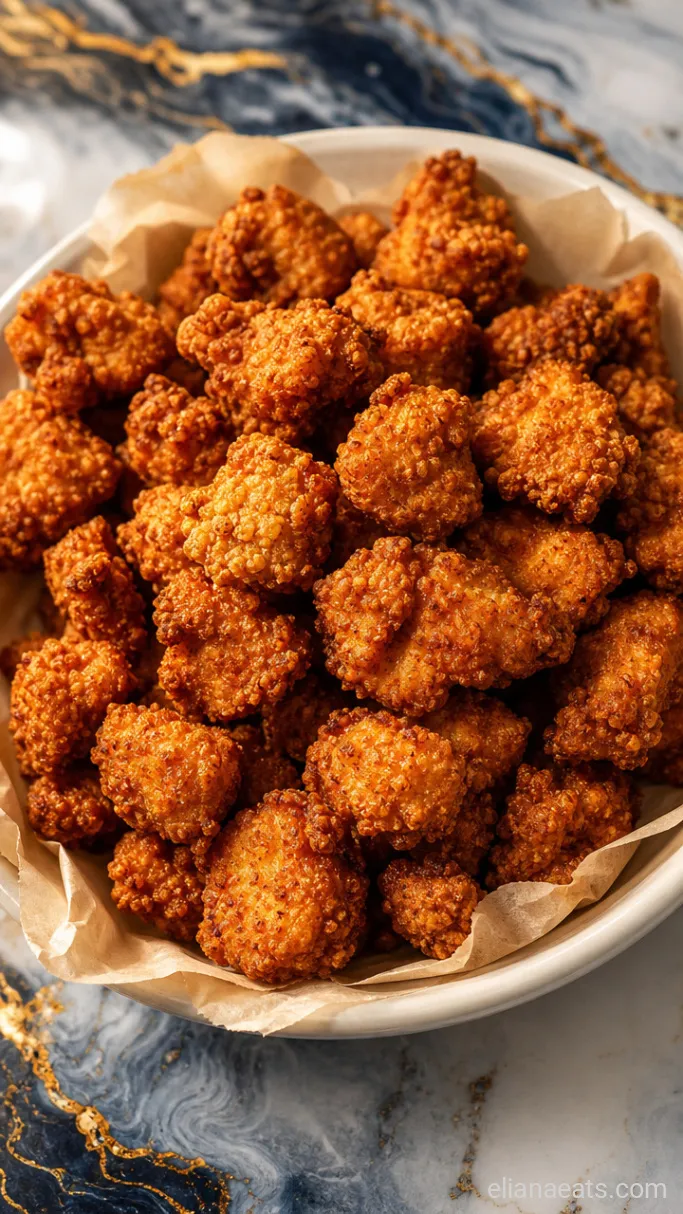
Transfer each batch to a wire rack set over a baking sheet as it comes out of the oil. A rack keeps air circulating underneath and stops the bottom of the crust from steaming and going soggy. Once the last batch is done, pile all the popcorn chicken onto a plate or into a basket, and scatter over a pinch of salt while the pieces are still hot.
Serve immediately, with a small bowl of your favourite dipping sauce on the side. The golden crust and the steam rising from the pile is the moment you want to serve and photograph them.
Recipe Tips
- Use a thermometer. Frying by eye leads to pale, greasy chicken or burnt outsides with raw middles. A cheap probe thermometer fixes both problems.
- Dry your chicken pieces well before the buttermilk soak. Pat them with paper towels first. Excess surface moisture dilutes the buttermilk and makes the coating slide off.
- Don’t throw away the leftover seasoned flour. If there’s a good amount left, you can store it in a sealed bag and use it to coat fish or prawns within the week.
- Keep finished batches warm in the oven at 120°C (250°F) on the wire rack while you fry the rest, so everything is hot at the same time.
Cook times by batch size and oil volume:
| Pan size | Oil depth | Batch size | Time per batch |
|---|---|---|---|
| 20cm (8-inch) saucepan | 5cm (2 inches) | 8 to 10 pieces | 3 to 4 minutes |
| 24cm (10-inch) saucepan | 5cm (2 inches) | 12 to 14 pieces | 3 to 4 minutes |
| Dutch oven / large pot | 5cm (2 inches) | 16 to 18 pieces | 3 to 4 minutes |
How To Store
- Refrigerate – Store cooled leftovers in an airtight container for up to 3 days.
- Reheating – Spread the pieces on a wire rack on a baking sheet and reheat at 200°C (400°F) for 8 to 10 minutes. Avoid the microwave; it turns the crust chewy.
What To Serve With Popcorn Chicken
A simple coleslaw works well because the cool, creamy crunch is a good contrast to the hot, crispy coating. Corn on the cob is another good call, as the sweetness balances the savoury, spiced crust. If you want to turn it into a proper meal, serve it over steamed rice with a drizzle of hot sauce and a squeeze of lime, which cuts through the richness of the fried coating.
Frequently Asked Questions
Can I make the coating ahead of time?
Yes. Mix the seasoned flour up to 3 days in advance and store it in a sealed bag or jar at room temperature. Give it a quick stir before using.
What internal temperature should the chicken reach?
The chicken is safe to eat at an internal temperature of 74°C (165°F). At the 3 to 4 minute fry time, small 2cm pieces will hit this reliably, but a probe thermometer confirms it.
Can I bake these instead of frying?
You can, but the result is noticeably different. Bake at 220°C (425°F) on a greased wire rack for 18 to 20 minutes, flipping once at the halfway point. The crust will be crisp but won’t have the same deep golden colour or crunch as the fried version.
Why is my coating falling off during frying?
The most likely cause is that the buttermilk soak had too much excess liquid on the chicken when you dredged it. Let each piece drip for a full second before pressing it into the flour, and make sure you press the coating on firmly rather than just rolling it through.
—
Ingredients
Method
- Combine the chicken pieces with the 120ml buttermilk, beaten egg, and 1/2 tsp salt. Toss to coat and rest for 15 minutes at room temperature.
- Whisk together the 130g flour, 30g cornstarch, remaining 1/2 tsp salt, and all the remaining spices in a wide shallow bowl until evenly combined.
- Lift the chicken from the buttermilk, let the excess drip off, then press each piece firmly into the seasoned flour until well coated. Rest on a wire rack for 5 minutes.
- Heat neutral oil in a deep saucepan to 175°C (350°F). Fry in batches of 10 to 12 pieces for 3 to 4 minutes per batch, turning once, until deep golden brown. Return the oil to temperature between batches.
- Drain on a wire rack, season with a pinch of salt, pile onto a plate or basket, and serve immediately with dipping sauce on the side.