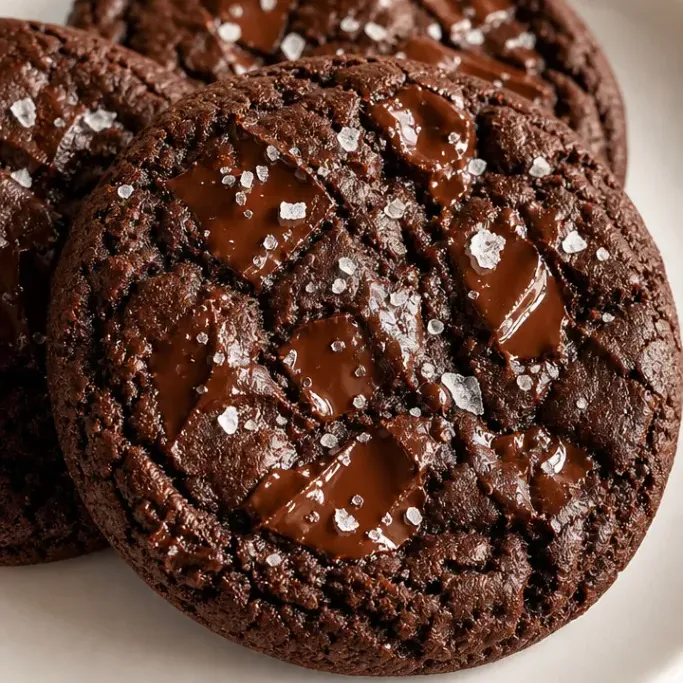
Costco Double Chocolate Chunk Cookie Copycat Recipe
Costco’s double chocolate chunk cookies have a cult following for good reason: they’re thick, fudgy, and loaded with big irregular chocolate pieces that stay soft for days. This copycat gets you that same bakery-style result at home, without needing a warehouse membership or a box of 24.
The recipe comes together in about 40 minutes and uses ingredients you likely already have.
Why I Love This Recipe
The texture is what keeps me coming back. These cookies have a dense, brownie-like center with just enough set around the edges to hold together, and the cocoa base tastes genuinely dark and rich rather than sweet-first.
The chopped chocolate is a big part of why this works. Chocolate chips hold their shape; chopped chocolate melts into pockets that spread through the dough differently.
This is the version I reach for when I want something that feels like it came from somewhere, not just something I baked at home.
Recipe Ingredients
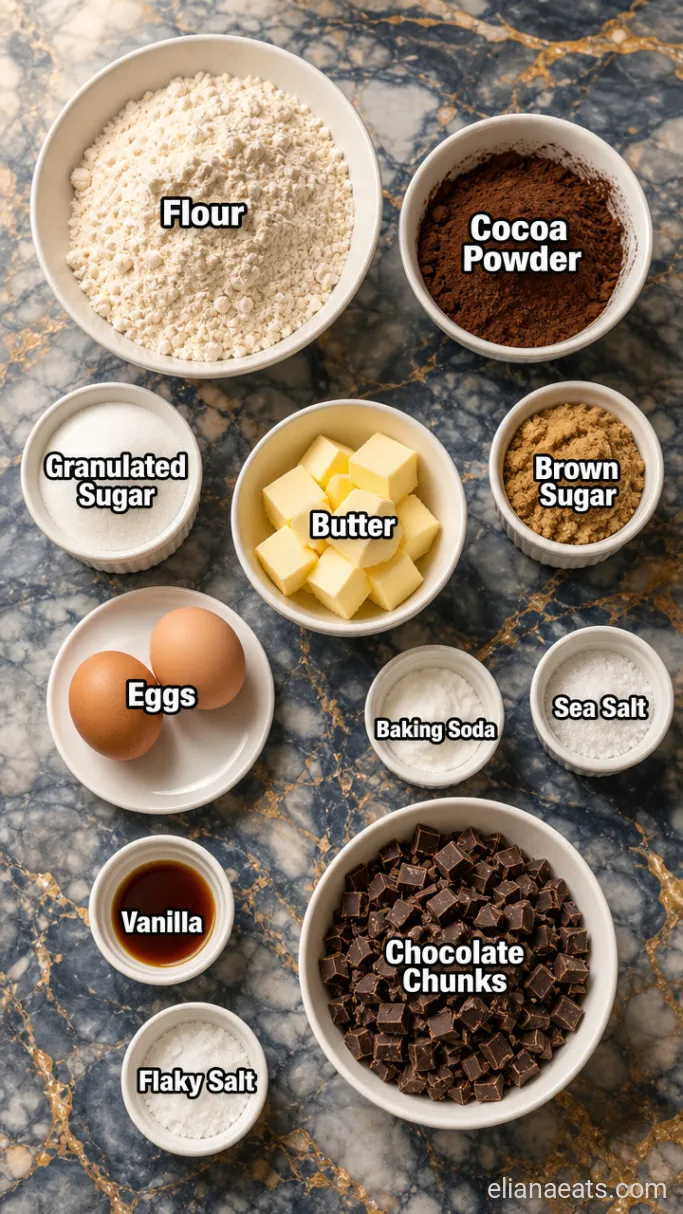
- 2 cups all-purpose flour – Spoon and level, don’t scoop or you’ll pack too much in
- 3/4 cup Dutch-process cocoa powder – Dutch-process gives a darker, less bitter flavor than natural cocoa; sift if clumpy
- 1 tsp baking soda – Provides lift without making them cakey
- 1 tsp fine sea salt – Balances the chocolate; kosher salt works too
- 1 cup (2 sticks) unsalted butter, room temperature – Room temp means it bends without snapping; if it’s melted, the cookies spread too thin
- 1 cup granulated sugar – Contributes to the slightly crisp edges
- 3/4 cup packed light brown sugar – Keeps the centers moist and adds a subtle molasses note
- 2 large eggs, room temperature – Cold eggs can cause the butter to seize up
- 2 tsp vanilla extract – Use real vanilla if you have it
- 8 oz semi-sweet chocolate, roughly chopped – A bar chopped into uneven chunks gives you better melt pockets than chips; aim for pieces between 1/4 and 1/2 inch
- Flaky sea salt, for finishing – Optional but it makes a real difference to the contrast
Variations / Substitutions
- Butter swap – Use vegan butter (stick-style, not spread) for a dairy-free version; the texture stays close but the edges crisp up slightly less.
- Sugar swap – Dark brown sugar can replace the light brown sugar for a deeper molasses flavor and a chewier center.
- Chocolate type – Bittersweet chocolate (70% cacao) in place of semi-sweet makes the overall flavor less sweet and more intense, which works well if you find the original a bit much.
- Add-ins – Fold in 1/2 cup toasted walnuts or pecans with the chocolate chunks for a variation that adds crunch against the fudgy center.
- Extra chocolate – Use dark cocoa powder (like black cocoa) for up to half of the Dutch-process amount to push the flavor toward an Oreo-adjacent darkness.
- Egg-free – Replace each egg with 1 flax egg (1 tbsp ground flax plus 3 tbsp water, rested 5 minutes); the cookies will be slightly denser and less glossy on top.
If you enjoy thick bakery-style cookies, Levain Bakery Chocolate Chip Cookie Copycat Recipe is worth making next.
How To Make Double Chocolate Chunk Cookies
Step 1: Whisk the Dry Ingredients
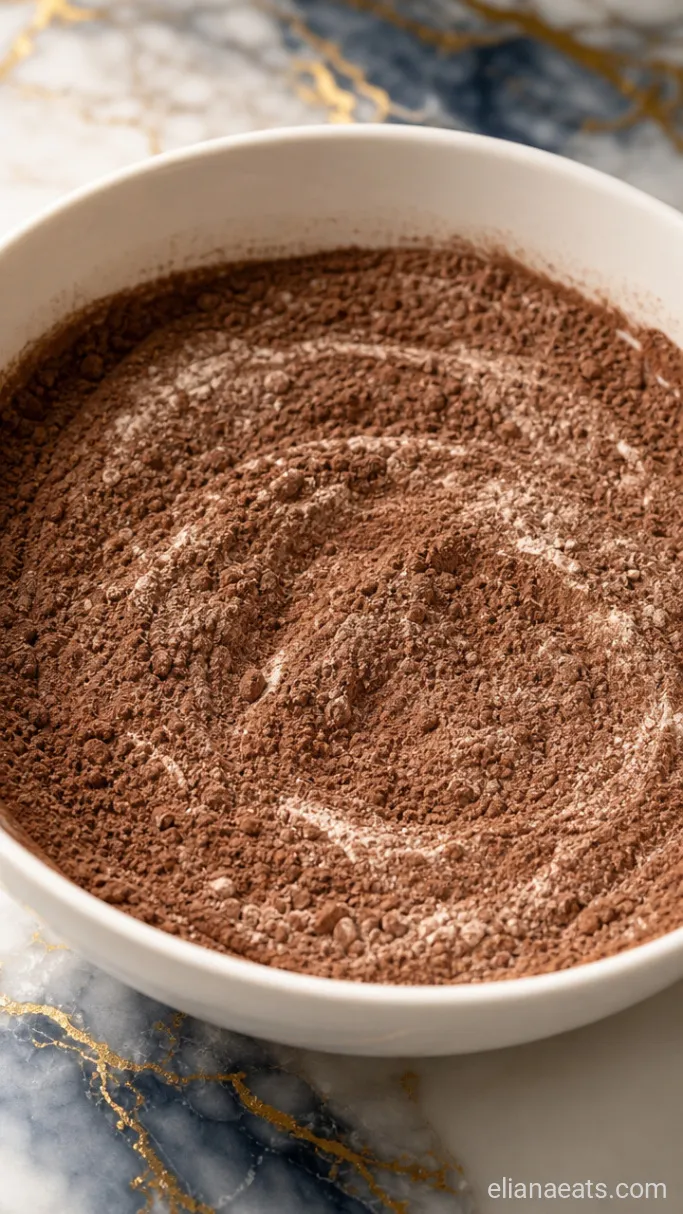
In a large bowl, whisk together the 2 cups flour, 3/4 cup Dutch-process cocoa powder, 1 tsp baking soda, and 1 tsp fine sea salt. Keep whisking for about 30 seconds until the cocoa is evenly distributed through the flour with no streaks.
The mixture will look like dark, dry sand. If your cocoa was at all lumpy, you should see those clumps broken up by now. If there are still any visible clumps, sift the mixture once through a fine-mesh strainer before moving on.
Step 2: Cream the Butter and Sugars
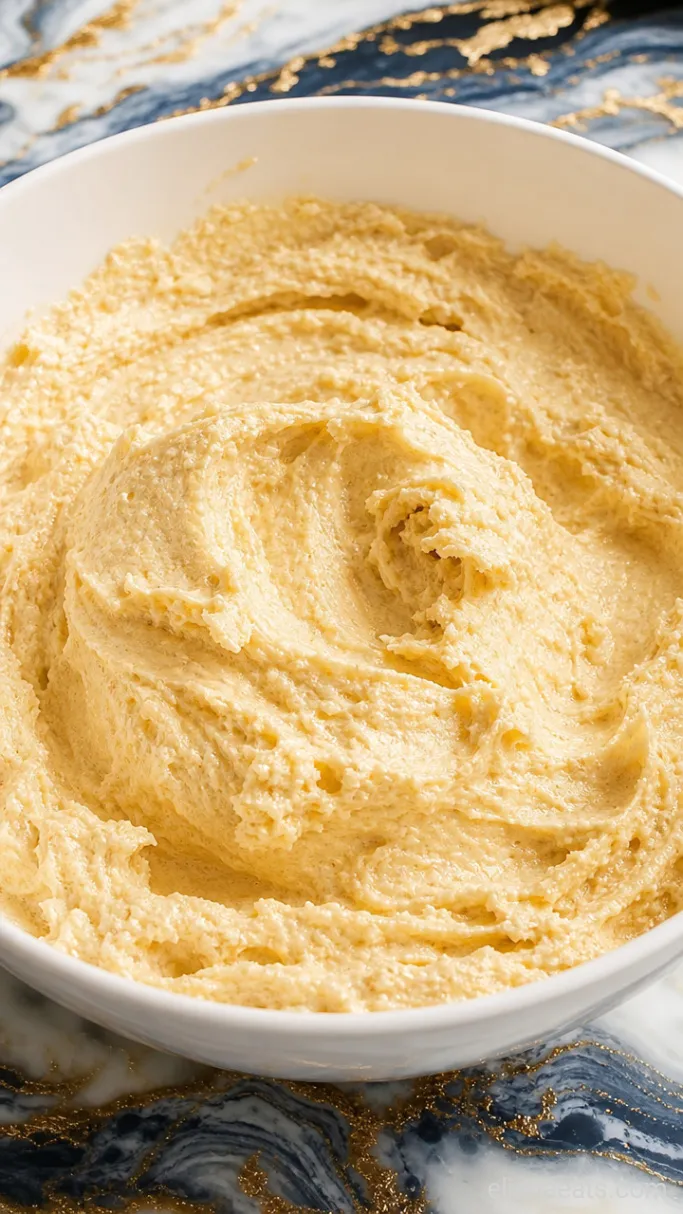
In a stand mixer fitted with the paddle attachment (or in a large bowl with a hand mixer), beat the 1 cup room-temperature butter on medium speed for 1 minute, then add the 1 cup granulated sugar and 3/4 cup packed light brown sugar. Beat on medium-high for 3 to 4 minutes until the mixture is noticeably lighter in color and looks almost fluffy.
This is the step most people rush. Under-creamed butter means the cookies won’t spread quite right and the texture will be denser than you want. Four minutes feels like a long time, but the aeration you’re building here is what gives the cookies their slightly lifted center.
Step 3: Beat In the Eggs and Vanilla
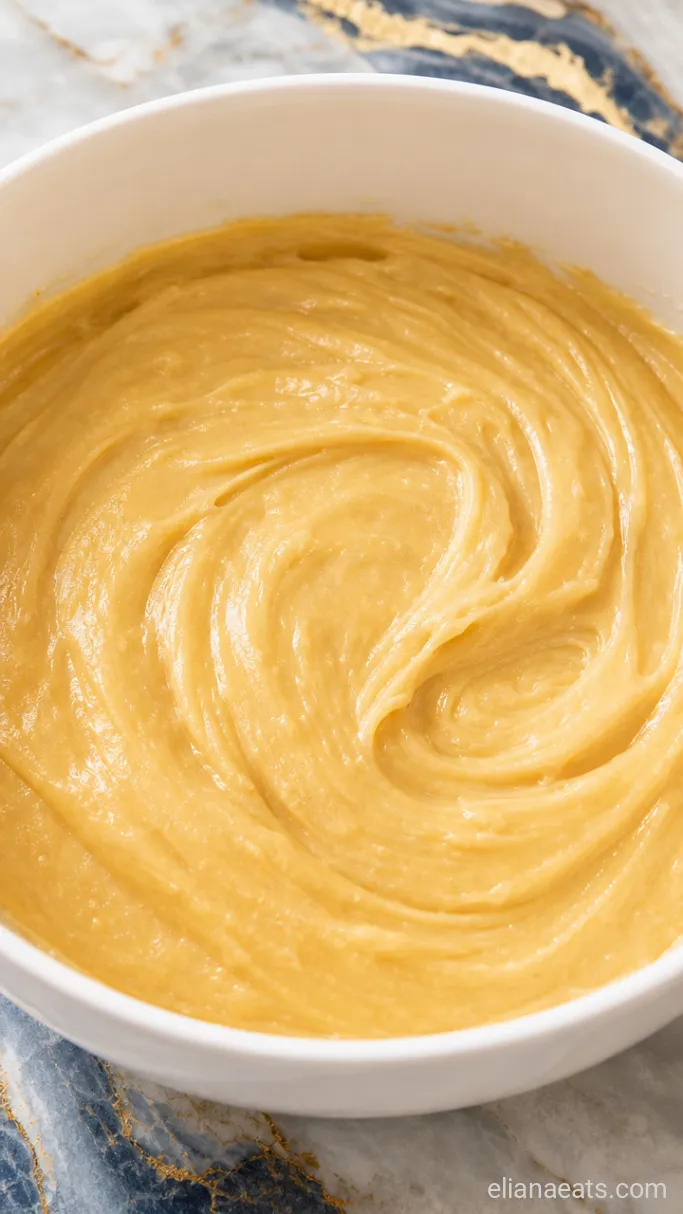
Add the 2 room-temperature eggs one at a time, beating for 30 seconds after each addition. Then add the 2 tsp vanilla extract and beat for another 30 seconds on medium speed.
The batter will look glossy and smooth, almost like a thick chocolate mousse. Scrape down the sides of the bowl with a spatula before the next step so everything is evenly incorporated.
Step 4: Fold In the Flour Mixture and Chocolate
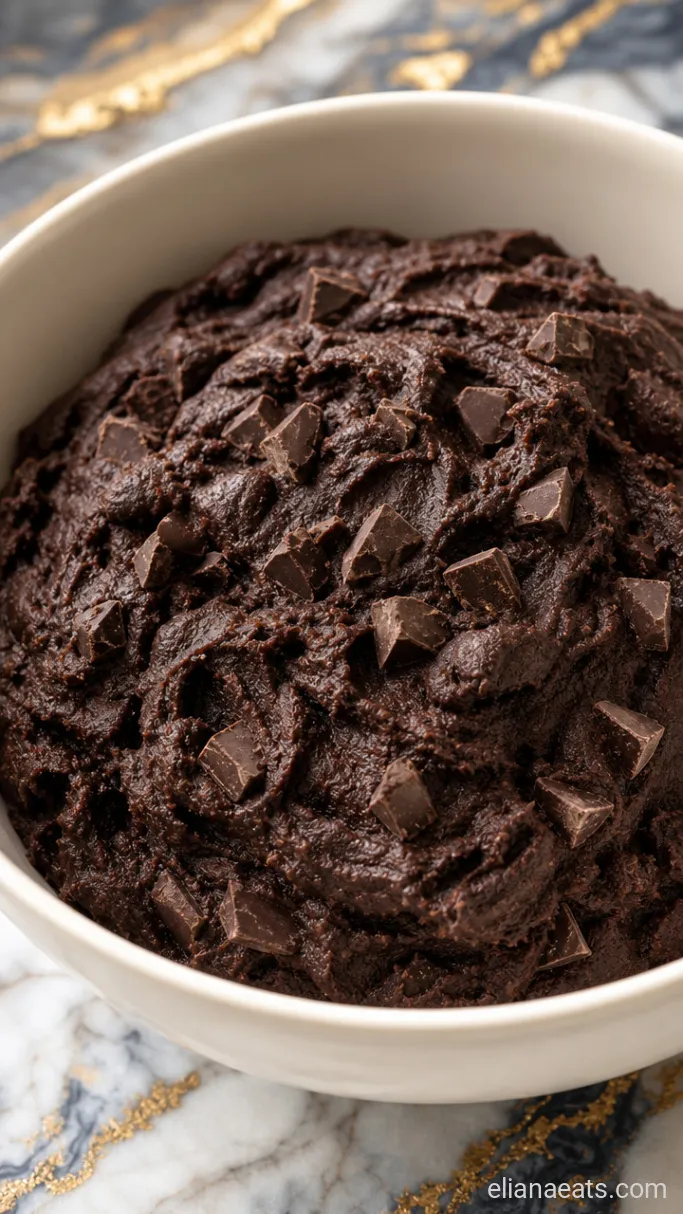
Add the dry ingredients to the butter mixture all at once. Mix on low speed just until no dry streaks remain, about 20 to 30 seconds. Immediately add the 8 oz roughly chopped chocolate and fold it in by hand with a spatula until evenly distributed.
Stop mixing as soon as the flour disappears. Over-mixing at this stage develops the gluten in the flour, which makes the finished cookie tougher than you want. The dough will be thick and a little sticky, which is exactly right.
Step 5: Chill the Dough
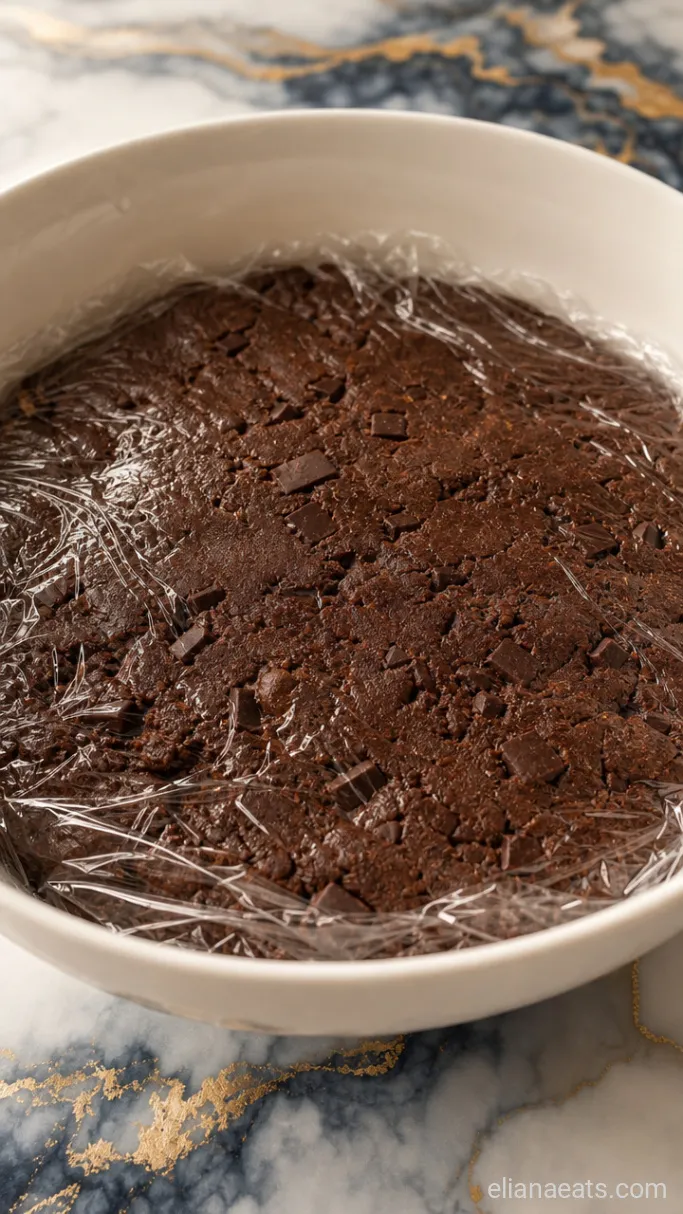
Cover the bowl with plastic wrap and refrigerate the dough for at least 30 minutes, or up to 48 hours. While it chills, preheat your oven to 375°F (190°C) and line 2 baking sheets with parchment paper.
Cold dough spreads more slowly in the oven, which is how you get a thick center rather than a flat puddle. Thirty minutes is the minimum; if you can chill overnight, the flavor deepens noticeably because the dry ingredients have more time to hydrate.
Step 6: Bake and Garnish the Cookies
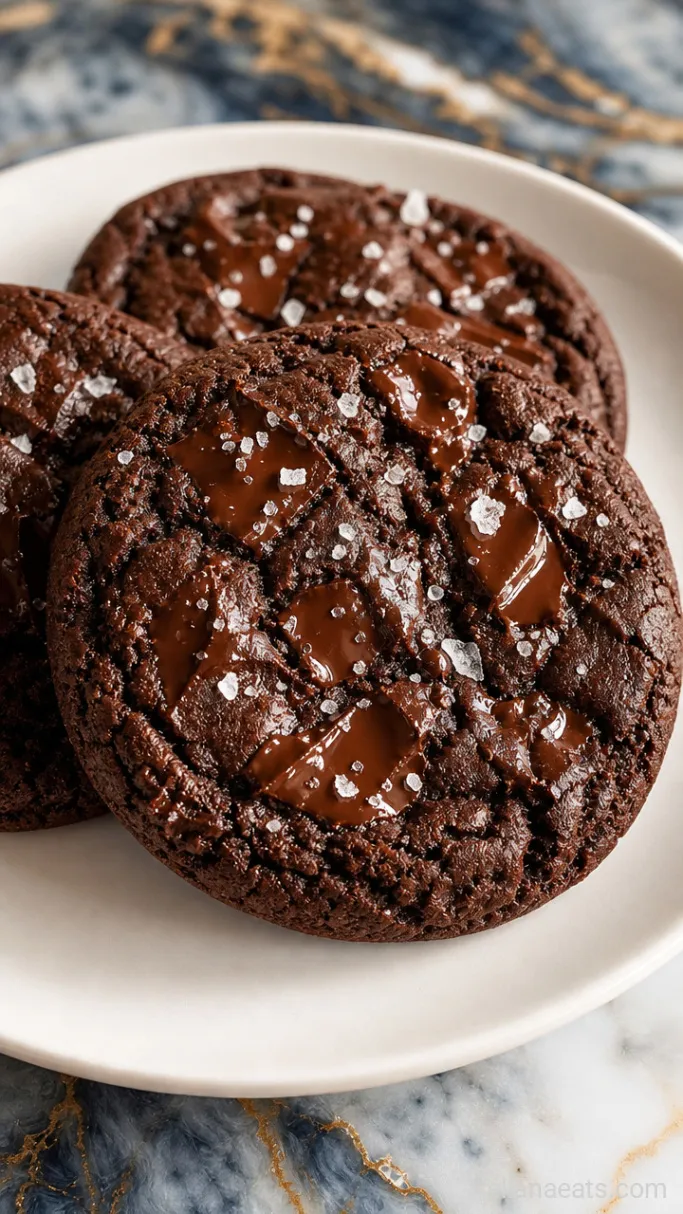
Scoop the chilled dough into balls about 3 tbsp each (roughly the size of a golf ball) and place them 3 inches apart on the prepared baking sheets. Bake one sheet at a time on the center rack for 11 to 13 minutes, until the edges are set but the centers still look underdone and slightly glossy. Pull them out at 11 minutes if you want a fudgier center.
As soon as the pan comes out of the oven, sprinkle each cookie lightly with flaky sea salt. Let them sit on the pan for 5 minutes (they’ll continue to firm up), then transfer to a wire rack. Serve warm with the salt glistening on top and a few chunks of melted chocolate visible at the surface.
Recipe Tips
- Use a kitchen scale if you have one. Measuring flour by weight (240g for 2 cups) removes the biggest variable in cookie baking. Too much flour is the most common reason homemade cookies turn out dry.
- Don’t skip the chill. Even 30 minutes in the fridge makes the difference between cookies that spread into thin discs and ones that hold a thick, domed shape.
- Check at 11 minutes. The cookies will look underdone in the center when you pull them, and that’s correct. They continue to cook on the hot pan for several minutes after you take them out of the oven.
- Room temperature matters for the butter and eggs. Cold butter won’t cream properly, and cold eggs can break the emulsion you built during creaming, leading to a greasy, uneven dough.
Bake times by pan (375°F / 190°C, 3 tbsp dough balls, center rack):
| Pan Material | Cookie Size | Bake Time |
|---|---|---|
| Light aluminum | 3 tbsp ball | 11 to 12 mins |
| Dark non-stick | 3 tbsp ball | 10 to 11 mins |
| Insulated / air-cushion | 3 tbsp ball | 13 to 14 mins |
How To Store
- Refrigerate – Store baked cookies in an airtight container at room temperature for up to 5 days. They actually get a little chewier on day 2. For longer storage, refrigerate for up to 10 days.
- Reheating – Warm a cookie in the microwave for 15 to 20 seconds to bring back the soft, just-baked center.
- Freeze the dough – Scoop dough into balls, freeze on a sheet until solid, then transfer to a zip-top bag. Bake from frozen at 375°F (190°C) for 13 to 15 minutes with no thawing needed.
Frequently Asked Questions
Can I use natural cocoa powder instead of Dutch-process?
You can, but the flavor will be sharper and more acidic, and the color will be lighter brown rather than deep dark. If that’s what you have, it works, but the result will taste noticeably different from the Costco original.
Can I make the dough ahead and freeze it?
Yes. Frozen dough balls keep for up to 3 months. Bake straight from the freezer at 375°F (190°C) and add 2 to 3 minutes to the bake time.
Why did my cookies spread flat?
The two most likely reasons are butter that was too warm (closer to melted than soft) or dough that wasn’t chilled before baking. Both cause the fat to spread too fast before the structure sets.
Can I make smaller cookies?
Yes. Use a 1.5 tbsp scoop and reduce the bake time to 9 to 10 minutes, pulling them when the edges look set but the centers are still soft.
Do I need a stand mixer?
No. A hand mixer works just as well. You can also do it by hand with a wooden spoon, though you’ll need to work the butter and sugars longer to get a similar result.
Ingredients
Method
- Whisk together the flour, cocoa powder, baking soda, and salt in a large bowl until no streaks of cocoa remain.
- Beat the butter, granulated sugar, and brown sugar on medium-high for 3 to 4 minutes until light and fluffy.
- Add the eggs one at a time, beating 30 seconds after each, then add the vanilla and beat 30 more seconds.
- Add the dry ingredients to the butter mixture and mix on low until just combined, then fold in the chopped chocolate by hand.
- Cover the dough and refrigerate for at least 30 minutes. Preheat oven to 375°F (190°C) and line 2 baking sheets with parchment.
- Scoop dough into 3 tbsp balls spaced 3 inches apart. Bake on the center rack for 11 to 13 minutes until edges are set. Sprinkle with flaky sea salt immediately and let sit on the pan for 5 minutes before transferring to a wire rack.