Costco Buttercream Frosting Copycat Recipe
Costco buttercream frosting is the one grocery store bakery frosting people actually ask about by name. This copycat gets you that same thick, sweet, white frosting at home, and it comes together in about 15 minutes with pantry staples.
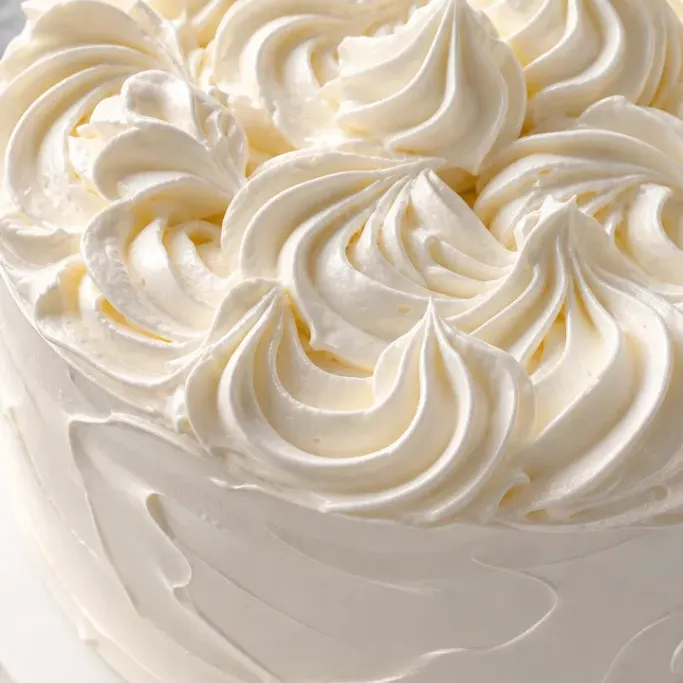
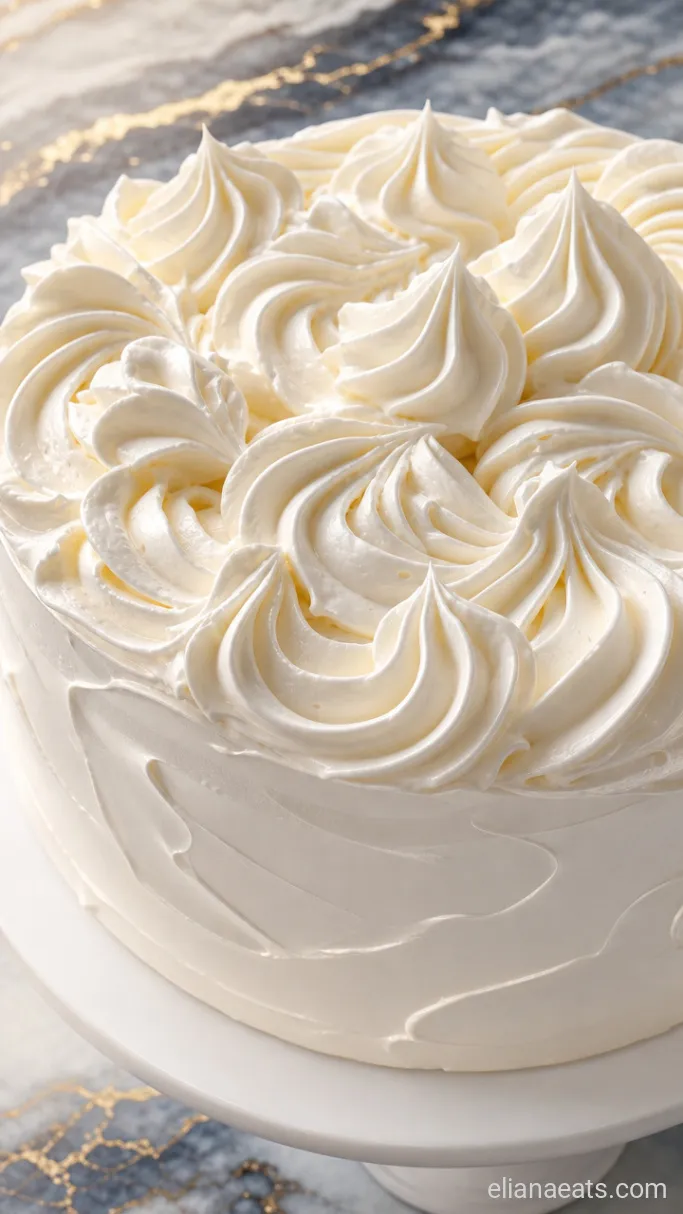
It pipes beautifully and holds its shape on a cake or cupcakes. If you have ever scraped the frosting off a Costco sheet cake and eaten it separately, this recipe is for you.
Why I Love This Recipe
The texture is what makes it worth making. It’s thick enough to hold a swirl but not so stiff that it tears your cake apart when you spread it.
The shortening is the key. Using half butter and half vegetable shortening gives you that bright white color and the stable, fudgy consistency that all-butter frosting just doesn’t have. It also means it won’t melt into a puddle at room temperature.
It’s sweet, yes, but the small amount of salt and the vanilla pull it back from being one-note. The finish is smooth and rich without being greasy.
Recipe Ingredients
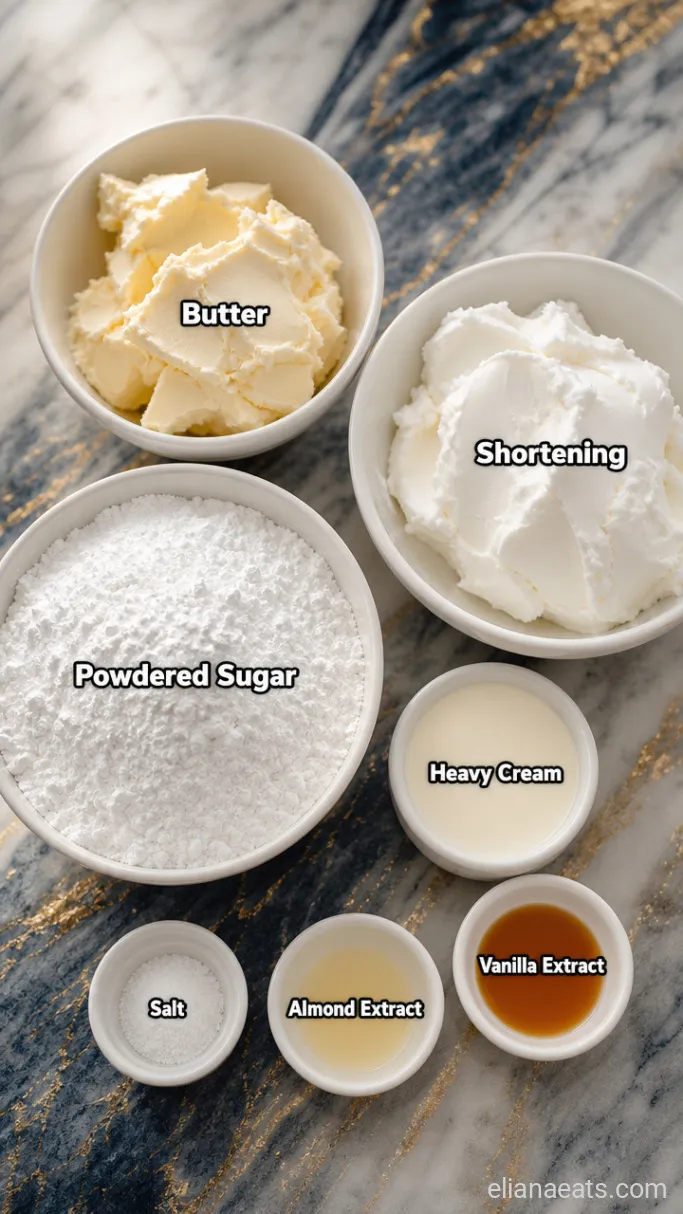
- 1 cup (226g) unsalted butter – softened to room temperature, not melted; salted butter will throw off the balance
- 1 cup (190g) vegetable shortening – Crisco is the most reliable brand; this is what gives the frosting its white color and stability
- 6 cups (720g) powdered sugar – also called icing sugar; sift it if your bag has lumps
- 3 tbsp heavy cream – adds richness and makes the texture smooth; whole milk works but the result is slightly less rich
- 2 tsp pure vanilla extract – clear vanilla extract keeps the frosting whiter if that matters to you
- 1/4 tsp fine salt – cuts the sweetness; don’t skip it
- 1/4 tsp almond extract – optional but this is the small detail that gets it closest to the Costco bakery flavor
Variations / Substitutions
- Dairy-free butter – Use a firm vegan butter (Miyoko’s or Earth Balance sticks) in place of butter; avoid the spreadable tub versions as they add too much water and the frosting won’t hold its shape.
- Coconut cream instead of heavy cream – The frosting will have a very faint coconut flavor but the texture stays smooth and pipeable.
- Salted butter – You can use it, but reduce the added salt to a pinch and taste before adding more.
- More almond extract – Bump it to 1/2 tsp for a flavor closer to a traditional bakery wedding cake frosting.
- Lemon extract – Swap the almond extract for 1/4 tsp lemon extract and the frosting pairs well with citrus or berry-filled cakes.
- Meringue powder for stability – Add 1 tbsp meringue powder to the dry sugar if you’re piping in a warm room; it firms the frosting without changing the flavor.
If you enjoy homemade frosting from scratch, you might also like a Costco Cream Cheese Frosting Copycat Recipe.
How To Make Costco Buttercream Frosting
Step 1: Beat the Butter and Shortening
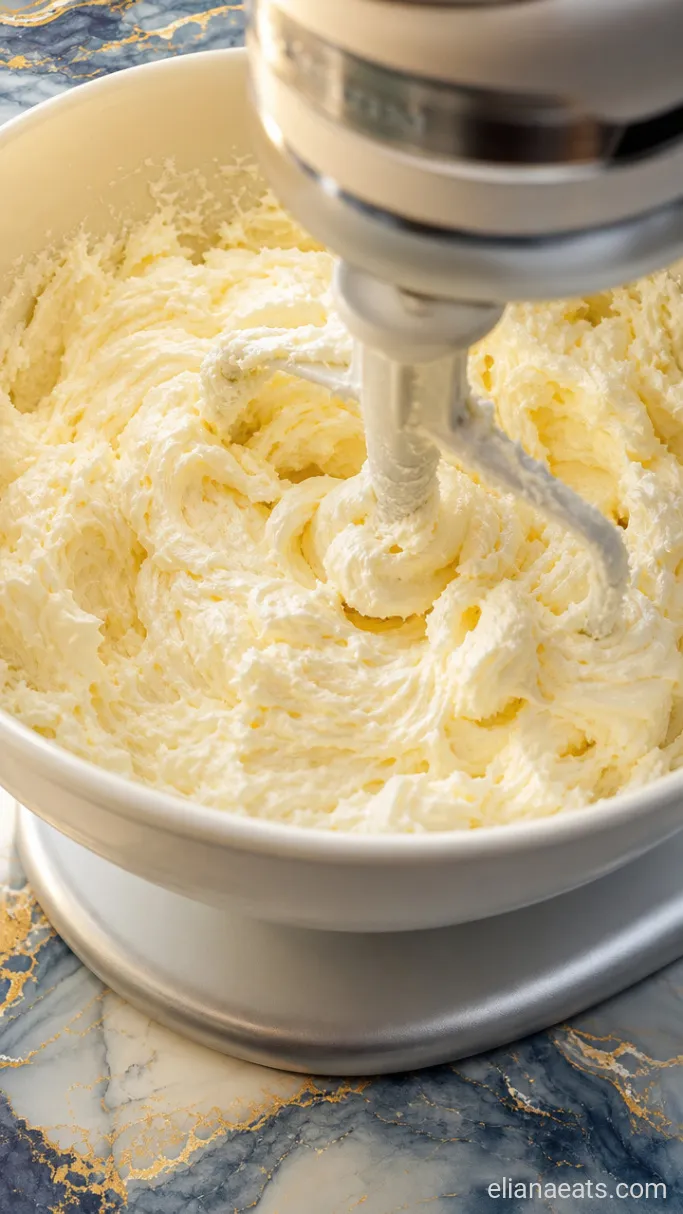
In a large bowl, beat the 1 cup softened butter and 1 cup vegetable shortening together on medium speed for 3 to 4 minutes, until the mixture is completely smooth and looks almost white. Start your stand mixer or hand mixer on low for the first 30 seconds so you don’t end up wearing it.
The mixture should look pale, uniform, and fluffy before you add anything else. If you can still see streaks of yellow butter, keep going. That pale base is what gives the finished frosting its color and light texture.
Step 2: Sift in the Powdered Sugar

With the mixer on low, add the 6 cups powdered sugar in 3 additions, about 2 cups at a time. After each addition, mix on low for 30 seconds before bumping it to medium for another 30. This keeps a sugar cloud from exploding out of the bowl.
Once all the sugar is in, the mixture will look dry and clumpy. That’s normal and it will come together once you add the cream.
Step 3: Add the Cream and Flavorings
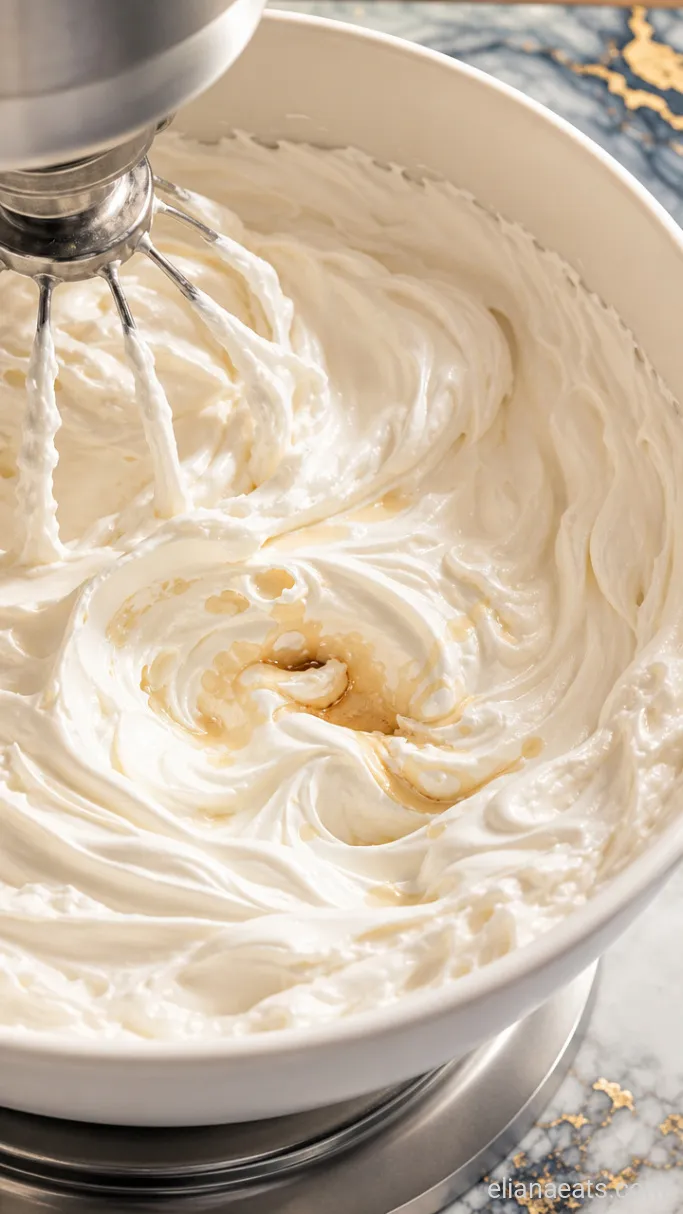
Add the 3 tbsp heavy cream, 2 tsp vanilla extract, 1/4 tsp almond extract, and 1/4 tsp fine salt. Mix on low until the liquids are absorbed, about 30 seconds, then turn the mixer up to medium-high and beat for 3 full minutes.
The frosting should go from looking crumbly to smooth, glossy, and thick. After 3 minutes it will hold a stiff peak when you lift the beater. If it seems too thick to spread, add cream 1 tsp at a time and mix for 30 seconds between additions.
Step 4: Pipe or Spread onto Your Cake
Transfer the frosting to a piping bag fitted with your tip of choice, or spread it directly onto a cooled cake with an offset spatula. Work from the center outward and use a light hand. The frosting is thick enough that a few smooth passes will cover the cake evenly.
Finish with any decoration you like, then step back and look at it before you cut in. That’s the moment.
Recipe Tips
- Room temperature butter matters more than you think. If your butter is too cold, the frosting will look curdled after mixing. Press a finger into a stick; it should dent easily but not feel greasy or shiny.
- Sifting the powdered sugar is worth the extra dish. Lumps of compressed sugar won’t fully break down in the mixer and you’ll feel them in every bite.
- Don’t skip the full 3-minute final beat. That time is what turns a grainy frosting into the silky texture you’re after. Setting a timer is the easiest way to not cut it short.
- If the frosting looks greasy or separated, the butter was likely too warm. Refrigerate the bowl for 10 minutes and beat again on medium for 1 minute.
- This recipe makes enough to generously frost a 9×13 sheet cake or 24 cupcakes. If you’re doing a layered 8-inch round cake with a thick crumb coat, make 1.5x the batch.
Frosting spread times by surface area:
| Cake Size | Coverage | Piped Cupcakes |
|---|---|---|
| 9×13 sheet cake | 1 batch | n/a |
| Two 8-inch rounds (filled and frosted) | 1.5x batch | n/a |
| 24 standard cupcakes | 1 batch | Yes, with a large star tip |
| 12 standard cupcakes | Half batch | Yes, with a large star tip |
How To Store
- Refrigerate – Store leftover frosting in an airtight container for up to 2 weeks. Press a piece of plastic wrap directly onto the surface before sealing the lid to prevent a crust from forming.
- Reheating – Don’t reheat it. Just take it out of the fridge about 45 minutes before you need it and let it come to room temperature, then beat it again on medium for 1 to 2 minutes to bring back the texture.
What To Serve With Costco Buttercream Frosting
This frosting works best on a dense, moist cake that can stand up to how thick it is. A classic yellow butter cake is the most natural match, the vanilla in the cake and the vanilla and almond in the frosting echo each other without either one getting lost. It also works well on a dark chocolate cake, where the sweetness of the frosting contrasts the bitterness of the cocoa. For cupcakes, a simple white almond sour cream cupcake lets the frosting be the star rather than competing with it.
Frequently Asked Questions
Can I make this frosting ahead of time?
Yes. Make it up to 2 weeks ahead and keep it refrigerated in an airtight container. Let it come to room temperature and re-beat before using.
Why is my frosting yellow instead of white?
The butter’s natural color is the cause. Using clear vanilla extract instead of pure, and making sure your shortening and butter are evenly mixed, will give you a whiter result. Some bakers add a tiny drop of violet food coloring to neutralize the yellow.
Can I freeze this frosting?
Yes, for up to 3 months in a freezer-safe container. Thaw it overnight in the fridge, then bring to room temperature and beat again before using.
Does this frosting need to be refrigerated on a frosted cake?
No, not for the first 2 days. The shortening keeps it stable at room temperature, which is why Costco can leave their sheet cakes out in the bakery case. After 2 days, cover and refrigerate.
—
Ingredients
Method
- Beat the softened butter and shortening together on medium speed for 3 to 4 minutes until pale and smooth.
- Add the powdered sugar in 3 additions of 2 cups each, mixing on low then medium after each addition.
- Add the heavy cream, vanilla extract, almond extract, and salt. Mix on low until absorbed, then beat on medium-high for 3 full minutes until smooth, glossy, and thick.
- Transfer to a piping bag or spread directly onto a cooled cake with an offset spatula.