Chili’s Chicken Crispers Copycat Recipe
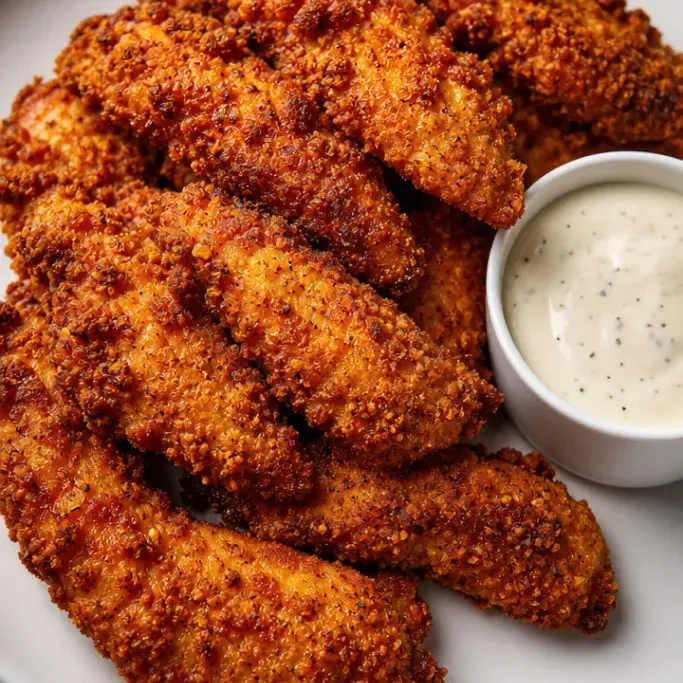
Chili’s Chicken Crispers are those thick, crunchy strips with a batter that shatters when you bite through it, and this copycat gets you there at home in under 45 minutes. If you’ve been trying to recreate that specific crunch without the drive-through, this is the recipe to bookmark.
The secret is a double-starch batter with a short rest before frying. That pause gives the coating time to grip the chicken, so it stays on instead of sliding off in the oil.
Why I Love This Recipe
The batter here is thick enough to get genuinely craggy edges, which means lots of surface area for the crispy bits. Cornstarch in the mix keeps it light instead of doughy.
I keep coming back to this version because the seasoning is bold enough that you don’t need a dipping sauce, though ranch alongside it doesn’t hurt.
It fries fast, which matters on a weeknight when you’re already tired.
Recipe Ingredients
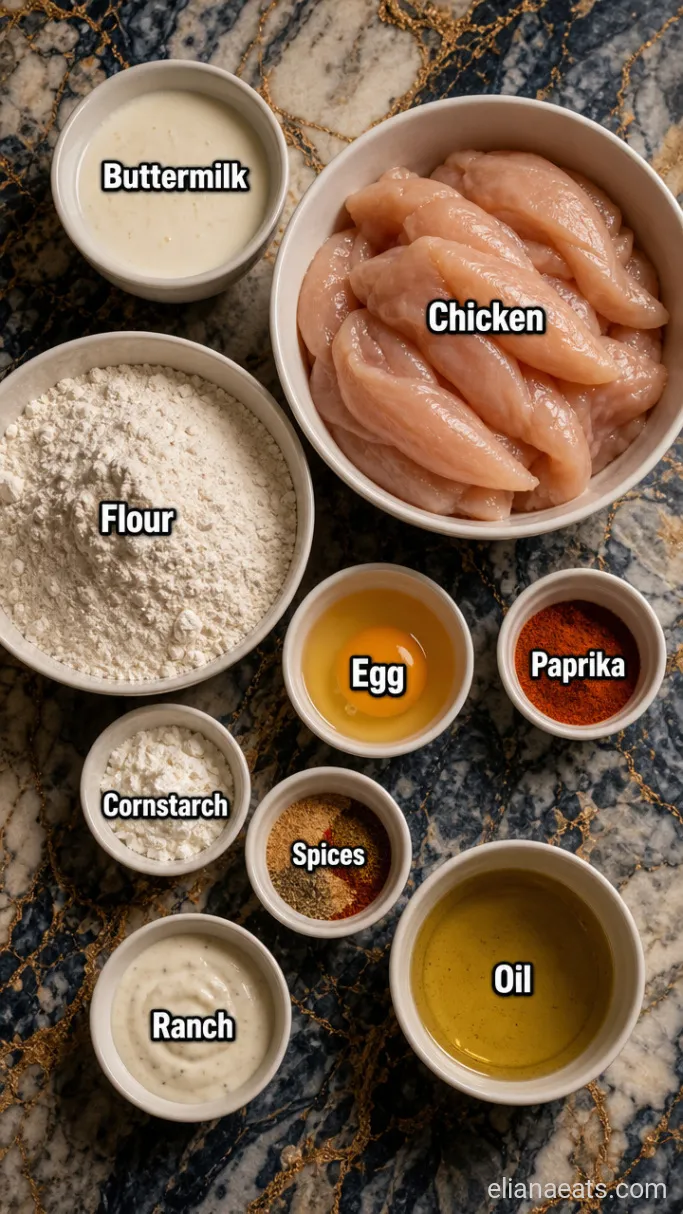
- 1.5 lbs chicken tenderloins – Tenderloins stay juicy; chicken breast strips cut to 1-inch thick also work
- 1 cup all-purpose flour – The base of the batter
- 1/2 cup cornstarch – Lightens the coating and gives the crunch its snap
- 1 tsp baking powder – Creates a little lift in the batter so it puffs rather than sits flat
- 1.5 tsp garlic powder – Goes into both the batter and the dry seasoning
- 1.5 tsp onion powder – Adds savory depth without sharpness
- 1 tsp smoked paprika – For mild warmth and that reddish-gold color
- 1 tsp salt – Seasoning throughout
- 1/2 tsp black pepper – Freshly cracked is better here
- 1/2 tsp cayenne pepper – Keeps a little heat in the background; reduce to 1/4 tsp for kids
- 1 cup buttermilk – The soak tenderizes the chicken and gives the batter something to cling to
- 1 large egg – Binds the batter so it stays thick
- Neutral oil for frying – Vegetable or canola; you need about 2 inches depth in the pan
- Ranch dressing, for serving – Optional but genuinely good here
Variations / Substitutions
- No buttermilk – Mix 1 cup whole milk with 1 tbsp white vinegar, let it sit 5 minutes, and it behaves nearly the same.
- Gluten-free – Swap the all-purpose flour for a 1:1 gluten-free blend; the cornstarch stays, and the crunch holds up well.
- Extra heat – Toss the finished strips in 2 tbsp hot sauce mixed with 1 tbsp melted butter for a spicy version closer to Chili’s honey-chipotle style.
- Air fryer – Spray the coated strips with oil and cook at 400°F (200°C) for 12 to 14 minutes, flipping once halfway; the edges get crispy though not quite as shatteringly crunchy as deep-frying.
- Bone-in swap – Chicken thighs cut into thick strips stay even juicier than tenderloins, though they need about 2 extra minutes in the oil.
If you enjoy this kind of weeknight fry, Chili’s Honey Chipotle Chicken Crispers Copycat Recipe is worth making next.
How To Make Chicken Crispers
Step 1: Soak the Chicken in Buttermilk
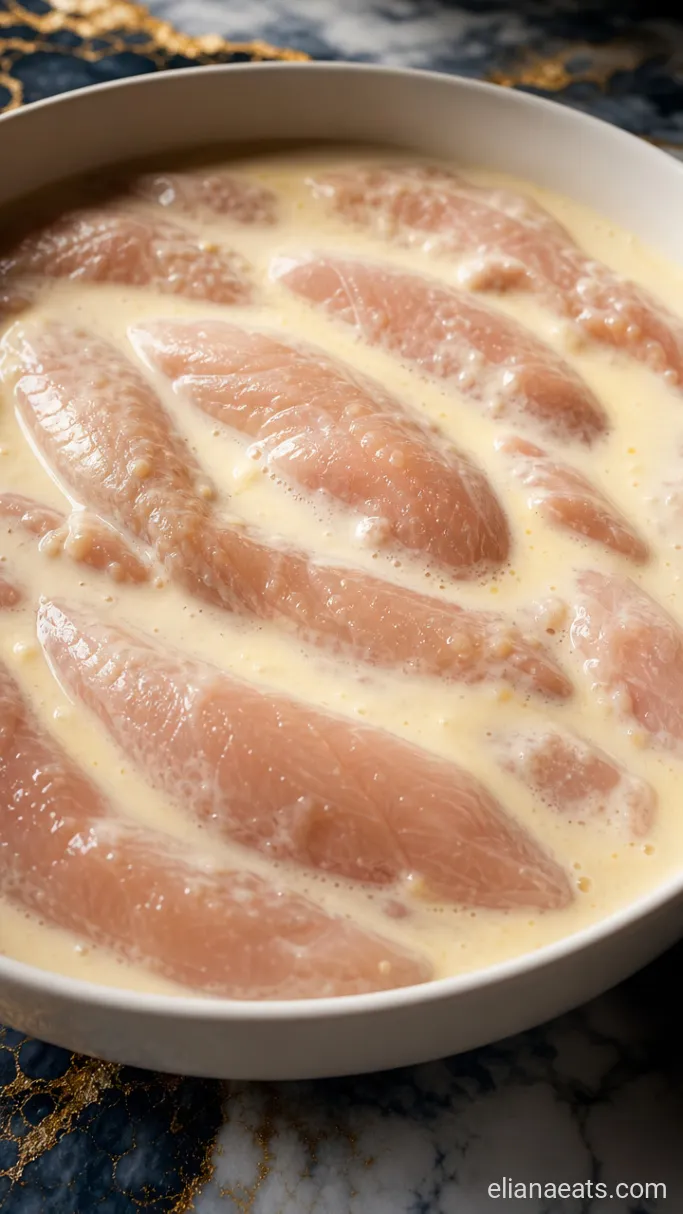
Pour the 1 cup buttermilk into a bowl, whisk in the 1 large egg, and add 1/2 tsp of the salt and 1/4 tsp of the black pepper. Submerge the 1.5 lbs chicken tenderloins, cover the bowl, and refrigerate for at least 30 minutes or up to 4 hours.
The soak does two things: the acid in the buttermilk gently loosens the muscle fibers so the chicken stays tender when it hits hot oil, and the egg gives the batter a stickier surface to grab onto. When you pull a piece out, it should be visibly coated and slightly tacky.
Don’t skip the rest time. Even 30 minutes makes a noticeable difference in how the batter adheres.
Step 2: Mix the Dry Batter
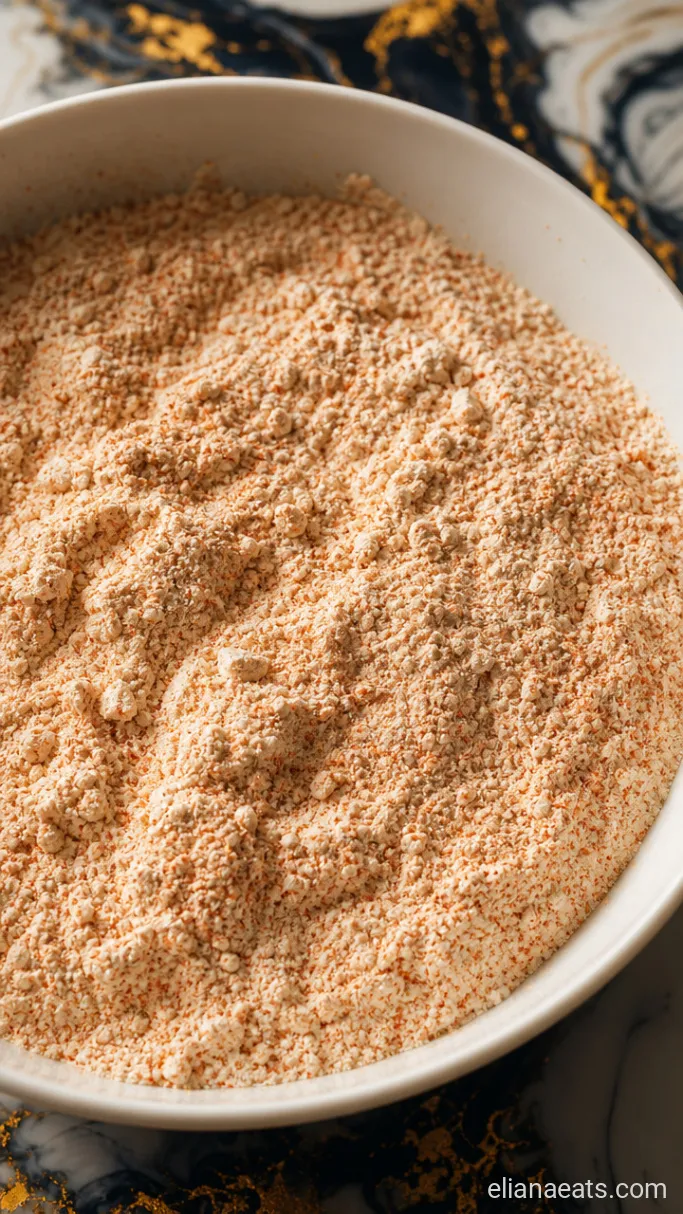
In a wide, shallow bowl, whisk together the 1 cup all-purpose flour, 1/2 cup cornstarch, 1 tsp baking powder, 1.5 tsp garlic powder, 1.5 tsp onion powder, 1 tsp smoked paprika, the remaining 1/2 tsp salt, the remaining 1/4 tsp black pepper, and the 1/2 tsp cayenne pepper. Stir until the color is even throughout, about 30 seconds.
A wide bowl matters here because you need room to press each strip flat into the coating. If the bowl is too deep, you end up with uneven coverage on the sides.
Step 3: Coat the Chicken Strips
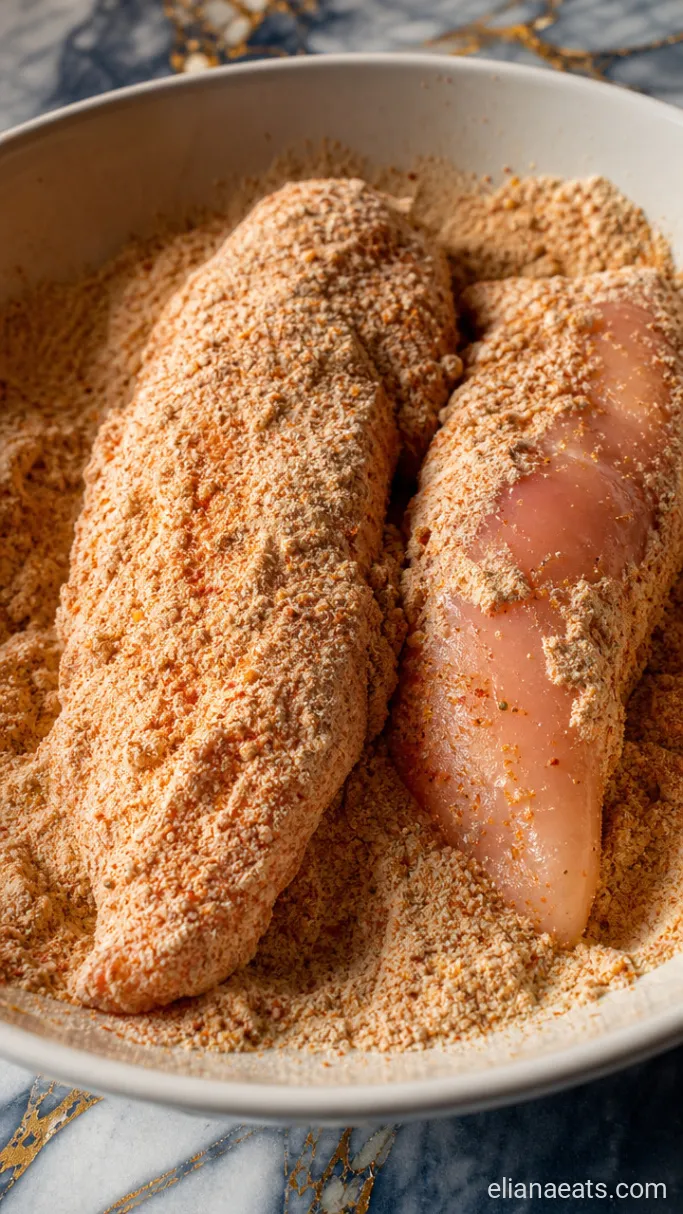
Lift a tenderloin from the buttermilk, let the excess drip off for a couple of seconds, then press it firmly into the dry batter on both sides. Turn it over and press again to get the coating into any folds. Set the coated strip on a wire rack or a plate and repeat with the remaining pieces. Let them rest uncovered on the rack for 10 minutes before frying.
That 10-minute rest is important. It lets the coating hydrate and bond with the surface, so it comes out of the oil in one intact crust rather than crumbling off in the pan. You’ll notice the coating looks slightly matte and dry by the time the rest is done, which is exactly right.
Step 4: Fry the Chicken Crispers
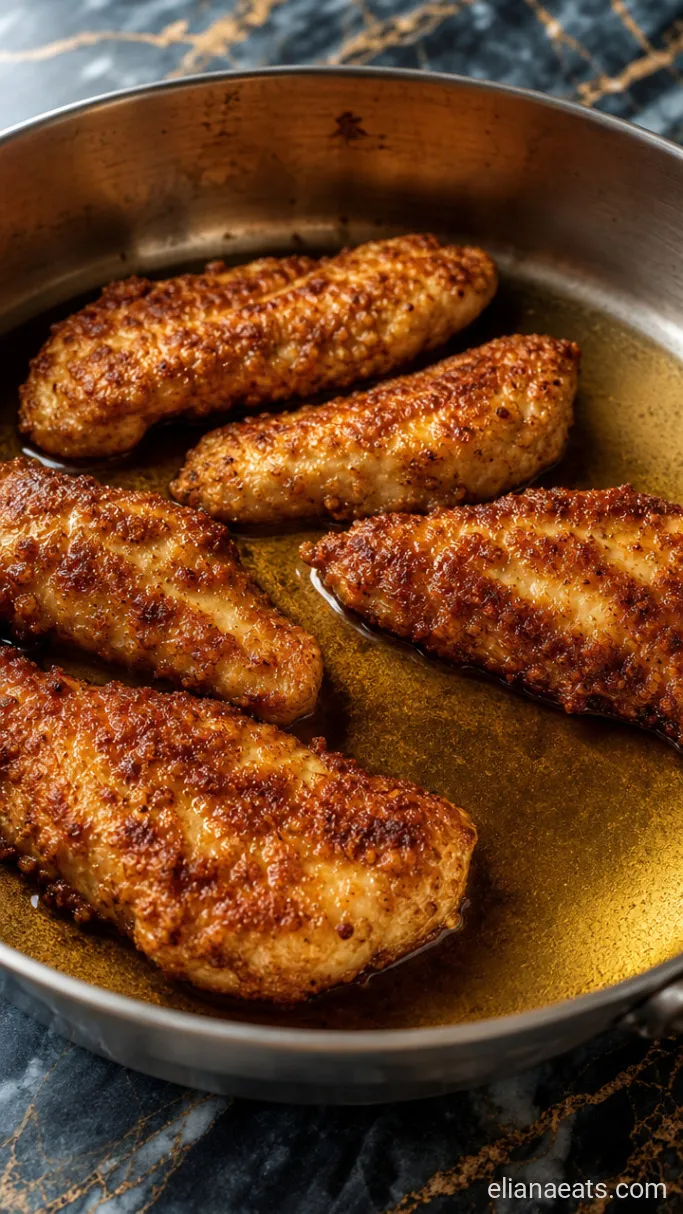
Pour neutral oil to a depth of 2 inches in a heavy-bottomed pot or deep skillet and heat it over medium-high until it reaches 350°F (175°C). Working in batches of 3 to 4 strips at a time, lower the coated chicken into the oil and fry for 5 to 6 minutes, turning once at the halfway point, until the crust is deep golden brown and the internal temperature reads 165°F (74°C). Transfer to a clean wire rack rather than paper towels so the bottom stays crispy.
Frying in small batches keeps the oil temperature stable. Crowding the pan drops the temp fast, and that’s how you end up with a pale, greasy coating instead of a crunchy one. Give the oil a minute to come back up to 350°F between each batch.
Don’t worry if the crust looks a shade darker than you expect at the 5-minute mark. The cornstarch in the batter browns quickly and that deep gold color is what you’re after.
Step 5: Plate and Serve
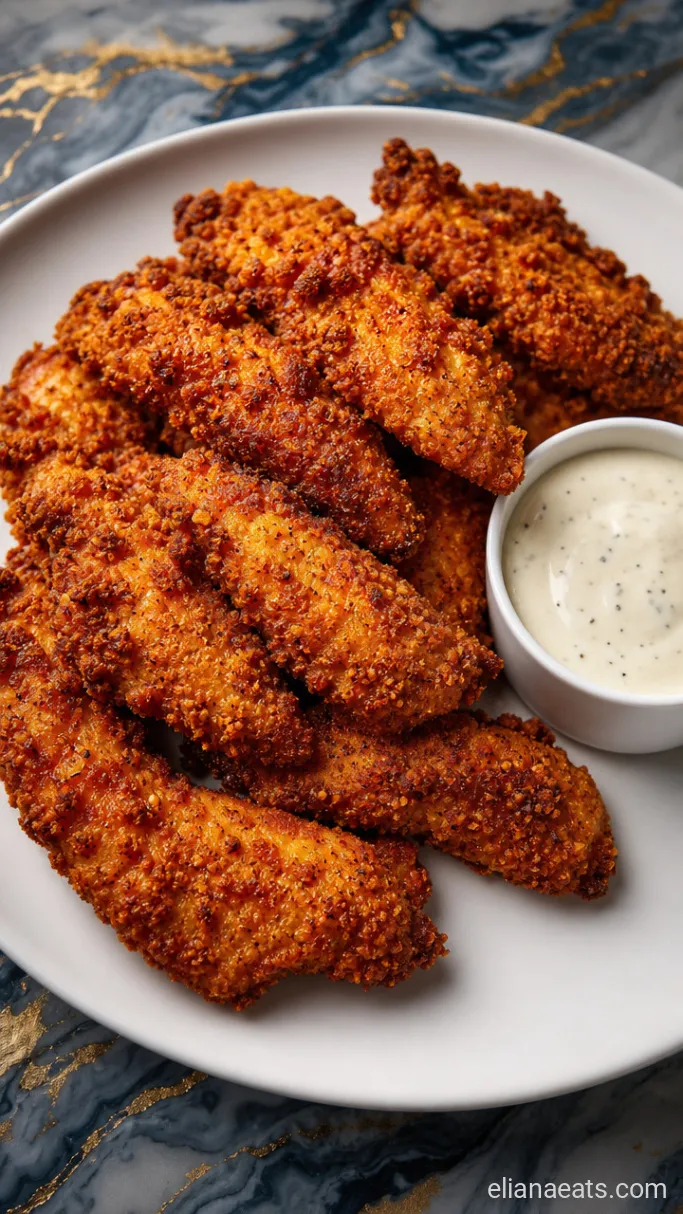
Stack the Chicken Crispers on a platter or wooden board, scatter a pinch of smoked paprika over the top for color, and set a bowl of ranch dressing alongside for dipping. Serve immediately while the crust is at its crunchiest.
Recipe Tips
- Choose tenderloins that are even in thickness. If some are much thicker than others, butterfly them slightly so everything finishes at the same time in the oil.
- Use a thermometer for the oil. Guessing oil temperature is the most common reason home frying goes wrong. Too cool and the coating absorbs oil; too hot and the outside burns before the chicken cooks through.
- Keep finished batches warm on a wire rack in a 200°F (95°C) oven while you fry the rest, so everything is hot at once without turning soggy.
- Leftover batter that falls into the oil during frying will burn quickly and turn the oil bitter. Use a slotted spoon to skim those bits out between batches.
Cook times by oil temperature and strip thickness:
| Strip Thickness | Oil Temp | Fry Time Per Side |
|---|---|---|
| 1/2 inch | 350°F (175°C) | 2 to 2.5 mins |
| 3/4 inch | 350°F (175°C) | 2.5 to 3 mins |
| 1 inch | 350°F (175°C) | 3 mins |
How To Store
- Refrigerate – Store leftover Crispers in an airtight container for up to 3 days. Line the container with a paper towel to absorb moisture.
- Reheating – Reheat on a wire rack in a 375°F (190°C) oven for 8 to 10 minutes. A microwave will bring the temperature up but the coating will go soft.
What To Serve With Chicken Crispers
Chili’s serves these with corn on the cob and fries, and that combination works because the mild sweetness of the corn cuts through the salty, fried coating. A crisp coleslaw does the same thing and adds some texture contrast. If you want something lighter, a simple romaine salad with a sharp vinaigrette balances the richness of the fried batter without competing with it.
Frequently Asked Questions
Can I make these ahead and fry them later?
Yes. Coat the chicken and refrigerate uncovered on a wire rack for up to 2 hours before frying. Longer than that and the coating can get gummy.
Why is my batter falling off in the oil?
The most likely cause is skipping the post-coating rest. Those 10 minutes on the rack let the coating set, and without it the batter tends to slide off when it hits hot oil.
Can I use this same batter on shrimp?
Yes, and it works well. Shrimp fry much faster, about 2 to 3 minutes total at 350°F (175°C), so watch them closely.
Do I need a deep fryer?
No. A deep, heavy-bottomed pot like a Dutch oven holds the oil temperature steadily and works just as well as a fryer.
Ingredients
Method
- Whisk together 1 cup buttermilk, 1 large egg, 1/2 tsp salt, and 1/4 tsp black pepper. Submerge 1.5 lbs chicken tenderloins in the mixture and refrigerate for at least 30 minutes.
- Whisk together 1 cup flour, 1/2 cup cornstarch, 1 tsp baking powder, 1.5 tsp garlic powder, 1.5 tsp onion powder, 1 tsp smoked paprika, remaining 1/2 tsp salt, remaining 1/4 tsp black pepper, and 1/2 tsp cayenne in a wide shallow bowl.
- Lift each tenderloin from the buttermilk, shake off excess, and press firmly into the dry batter on both sides. Rest coated strips on a wire rack for 10 minutes.
- Heat neutral oil to a depth of 2 inches to 350°F (175°C). Fry in batches of 3 to 4 strips for 5 to 6 minutes, turning once, until deep golden and the internal temperature reads 165°F (74°C). Transfer to a wire rack between batches.
- Stack on a platter, dust with a pinch of smoked paprika, and serve with ranch dressing alongside.