Chick-fil-A Chicken Minis Copycat Recipe
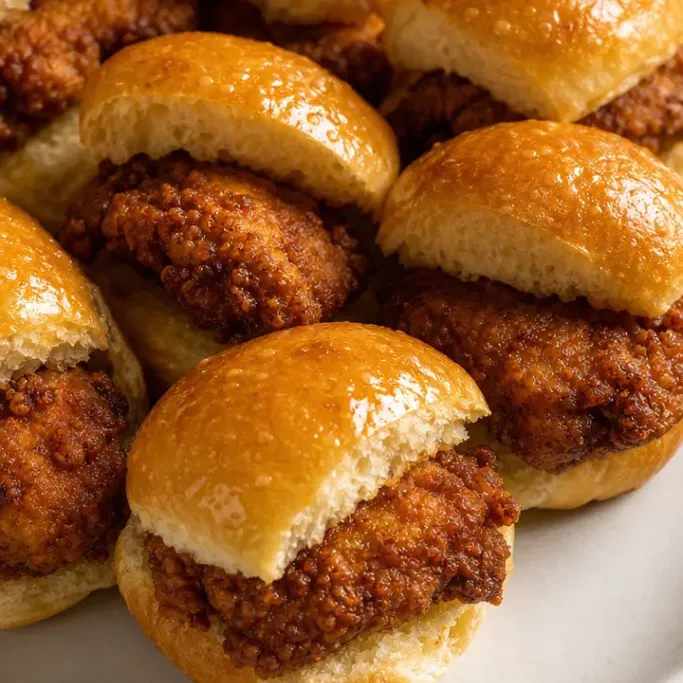
Chick-fil-A Chicken Minis are those small, honey-buttered yeast rolls stuffed with a crispy, seasoned chicken nugget, and this copycat version gets you there on a Tuesday night without leaving the house. The rolls are soft and pillowy, the chicken is juicy with a crackly coating, and the whole thing comes together in about an hour.
The hardest part is waiting for the rolls to proof. Once those are done, everything moves quickly.
Why I Love This Recipe
The ratio of bread to chicken is what makes these worth making. Each mini is one bite of warm, honey-glossed roll wrapped around a properly seasoned piece of chicken.
The chicken gets a pickle juice soak before it’s breaded, which keeps the interior tender and adds a faint tang you can taste under the crust. It’s the version I keep coming back to when I want something that actually tastes like the real thing.
Recipe Ingredients
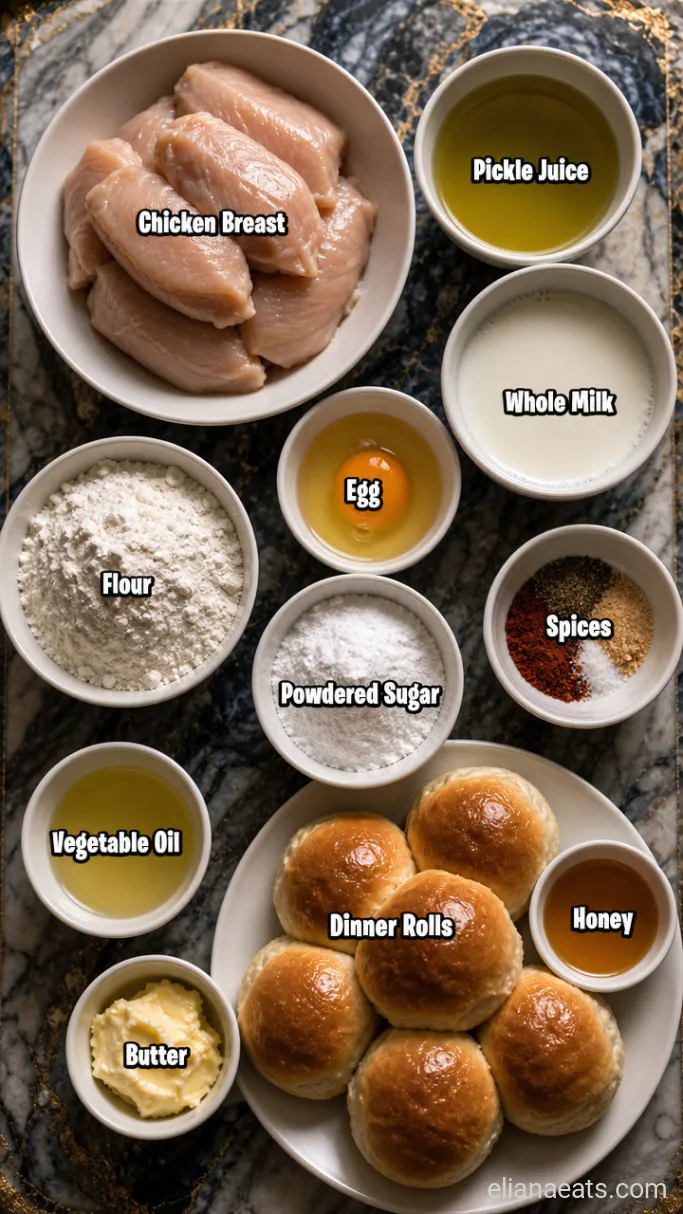
- 1 lb boneless, skinless chicken breast – Cut into 1-inch pieces; thigh works too for more fat and flavor
- 1/2 cup dill pickle juice – The brine from a standard pickle jar; tenderizes the chicken and adds tang
- 3/4 cup whole milk – Full-fat milk helps the breading stick and contributes to a golden crust
- 1 egg – Binds the coating to the chicken
- 1 cup all-purpose flour – The base of the dry breading
- 2 tbsp powdered sugar – Adds the faint sweetness Chick-fil-A’s coating is known for
- 1 tsp salt – Standard table salt works fine
- 1 tsp black pepper – Freshly ground gives better flavor
- 1/2 tsp paprika – Smoked or sweet both work; adds color and mild warmth
- 1/2 tsp garlic powder – Background savory note in the crust
- 1/2 tsp onion powder – Rounds out the seasoning in the breading
- Vegetable oil for frying – About 3 cups; peanut oil is closer to the original
- 12 small yeast dinner rolls – Store-bought frozen rolls (like Sister Schubert’s) save time; see Notes
- 3 tbsp unsalted butter – For the honey butter glaze on the rolls
- 2 tbsp honey – Runny honey spreads more evenly than thick
Variations / Substitutions
- Chicken thighs instead of breast – The extra fat keeps the nuggets juicier, especially if you’re frying in batches and the oil temp fluctuates.
- Buttermilk instead of milk and pickle juice – Soak the chicken in 3/4 cup buttermilk for 30 minutes instead; the tang is similar and the crust still browns well.
- Gluten-free flour blend – Swap the all-purpose flour 1-to-1 with a gluten-free all-purpose blend; the crust won’t be quite as crisp but it holds together.
- Air fryer instead of deep frying – Spray the breaded pieces generously with oil and air fry at 400°F (200°C) for 10 to 12 minutes, flipping once; the crust is less uniform but still good.
- Spicy version – Add 1/2 tsp cayenne to the dry breading for a heat level close to Chick-fil-A’s spicy nuggets.
- Homemade rolls – If you want to bake rolls from scratch, the recipe in my Homemade Honey Butter Dinner Rolls post works well here.
How To Make Chicken Minis
Step 1: Soak the Chicken
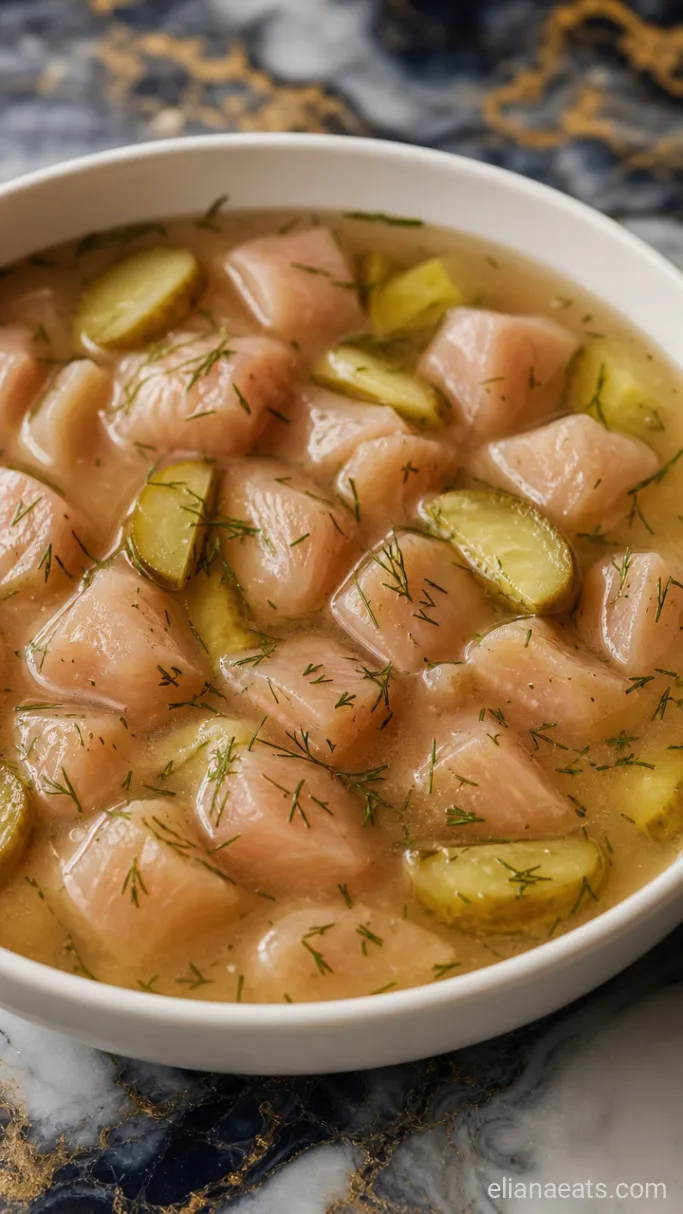
Pour the 1/2 cup dill pickle juice into a medium bowl, add the 1-inch chicken pieces, and toss to coat. Let them soak for 30 minutes at room temperature, or up to 4 hours in the fridge.
This step does real work. After 30 minutes, the exterior of the chicken will look slightly opaque where the acid has started to break down the surface. That’s what you want — it means the inside will stay tender when it hits the hot oil.
Don’t skip the soak thinking a quick toss will do the same thing. Even 30 minutes makes a noticeable difference in the final texture.
Step 2: Build the Breading Station
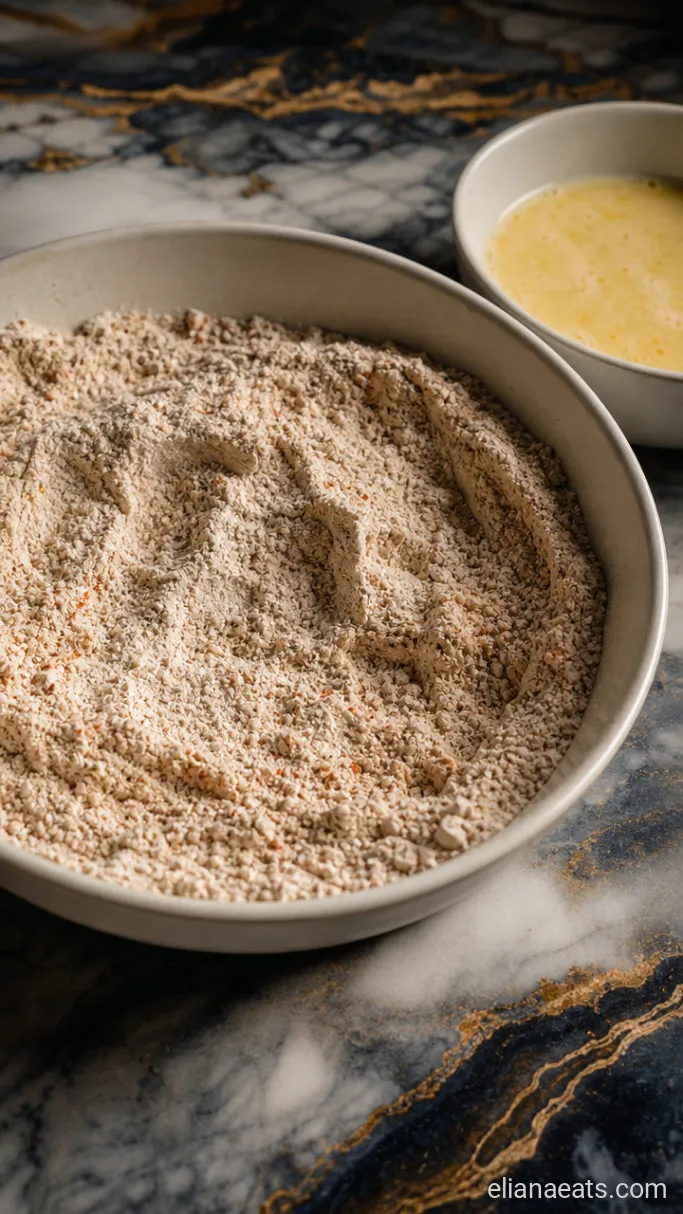
In a shallow bowl, whisk together the 3/4 cup whole milk and 1 egg until combined. In a separate shallow bowl, stir together the 1 cup all-purpose flour, 2 tbsp powdered sugar, 1 tsp salt, 1 tsp black pepper, 1/2 tsp paprika, 1/2 tsp garlic powder, and 1/2 tsp onion powder until evenly mixed.
Pull the chicken pieces from the brine and let them drip briefly — you don’t want them dripping wet, but a little moisture helps the first coat stick. Dip each piece in the milk and egg mixture, let the excess fall off, then press it firmly into the seasoned flour. Set the coated pieces on a plate in a single layer while you heat the oil.
The coating should look dry and powdery on the outside, not pasty. If it looks gummy, the milk mixture is too thick — thin it with a splash of water.
Step 3: Fry the Chicken

Pour about 3 cups vegetable oil into a heavy pot or deep skillet and heat it over medium-high until it reaches 350°F (175°C). Fry the breaded chicken pieces in batches of 4 to 5, keeping them away from each other so they don’t steam. Each batch takes about 3 to 4 minutes, turning once halfway through.
The crust should be a deep golden brown and the chicken should read 165°F (74°C) on an instant-read thermometer. Pull each batch with a slotted spoon and set on a wire rack — a rack keeps the bottom of the crust from going soggy.
Keep the oil temperature steady between batches. It will drop when you add cold chicken, so give it a minute to come back up to 350°F before the next round.
Step 4: Warm and Glaze the Rolls
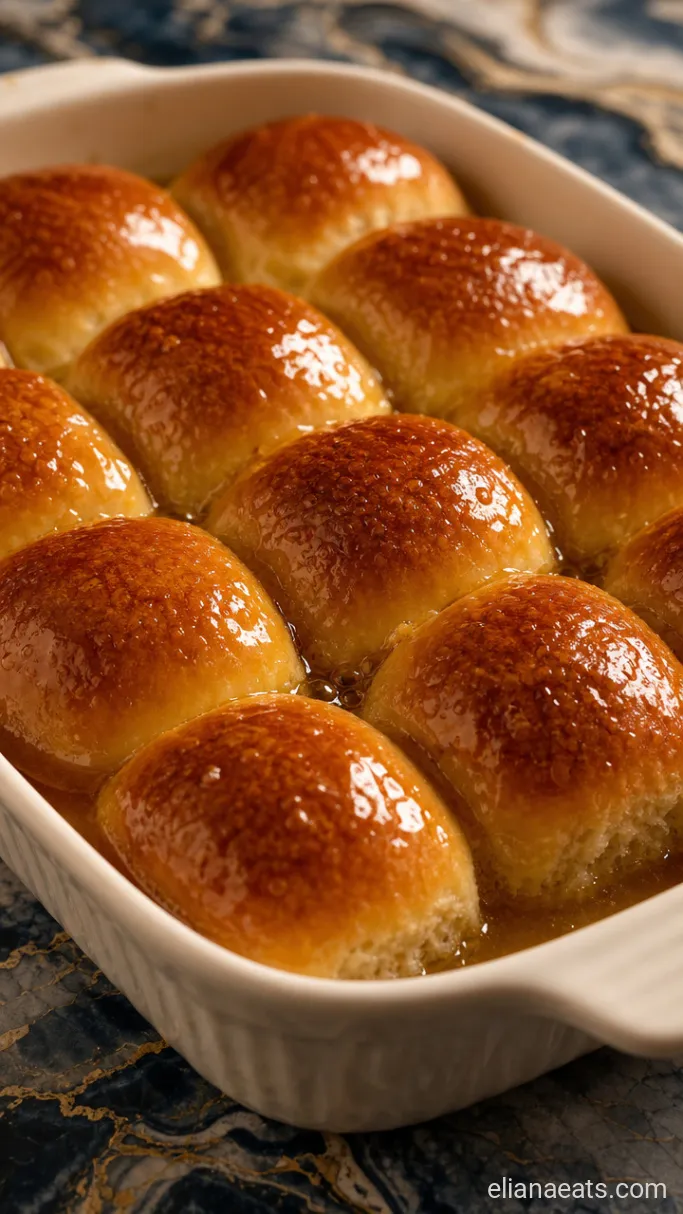
While the last batch of chicken fries, warm the 12 dinner rolls according to the package directions, usually about 12 to 15 minutes at 350°F (175°C). While they’re still hot, melt the 3 tbsp unsalted butter in a small saucepan over low heat, stir in the 2 tbsp honey, and brush the glaze over the tops and sides of the rolls.
The honey butter soaks into the warm roll almost immediately, giving the outside a slightly sticky, shiny surface. That’s the texture you’re going for.
Step 5: Assemble and Serve
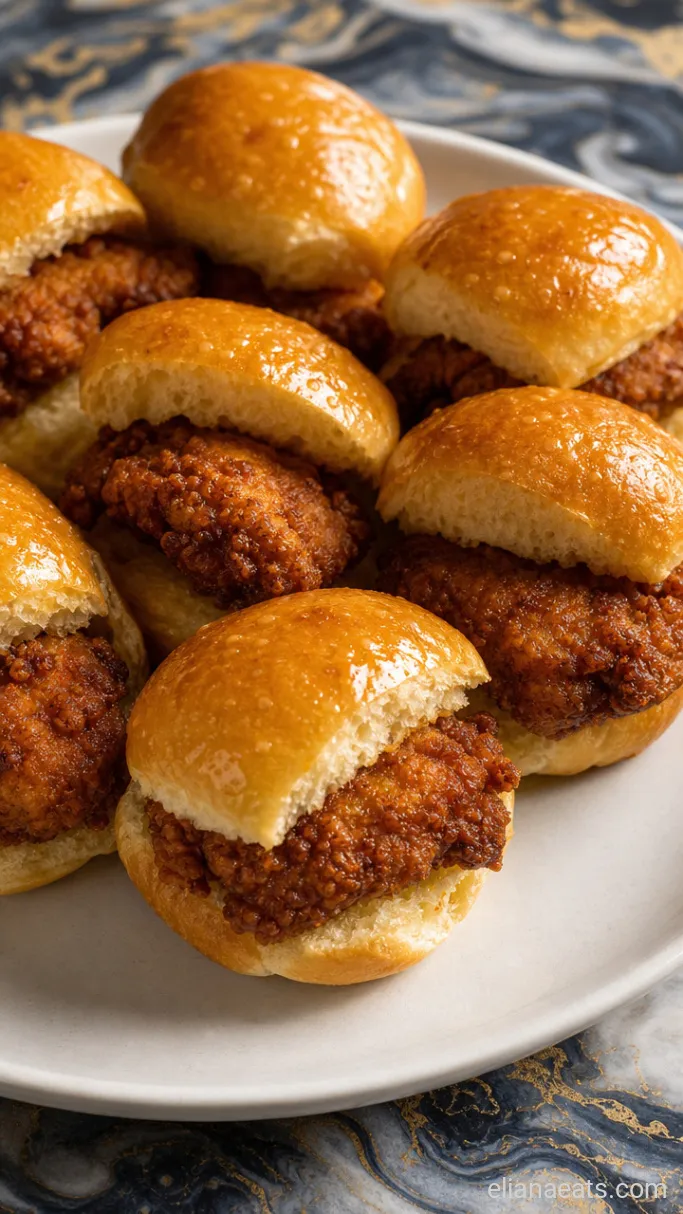
Split each glazed roll along the side, not all the way through, and tuck 1 piece of fried chicken inside. Arrange all 12 on a serving tray or wooden board, brush any remaining honey butter glaze over the exposed chicken tops, and serve immediately while the crust is still crisp.
Recipe Tips
- Choose the right rolls. You want small, round, soft yeast rolls about 2 inches wide. Larger dinner rolls overpower the chicken; slider buns are too bready and don’t have the right sweetness.
- Dry the chicken after the brine. A quick pat with paper towels before the wet dip keeps the coating from getting pasty and helps it fry evenly.
- Don’t crowd the pot. Frying too many pieces at once drops the oil temperature and the chicken steams instead of crisps. Smaller batches mean better crust on every piece.
- Serve right away. These are at their best in the first 10 minutes. If you’re feeding a crowd, keep finished batches in a 200°F (93°C) oven on a wire rack while you fry the rest.
Cook times by oil temperature and batch size:
| Batch Size | Oil Temp | Fry Time |
|---|---|---|
| 4 pieces | 350°F (175°C) | 3 to 4 minutes |
| 5 pieces | 350°F (175°C) | 4 to 5 minutes |
| 6 pieces | 325°F (163°C) | 5 to 6 minutes |
How To Store
- Refrigerate – Store leftover fried chicken and rolls separately in airtight containers for up to 3 days. Storing them together makes the rolls soggy and the crust soft.
- Reheating – Re-crisp the chicken on a wire rack in a 375°F (190°C) oven for 8 to 10 minutes. Warm the rolls separately for 5 minutes at the same temperature. Avoid the microwave for the chicken — it kills the crust.
What To Serve With Chicken Minis
A side of waffle fries is the obvious move, but a simple creamy coleslaw works especially well because the cool crunch cuts through the richness of the fried chicken and honey butter. A small cup of Chick-fil-A-style dipping sauce (equal parts honey mustard and barbecue sauce) gives you somewhere to dip the assembled minis without making the rolls soggy. For a breakfast spread, a bowl of fresh fruit balances the salt and fat without competing with the flavors.
Frequently Asked Questions
Can I make the chicken ahead of time?
Yes. Fry the chicken up to 2 hours ahead and keep it on a wire rack in a 200°F (93°C) oven. Beyond 2 hours, the crust starts to toughen rather than just stay warm.
Can I freeze the fried chicken pieces?
Yes. Freeze cooled chicken in a single layer on a sheet pan, then transfer to a bag for up to 2 months. Reheat straight from frozen at 400°F (200°C) for 12 to 15 minutes on a rack.
My coating keeps falling off — what’s going wrong?
Usually the chicken is too wet before the flour stage. Pat it dry after the brine, and press the flour coating firmly rather than just dusting it on.
Can I use a store-bought frozen waffle on these instead of rolls?
Yes, mini frozen waffles toasted until crisp are a fun swap that leans more breakfast. The honey butter still works — brush it on the warm waffles right before assembling.
—
Ingredients
Method
- Combine the chicken pieces and 1/2 cup dill pickle juice in a bowl and soak for 30 minutes at room temperature.
- Whisk the 3/4 cup milk and 1 egg together in one bowl; mix the 1 cup flour, 2 tbsp powdered sugar, 1 tsp salt, 1 tsp black pepper, 1/2 tsp paprika, 1/2 tsp garlic powder, and 1/2 tsp onion powder in a second bowl. Pat chicken dry, dip in the milk mixture, then press into the flour coating.
- Heat 3 cups vegetable oil to 350°F (175°C) in a heavy pot. Fry the chicken in batches of 4 to 5 pieces for 3 to 4 minutes, turning once, until deep golden brown and 165°F (74°C) inside. Drain on a wire rack.
- Warm the 12 rolls at 350°F (175°C) for 12 to 15 minutes. Melt 3 tbsp butter with 2 tbsp honey and brush the glaze over the hot rolls.
- Split each roll, tuck in 1 piece of chicken, brush with any remaining honey butter, and serve immediately on a tray.